DOLCEAMERICANA.BLOG

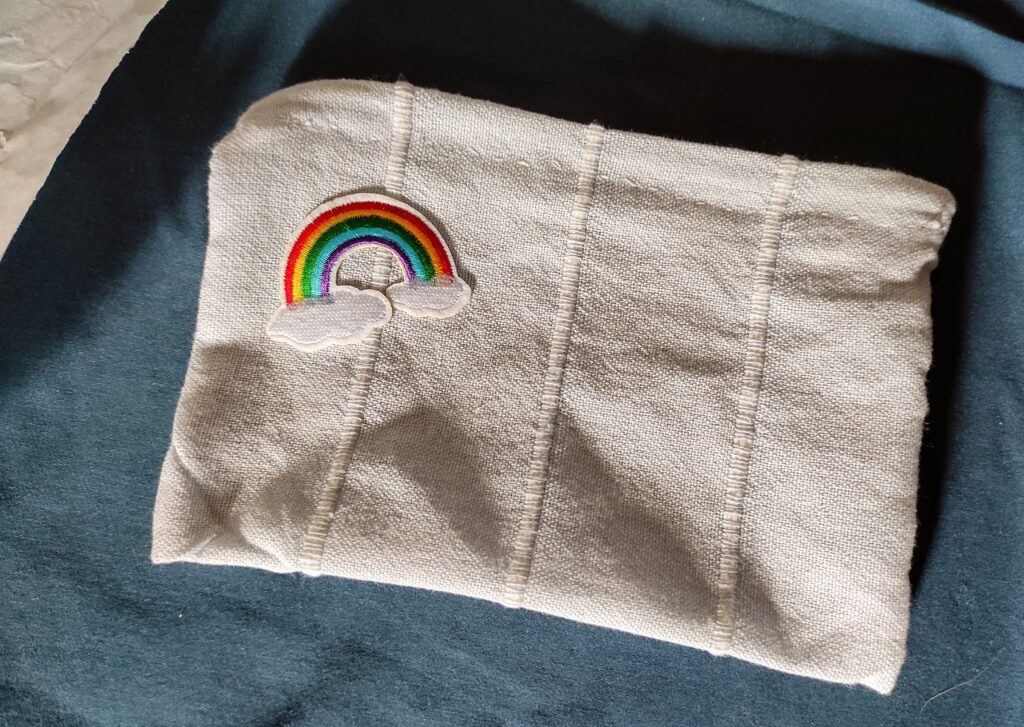
Back to School Pencil Pouch
Create your own DIY Pencil Pouch
Supplies:
- Material
- Old Jeans
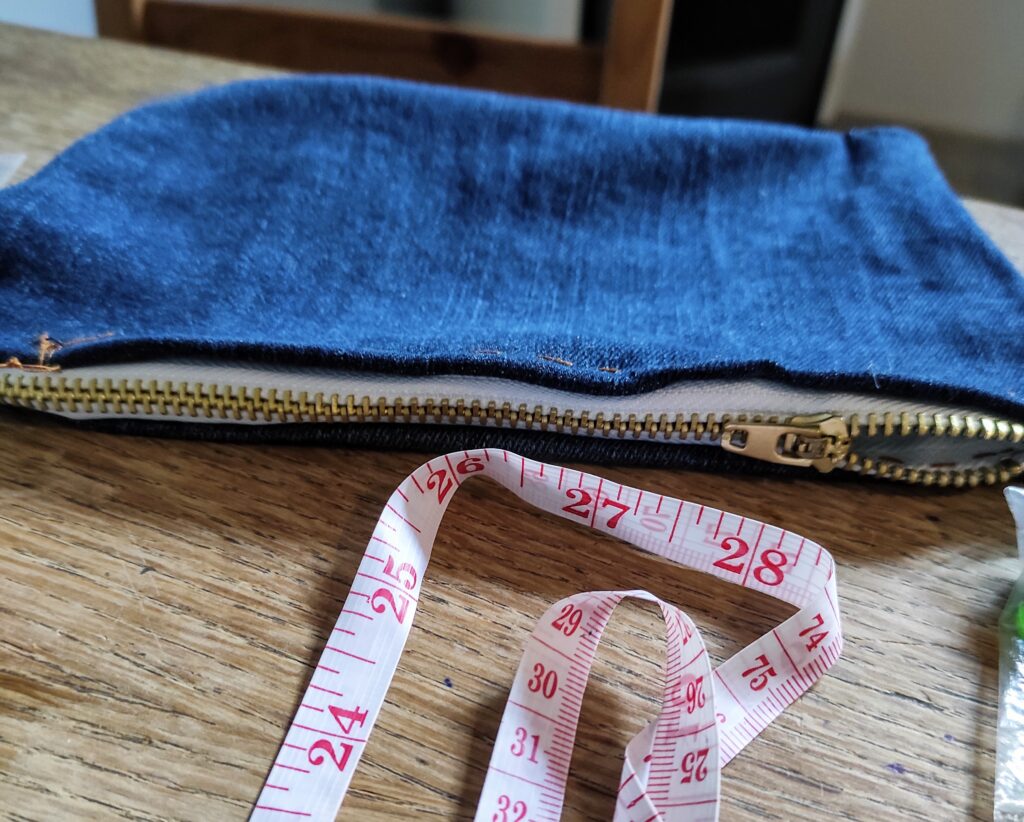
- Measuring tape/Ruler
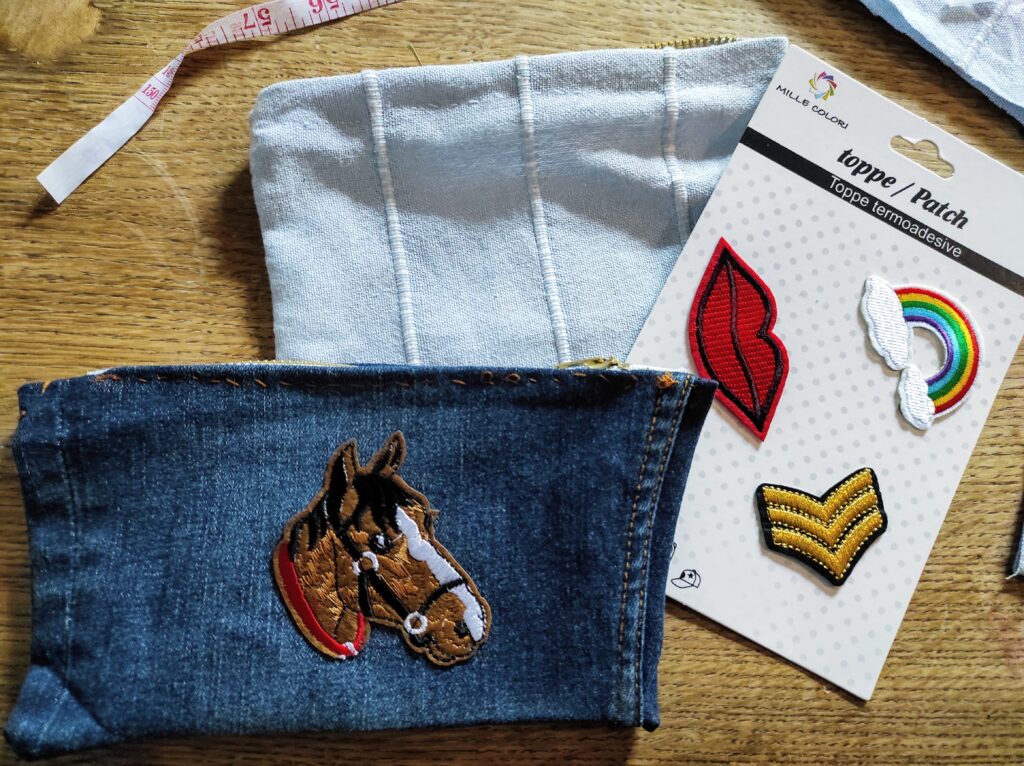
- Patches
- Sewing Scissors
- Needle and thread
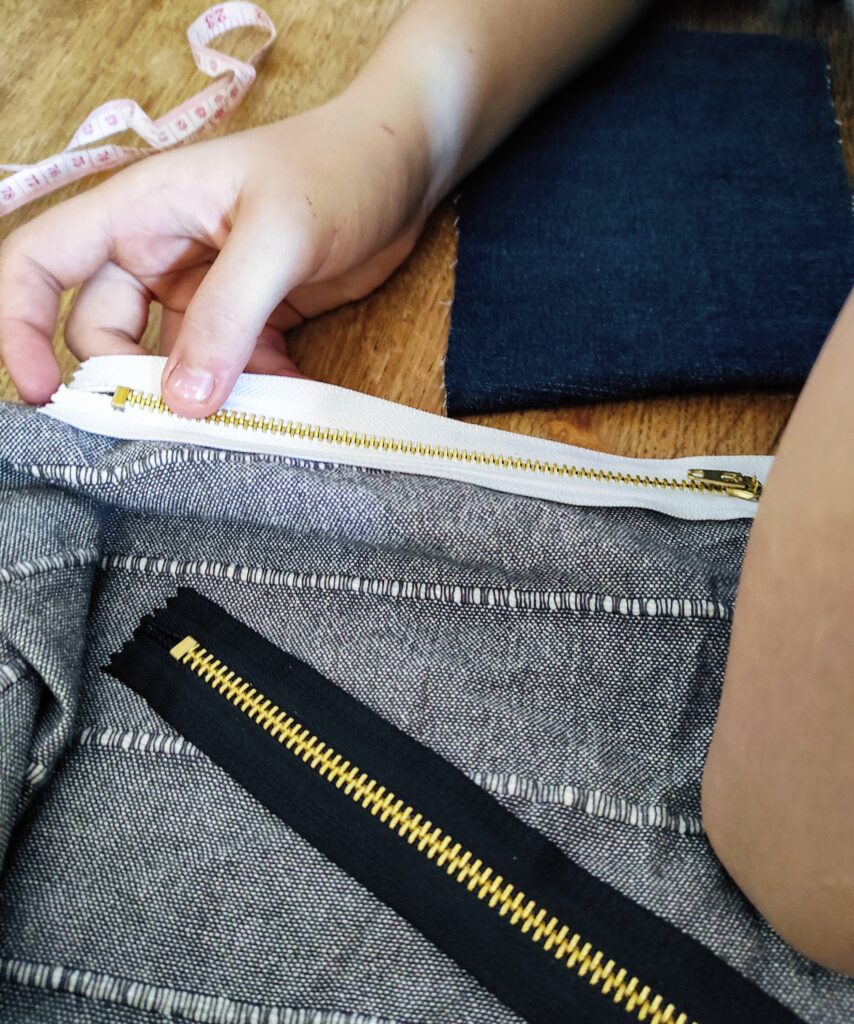
- Zipper
- Chalk or pencil for marking your fabric
Steps:
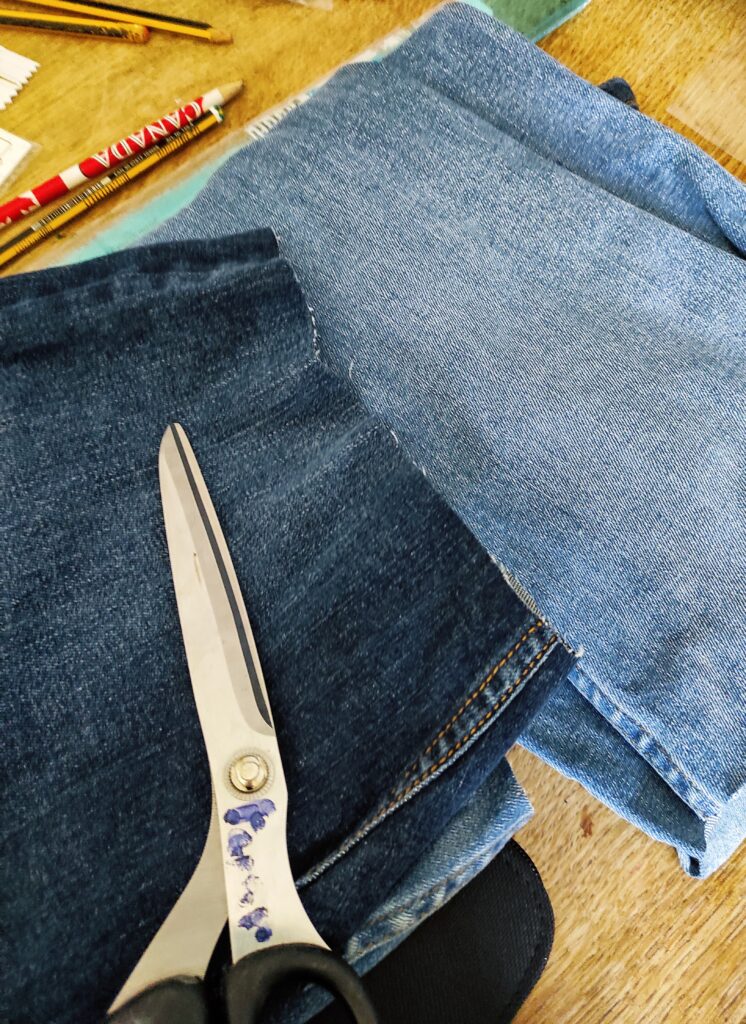
1- Cut off a piece of your jeans between the knee and just below where the pocket is sewed in.
2- Measure how wide you want the top of your pencil pouch to be based on the length of your zipper. It should be less than a half inch longer on each side of the zipper. Cut the base of your jean fabric to the depth that you want your pouch to end up. We did 5 inches.
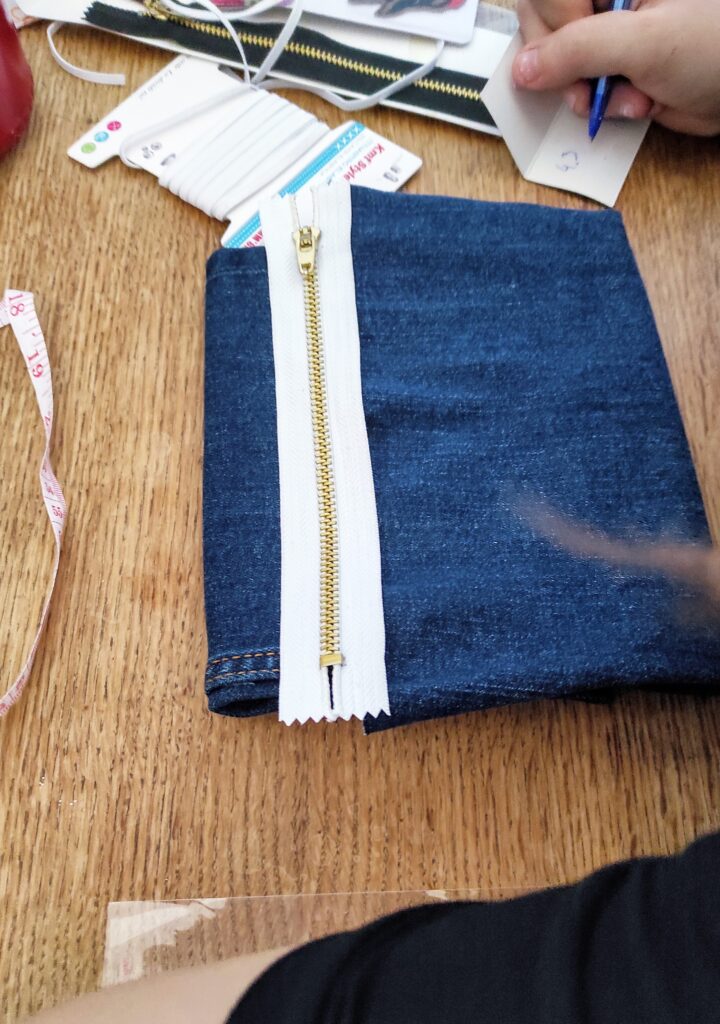
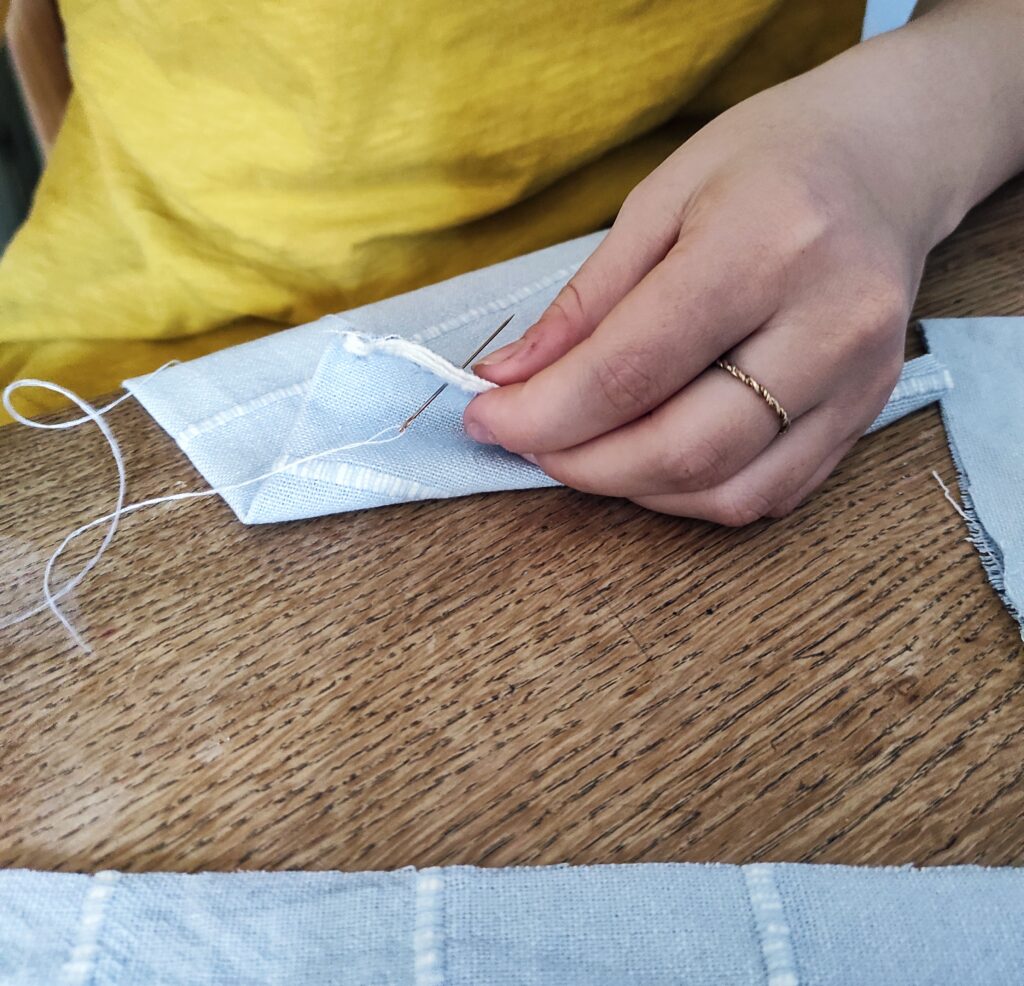
3- Turn the jeans fabric inside out. MAKE SURE THAT YOUR ZIPPER IS UPSIDEDOWN!! Sew one side of the fabric part of your zipper to one side of the TOP of your jean piece. Unzip the zipper and sew the other side to the opposite side of your jean piece.
4- With the zipper still unzipped slip the fabric rightside out. You will sew your two corners last.
There is one extra step if you sew a pouch from a piece of fabric!
You will follow steps 1-4 from above. Except that there is step 2A for a fabric pencil pouch because the jeans will already had the sides sewn together, and the fabric will not.
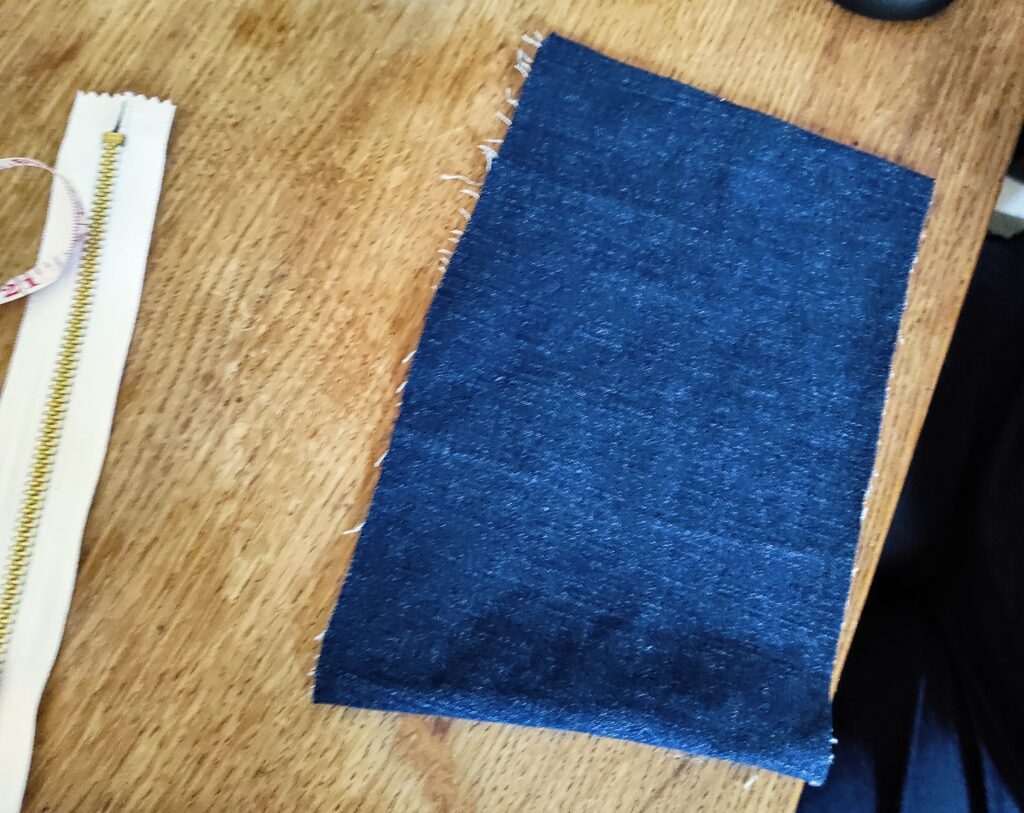
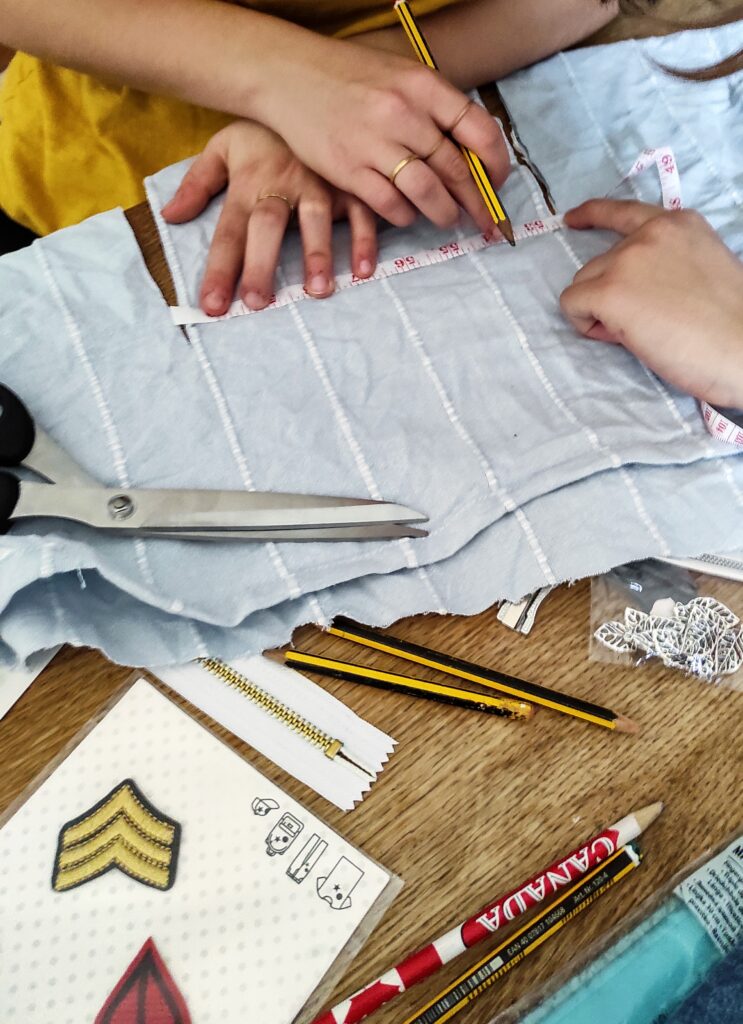
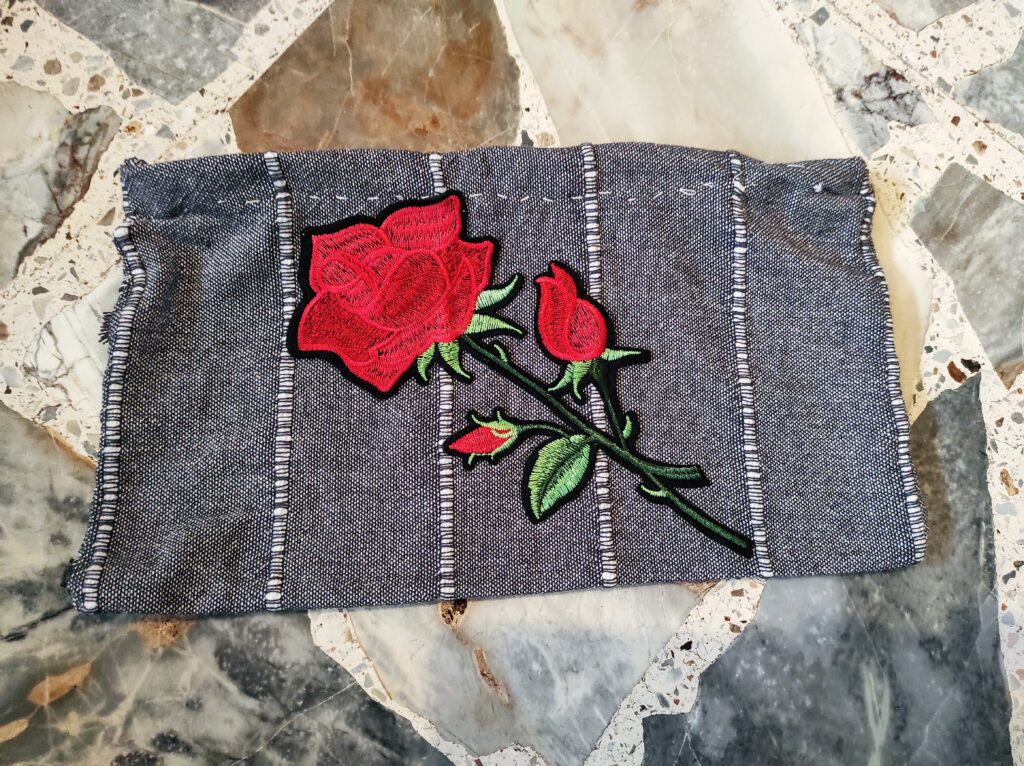
2A- Measure the correct width of fabric based on the length of your material. Cut the length of the material 2 times the size you want your pouch to end up. If you want your pouch to be 5 inches deep, cut a piece of fabric 10 inches long.
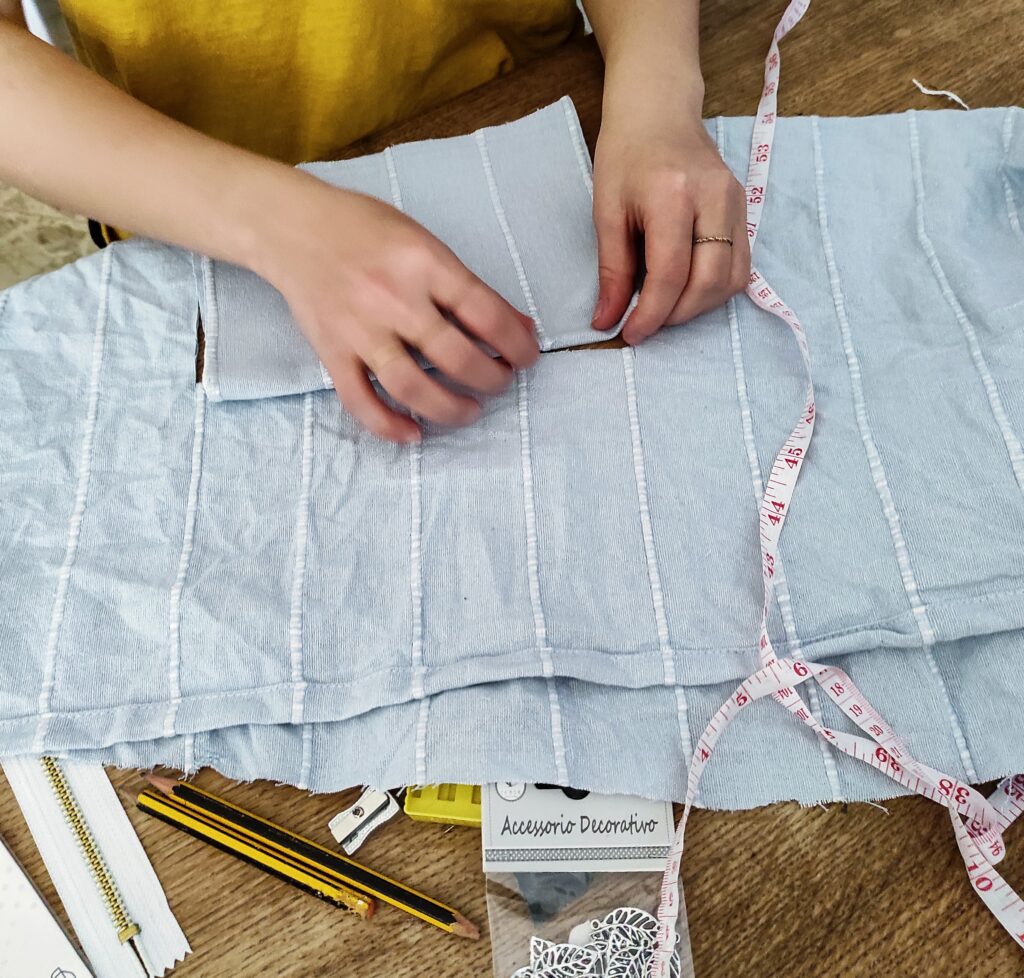
2B- Fold your fabric in half with the WRONG SIDE facing out. Sew the sides of your fabric shut first. Then place your zipper on top.
Now follow steps 3 and 4 from above!

5- Iron on your patches! Once your pouch is ready, iron on your patches.
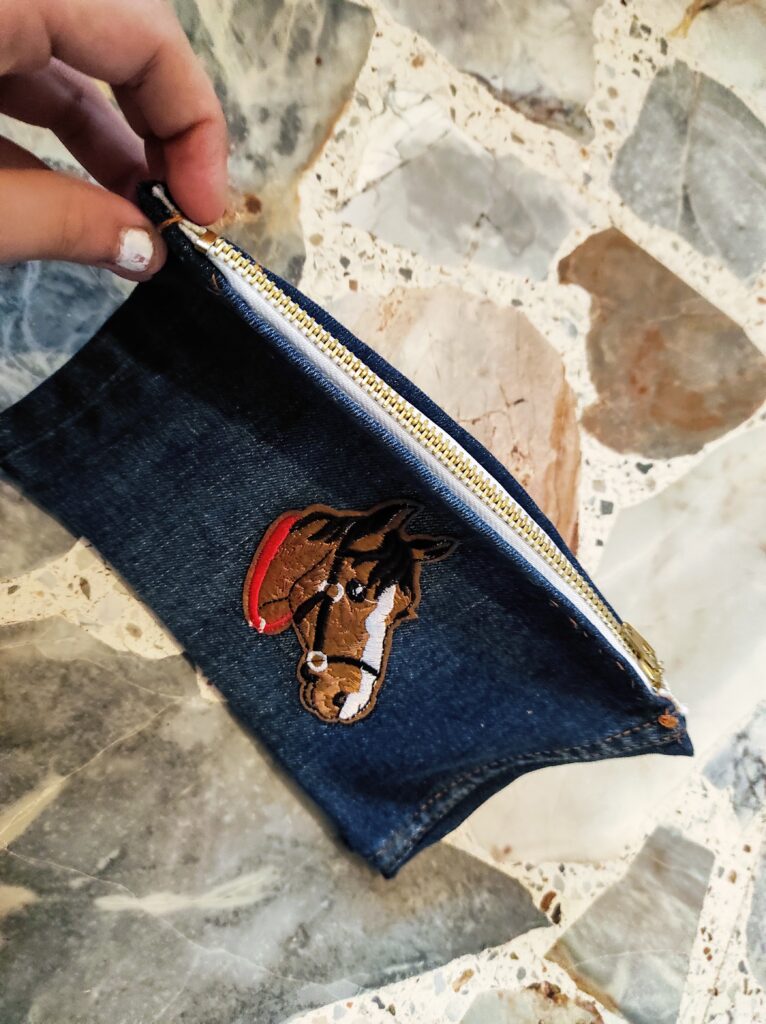
It’s as simple as that! This project is super easy to sew by hand, my girls sewed their own pouches. Or if you are quick with a sewing machine, then it will take you no time at all!
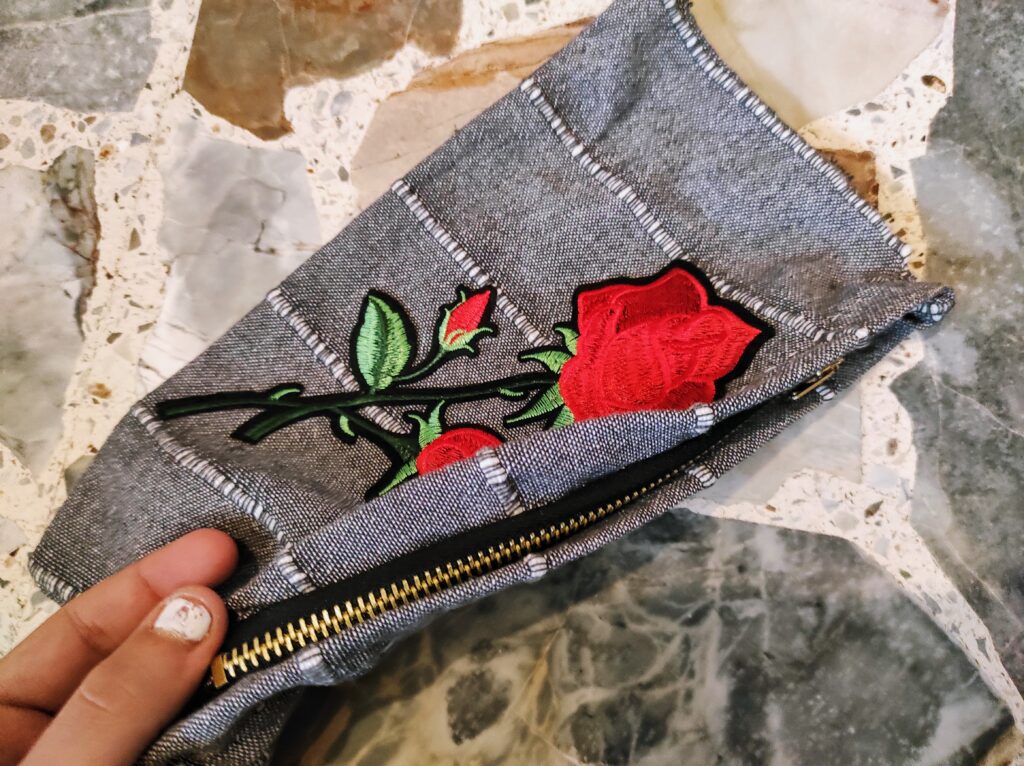
Happy creating!
Welcome to Dolceamericana

I’m Carli. An event stylist, self-taught baker, and imperfect Mamma of 3!