DOLCEAMERICANA.BLOG

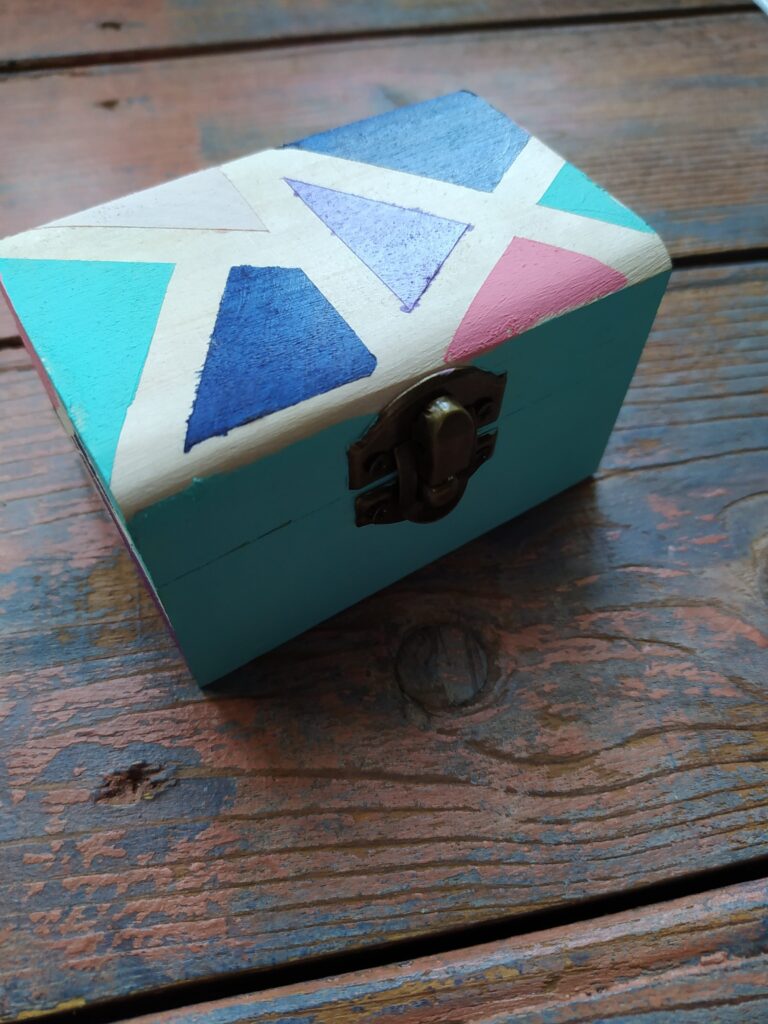
Jewelry box: Geometric Design
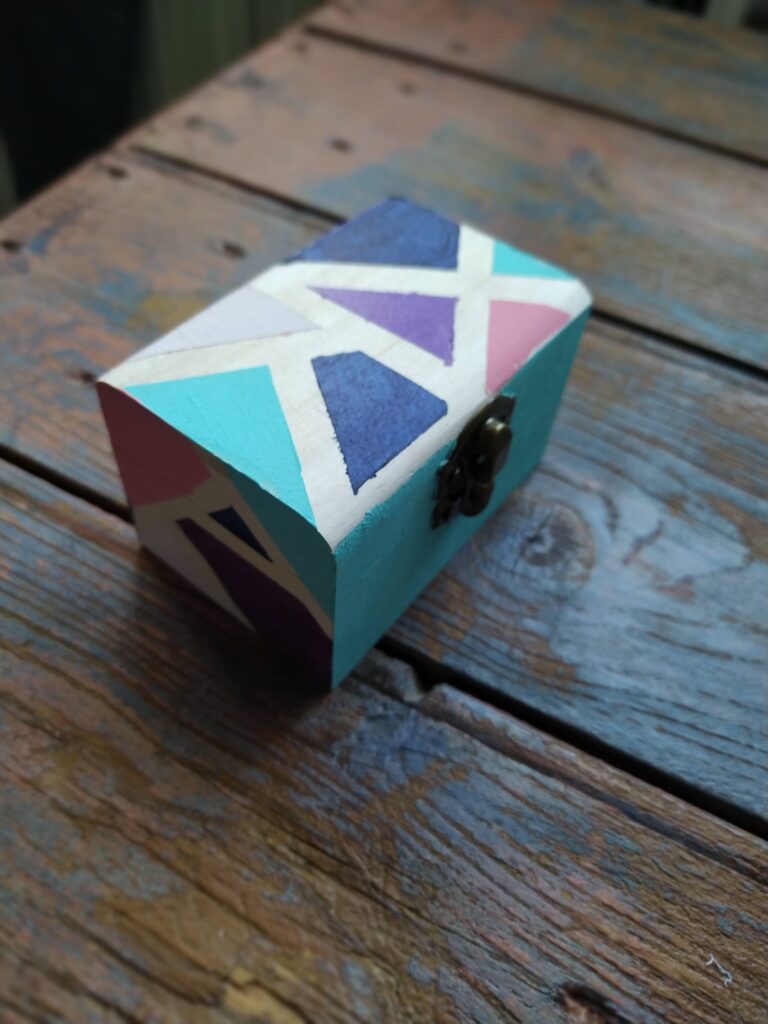
Make the cutest jewelry box ever!!
Have you tired tape painting?! The result is so pretty. You can do it with a canvas too, but we thought it would look beautiful on Chloe’s new jewelry box.
Supplies:
- Wooden jewlery box or “treasure box”
- Acrylic paints
- Painters tape (or masking tape)
- Paint brushes, water, mat, etc
Step 1:
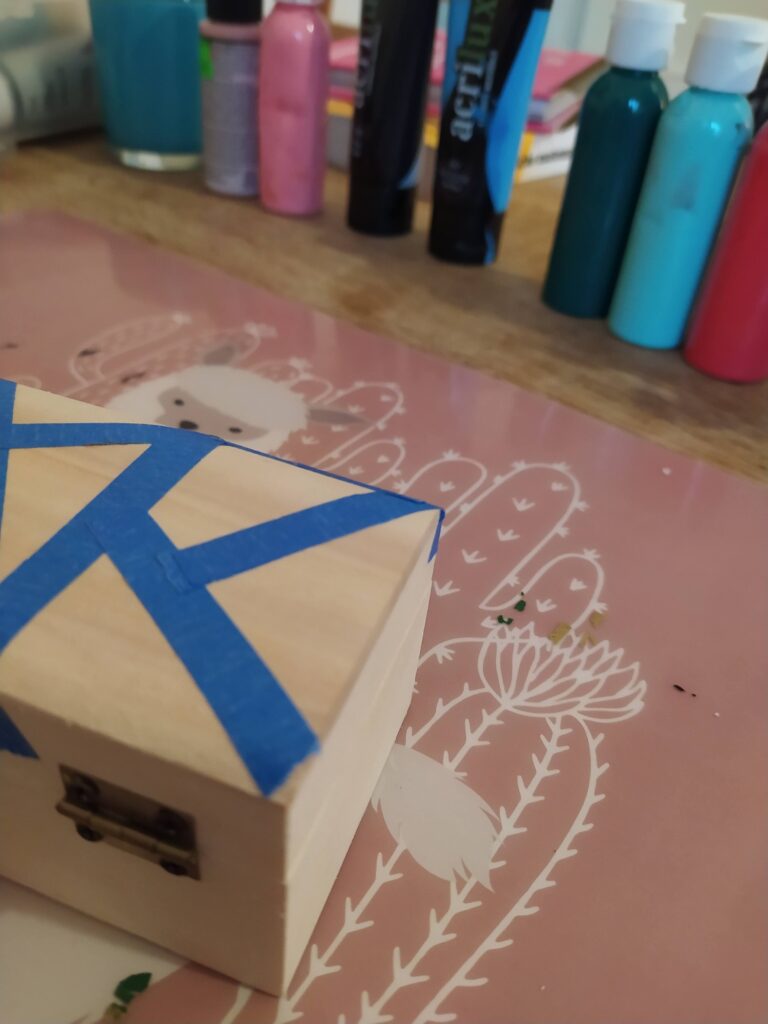
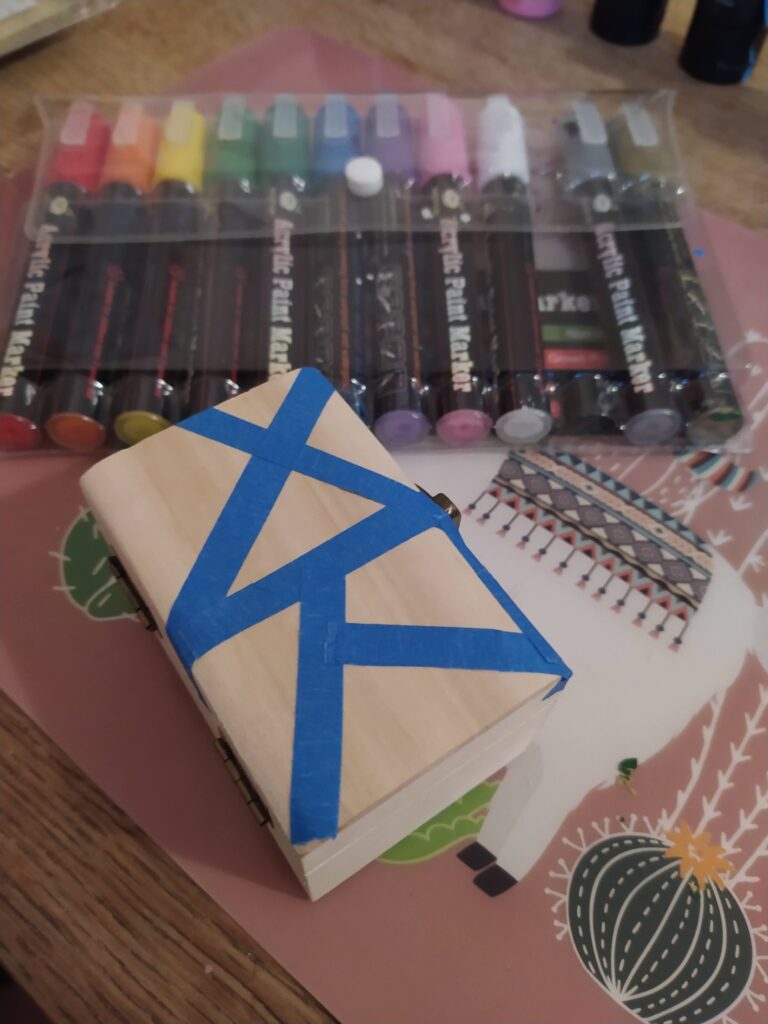
Begin by taping off your box.
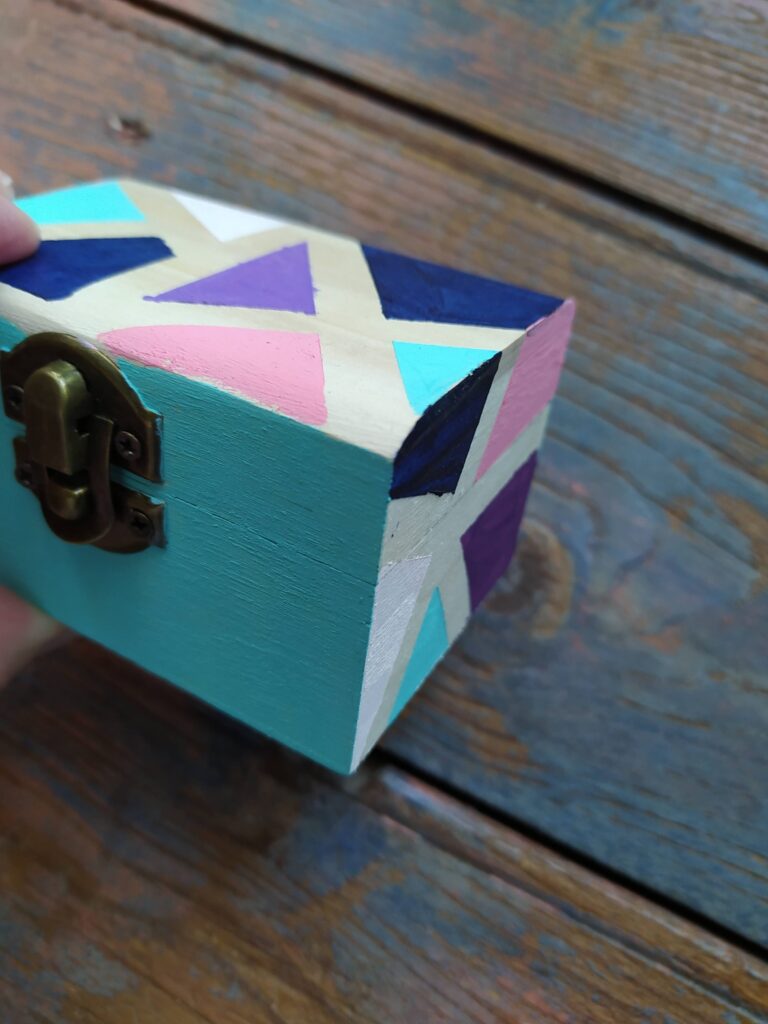
The taped part will remain “wood-colored”, creating outlines of whatever shapes you choose.
We went with a geometric design, but we tried to keep almost all of our shapes triangular.
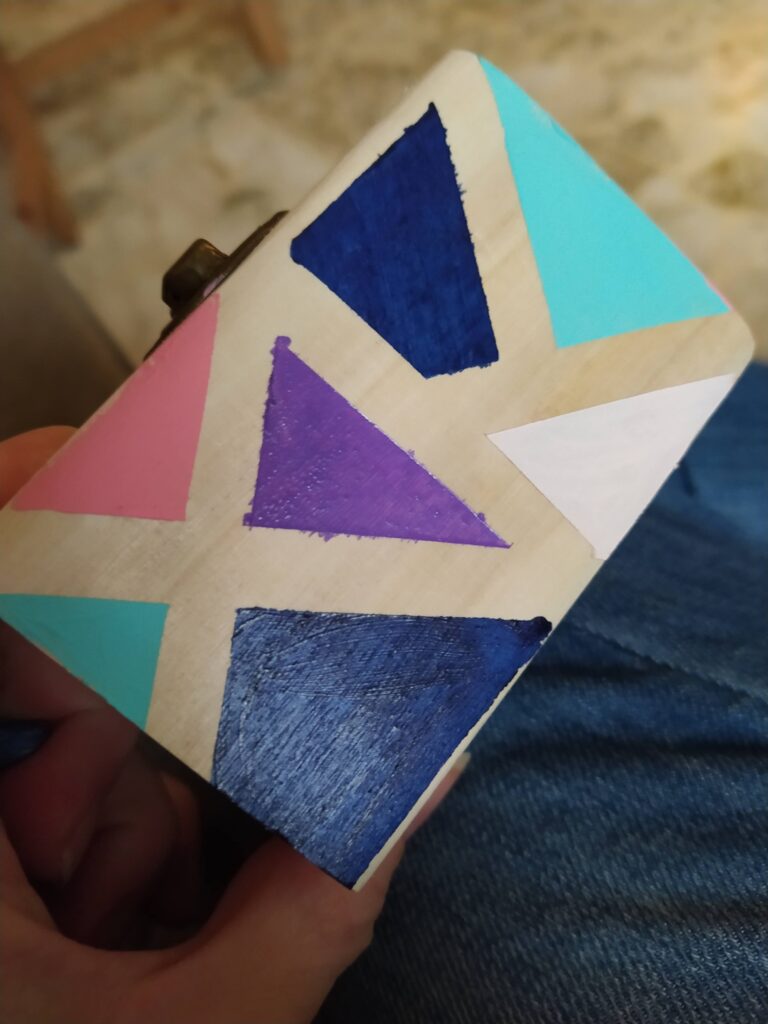
Step 2:
Choose your paints! Pick a color scheme and choose your paints.
Once you have picked your colors begin painting in your shapes (the wood part). The tape should protect the wood from getting paint on it, but you can still try to avoid painting on top of the tape.
Make sure that you stagger your colors so that you spread out the colors.
Or choose one paint color and create a “broken” look on your box! It is also a really cool effect.
Step 3:

WAIT FOR YOUR PAINT TO DRY COMPLETELY. After your paint has dried remove the tape.
You can add a protective spray to coat your box and protect the paint from ware and tare.
That’s it!
You’ve made your very own jewelry box with a beautiful geometric design!
Happy creating!
Welcome to Dolceamericana

I’m Carli. An event stylist, self-taught baker, and imperfect Mamma of 3!