DOLCEAMERICANA.BLOG

DIY T-shirt Beach Bag
We always have so many bags when we head to the beach! A bag for snacks, a bag for sunscreen, a bag for a good book, and my phone, and a big bag for beach towels. And probably several more than I am forgetting about.
There are two different style options to choose from. Take a look at both and decide which one you prefer…
Beach Bag 1:
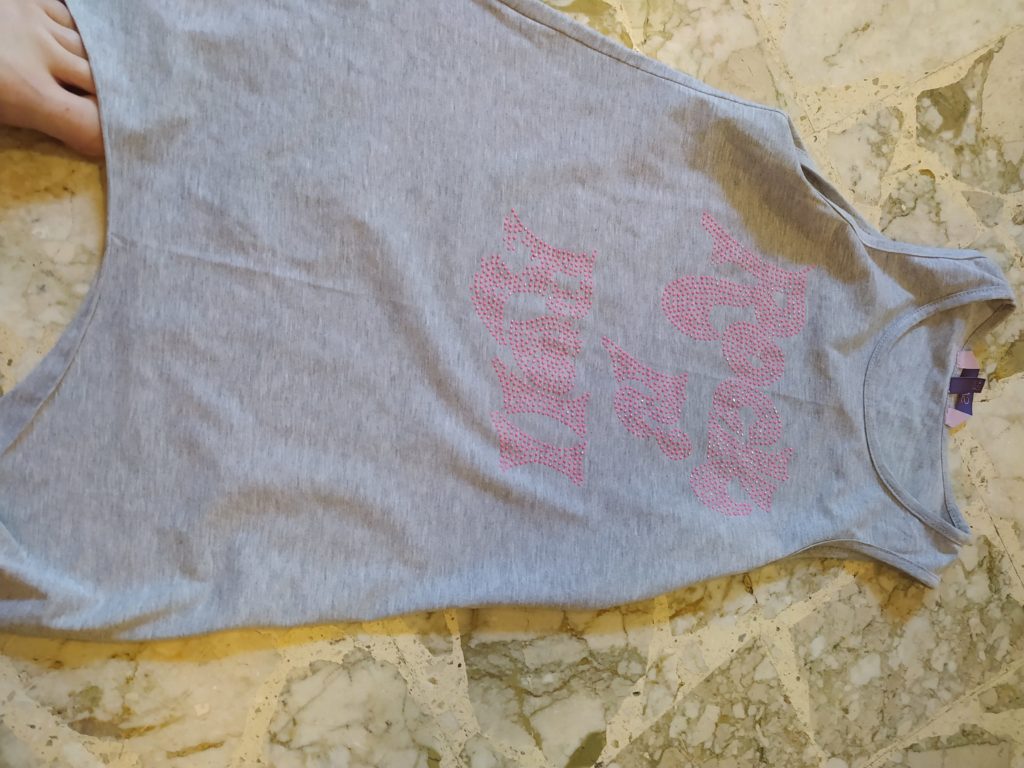
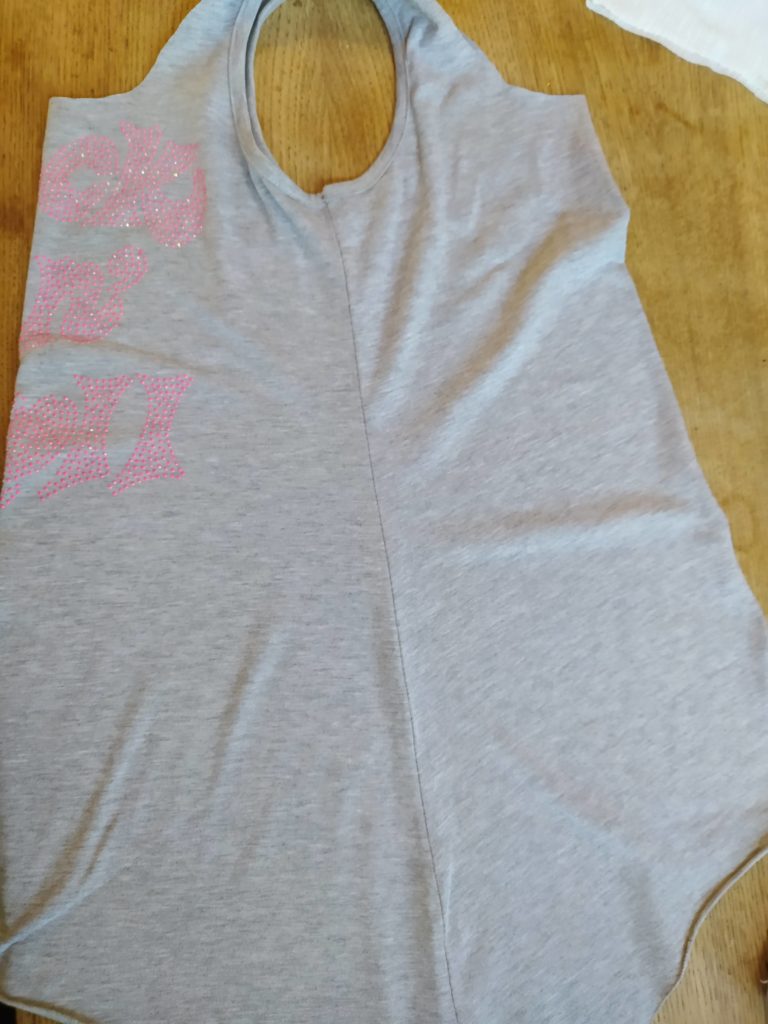
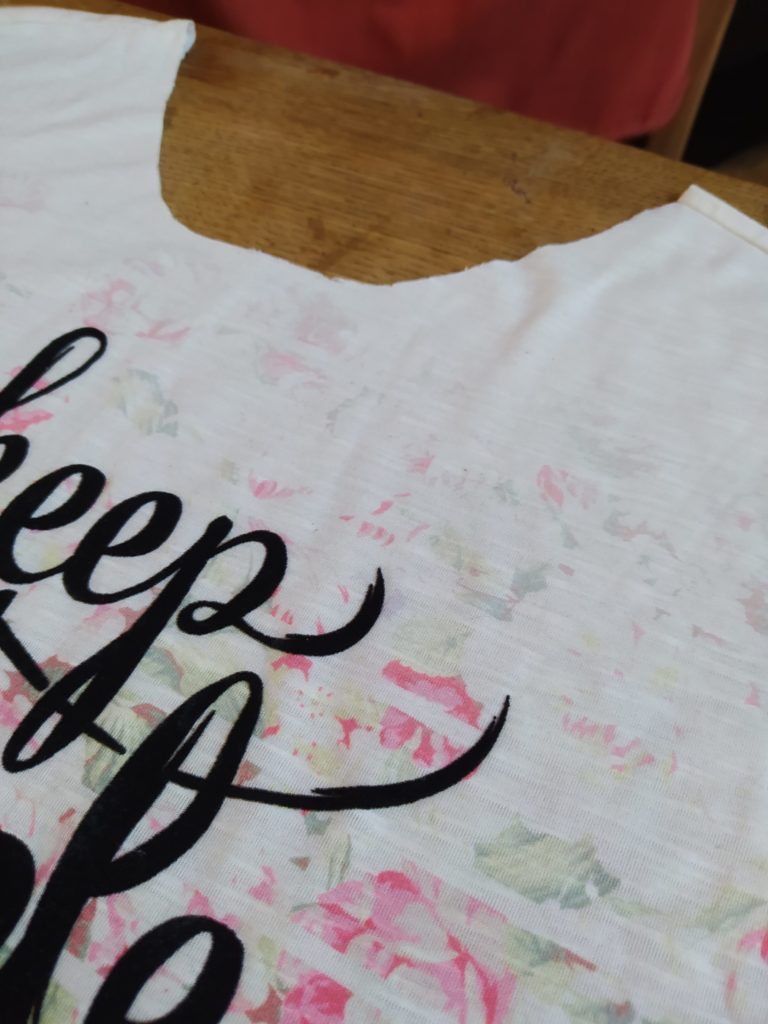
For Beach bag 1 you will need a long t-shirt or tank top. I preferred a tank top in this case because the “handles” are already sewn with a seam and look more “finished”.
STEP 1:
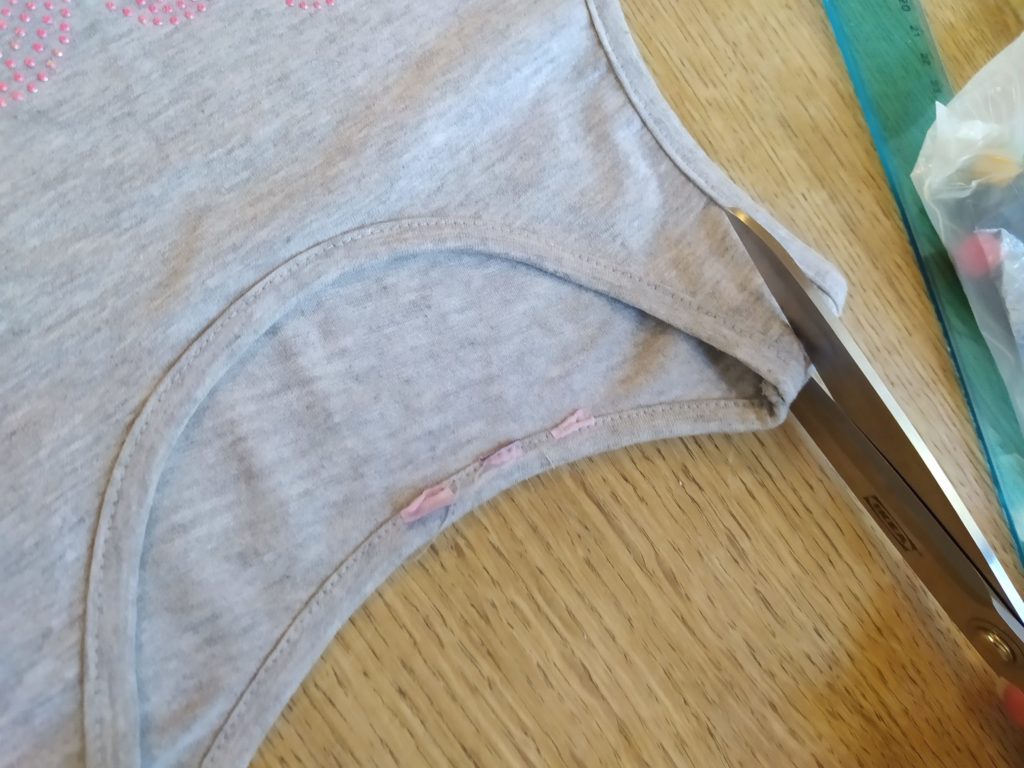
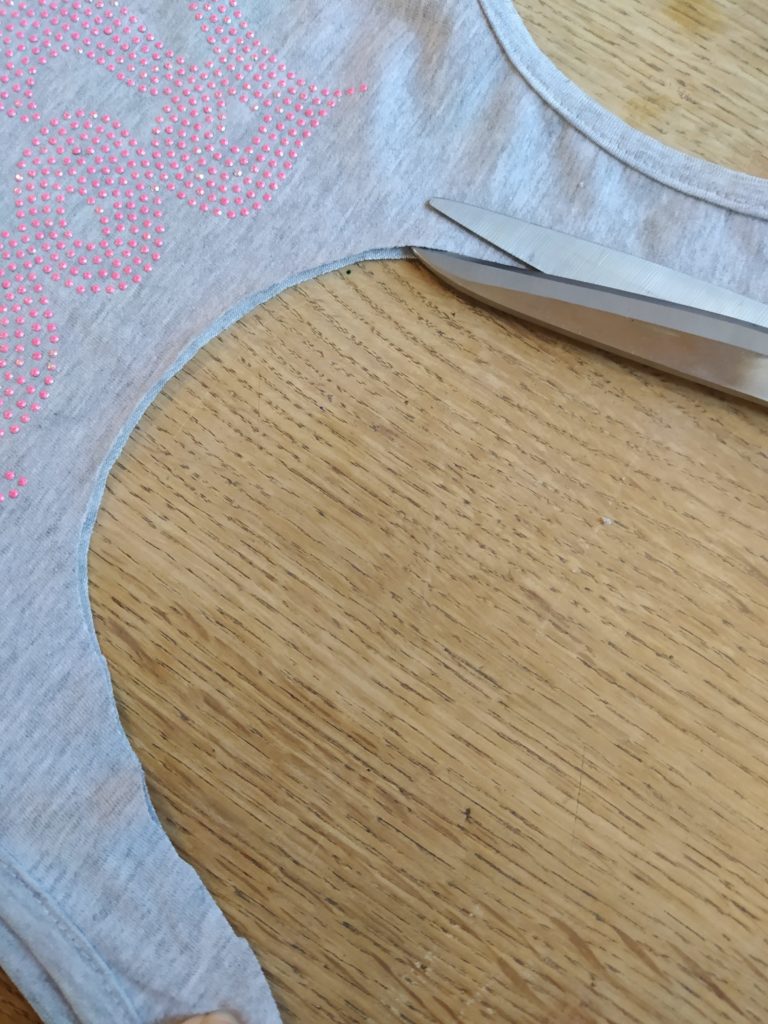
Align all the seams of the tank top. Cut off the collar of your tank top creating a deeper oval shape. I cut all the way down to the writing on the tank top.
Step 2:
Line up straps 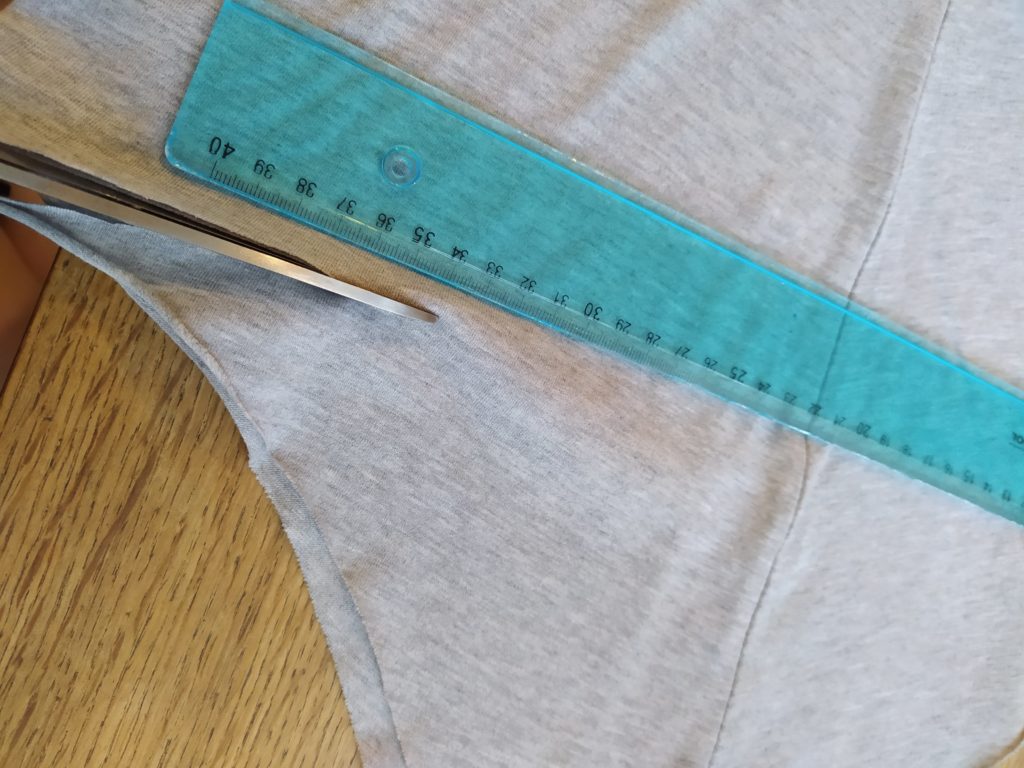
Cut a straight line 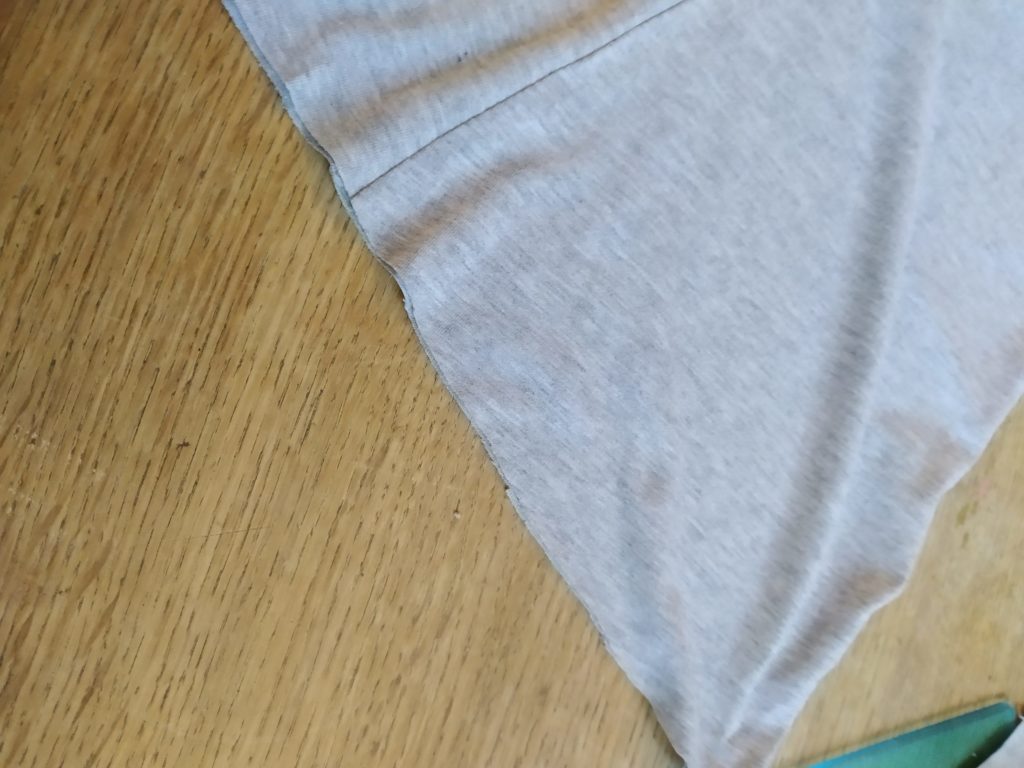
If your are using a t-shirt, see beach bag 2 for how to cut off the sleeves first!!
Begin by folding your tank top so that the straps are lined up to form a “handle” shape. Flatten your tank top and smooth out any creases. Make sure your shirt is right-side-out!
Cut off excess material so that you have a straight line at the base of your tank top. I used a long ruler to make sure that the line was straight.
STEP 3:
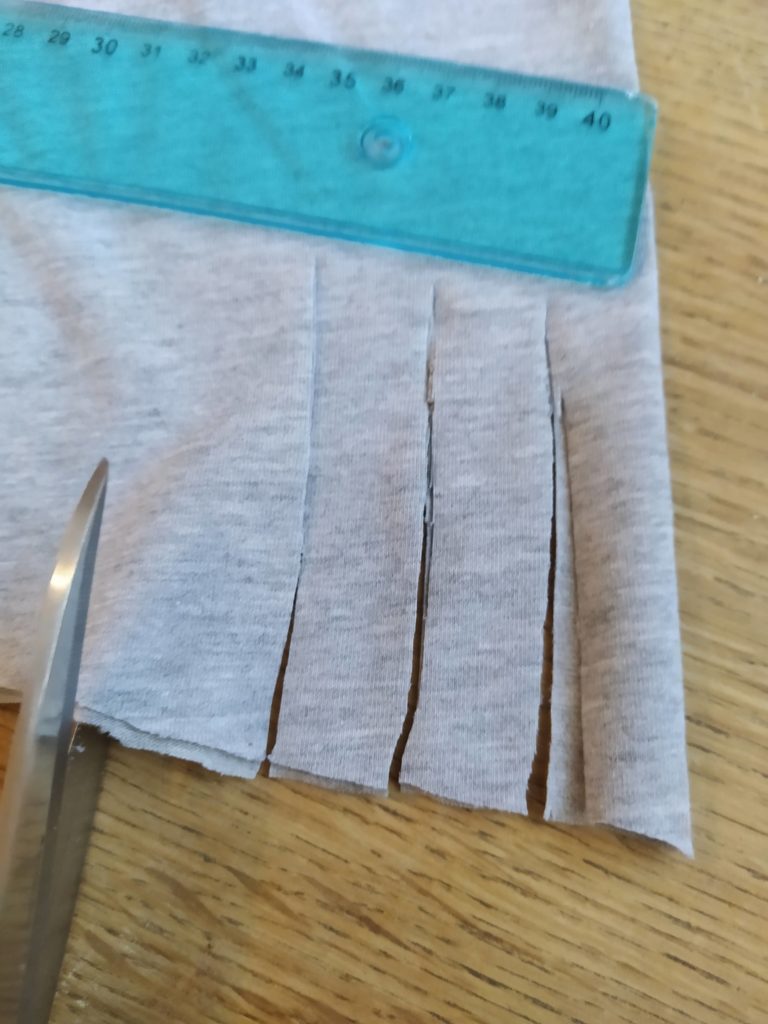
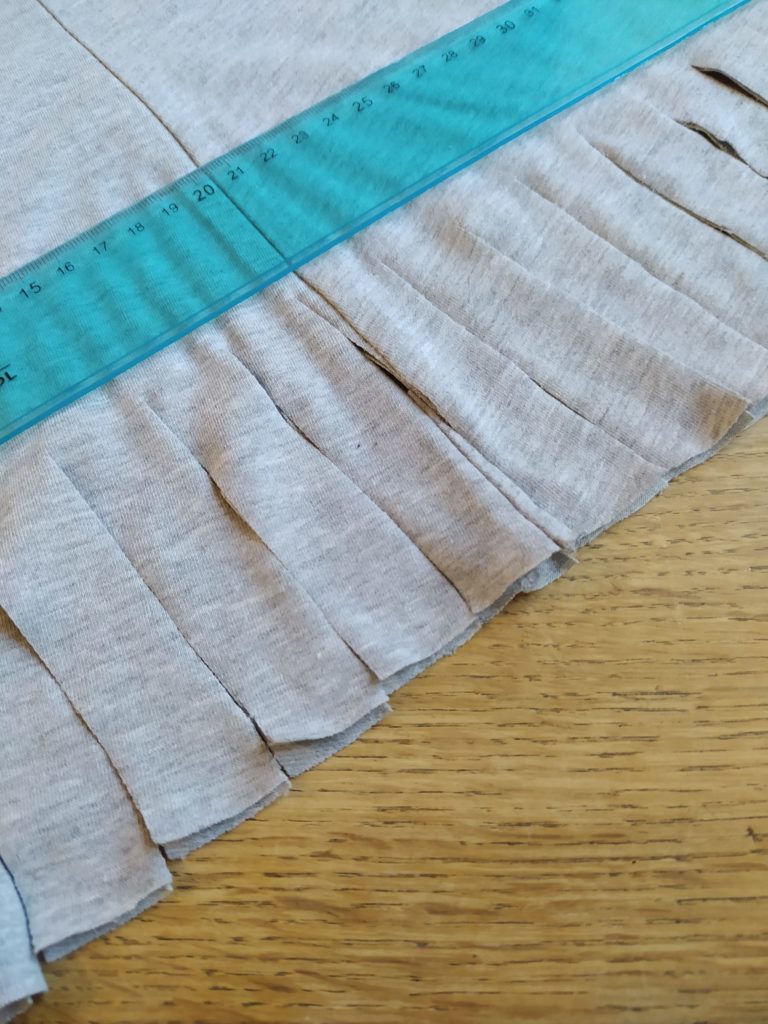
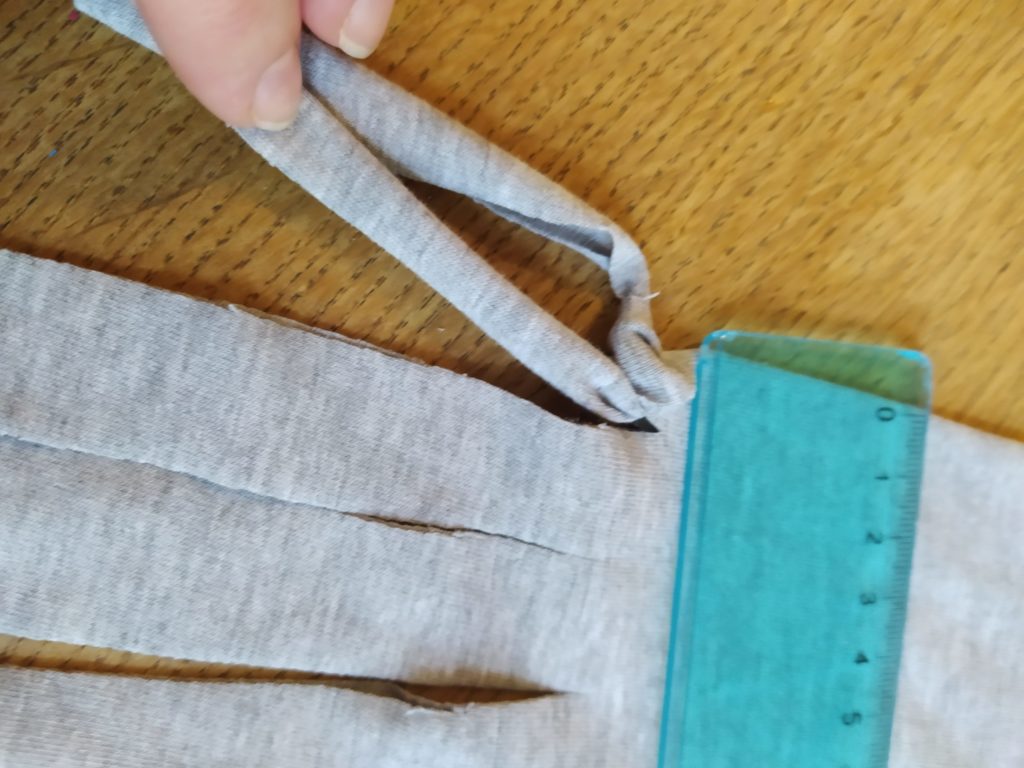
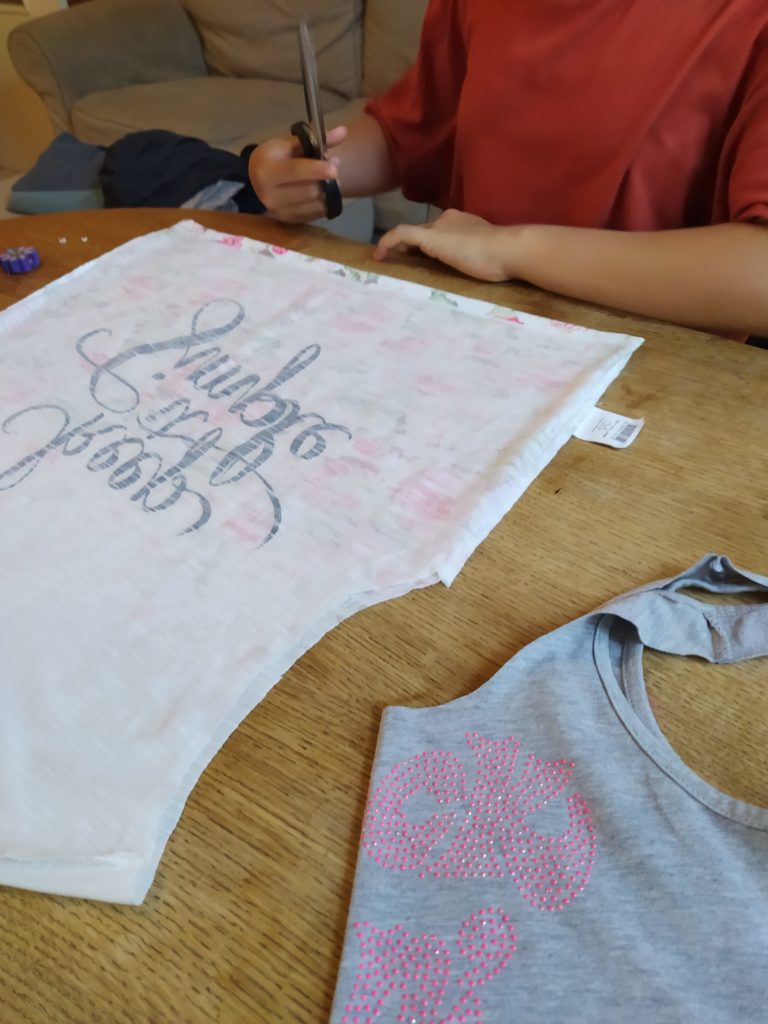
With a ruler draw a line across your shirt as to the height that you want your strips to be cut. You can use material chalk, or just keep the ruler laid flat across your shirt as you cut so that all your strips are the same size and length. You want your strips about 1/2 inch to 3/4 inch wide.
Cut all the way across your t-shirt. Make sure to cut the end strips into 2 strips (it will be attached like 1 strip because it is on the seam).
STEP 4:
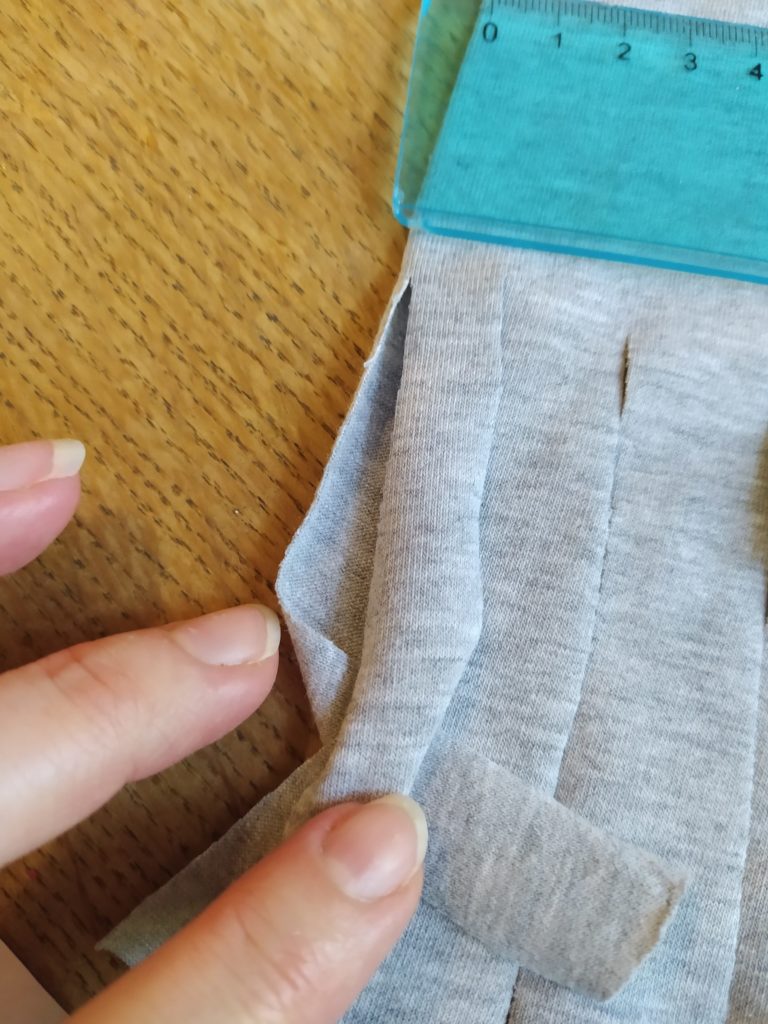
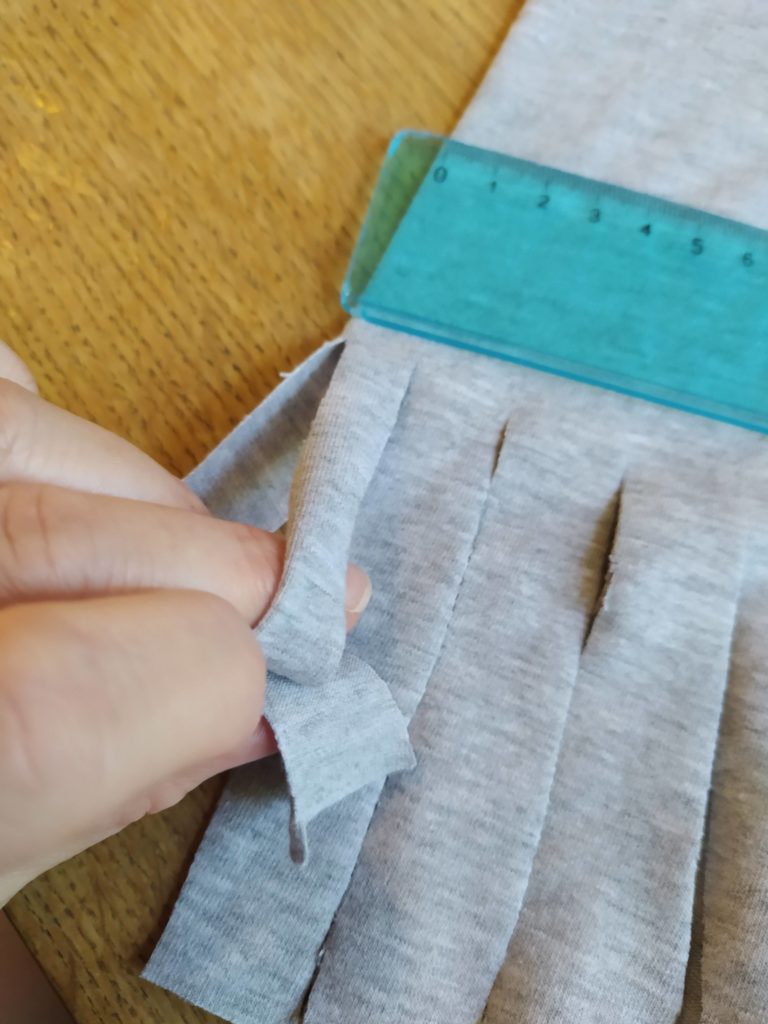
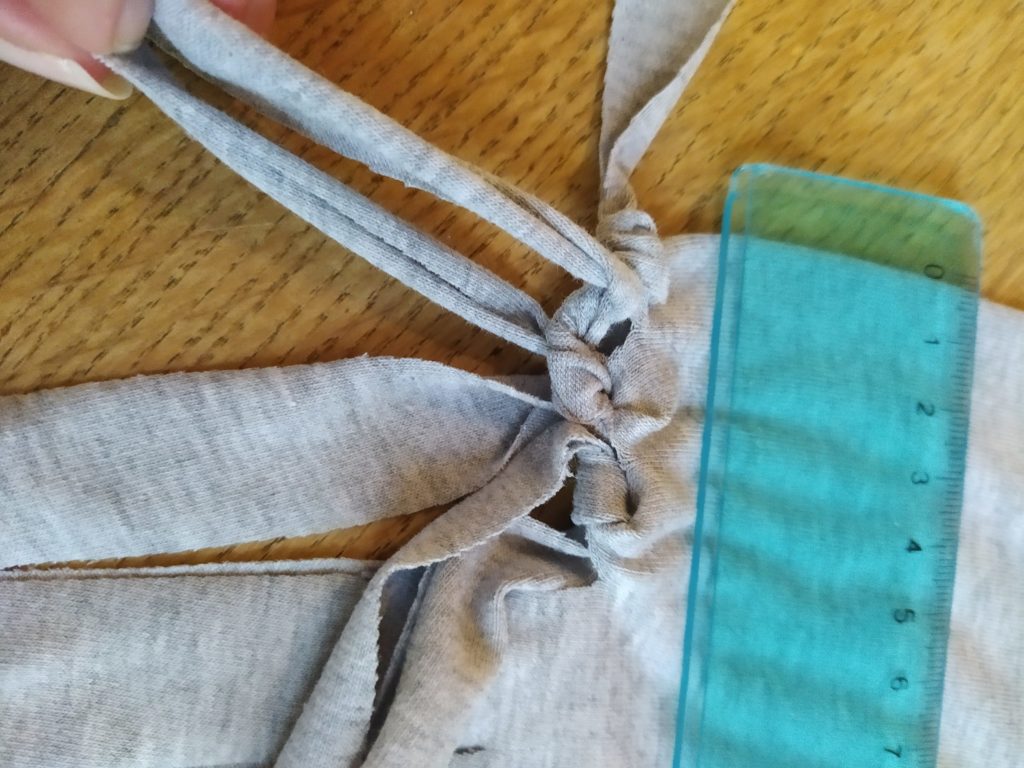
Tie your knots! This step looks more complicated than it is. Each strip is a set of two, right? You want to tie each set of two into a knot. Tie the first three strips into knots first.
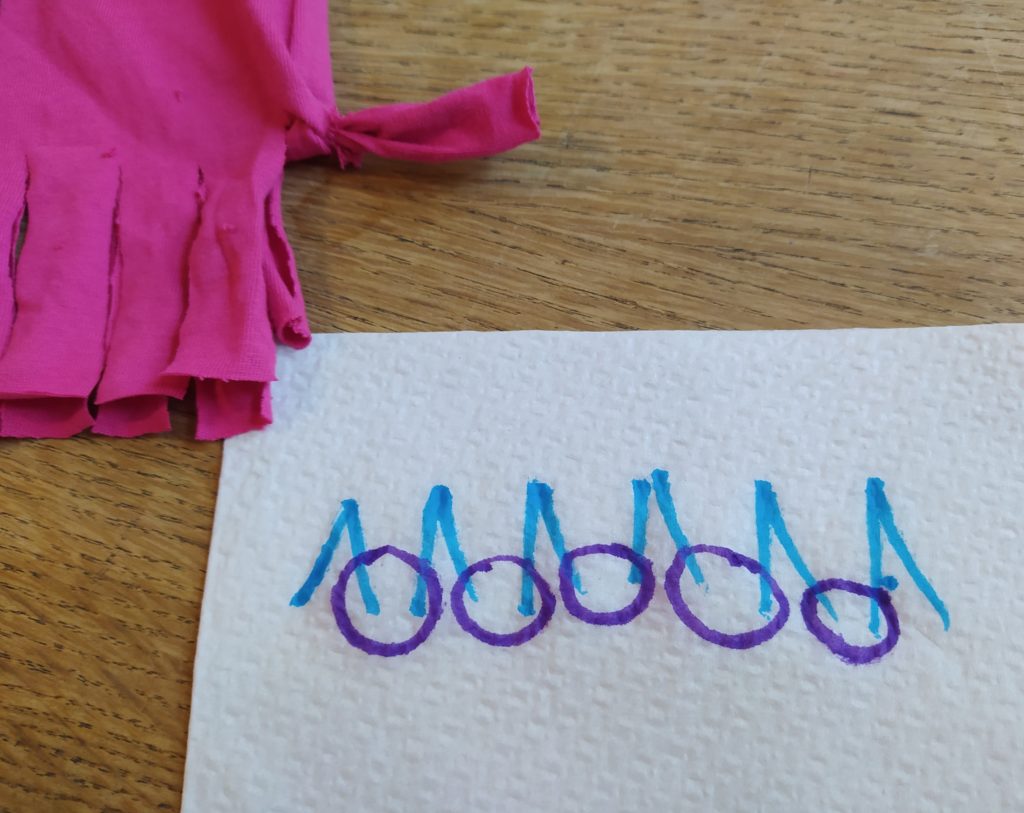
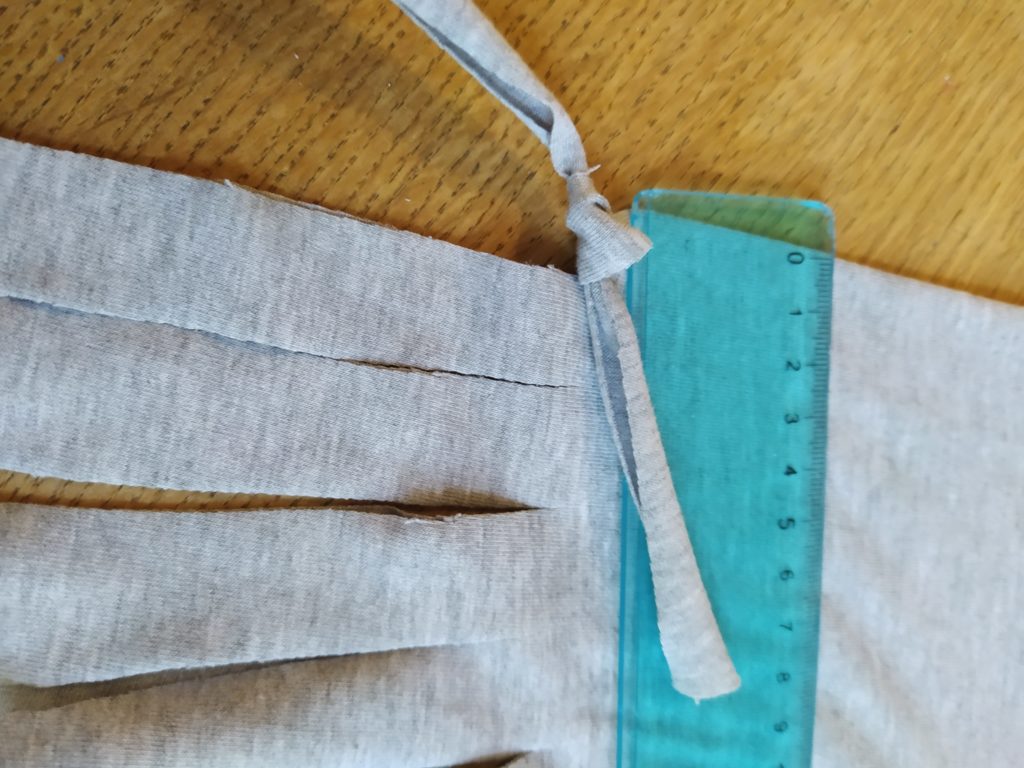
Hopefully this little drawing will help… each strip is a set of two. Tie the sets of two into a knot. Do the first three first. Then tie one strand of each strip from each knotted strip, to the strip next to it. You can understand this easier by looking at the circles in the diagram- those are the strips that need to be tied together.
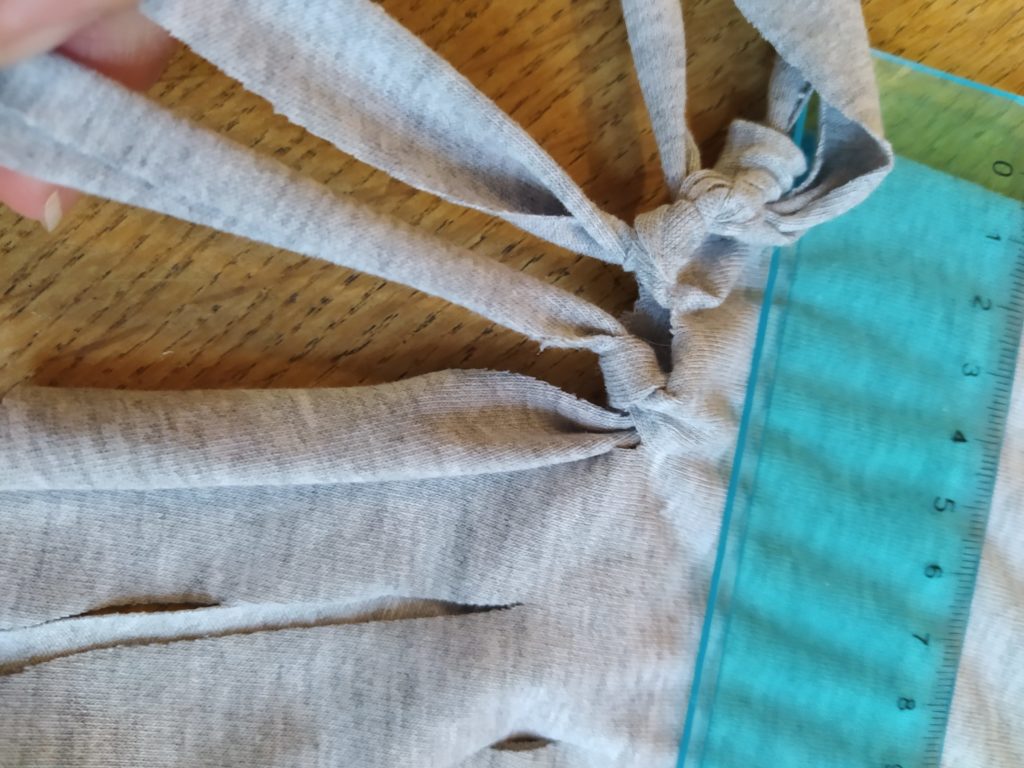
Look at the last image (above) you can see a bit more clearly how the two knotted strips were connected with a second knot.
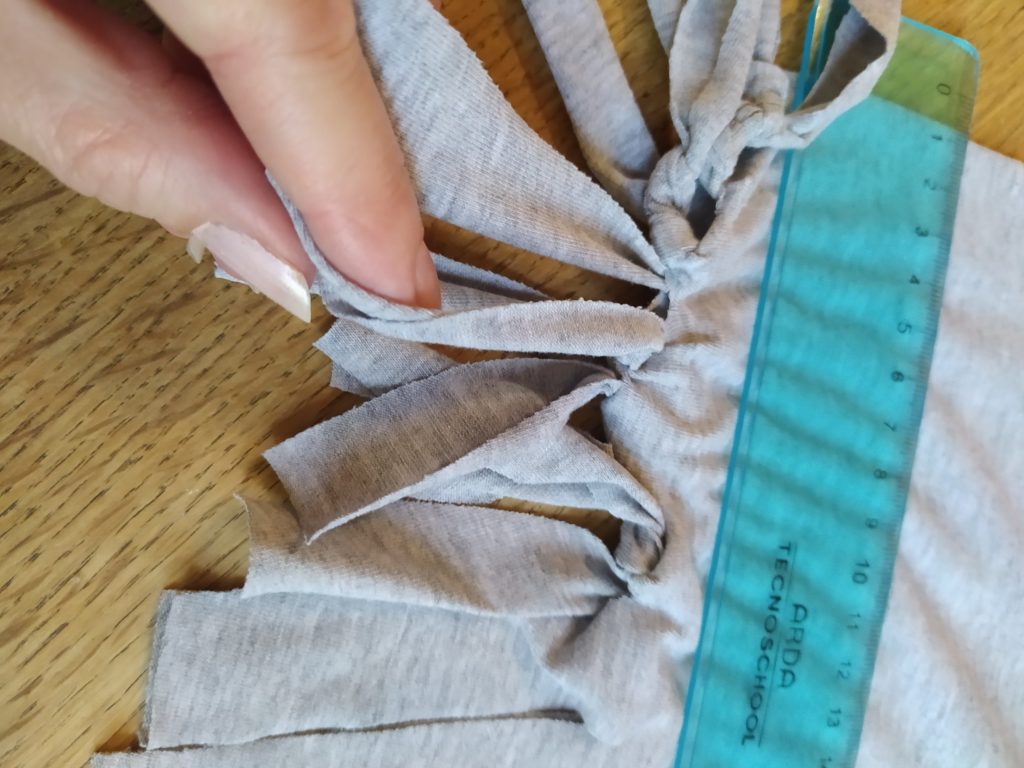
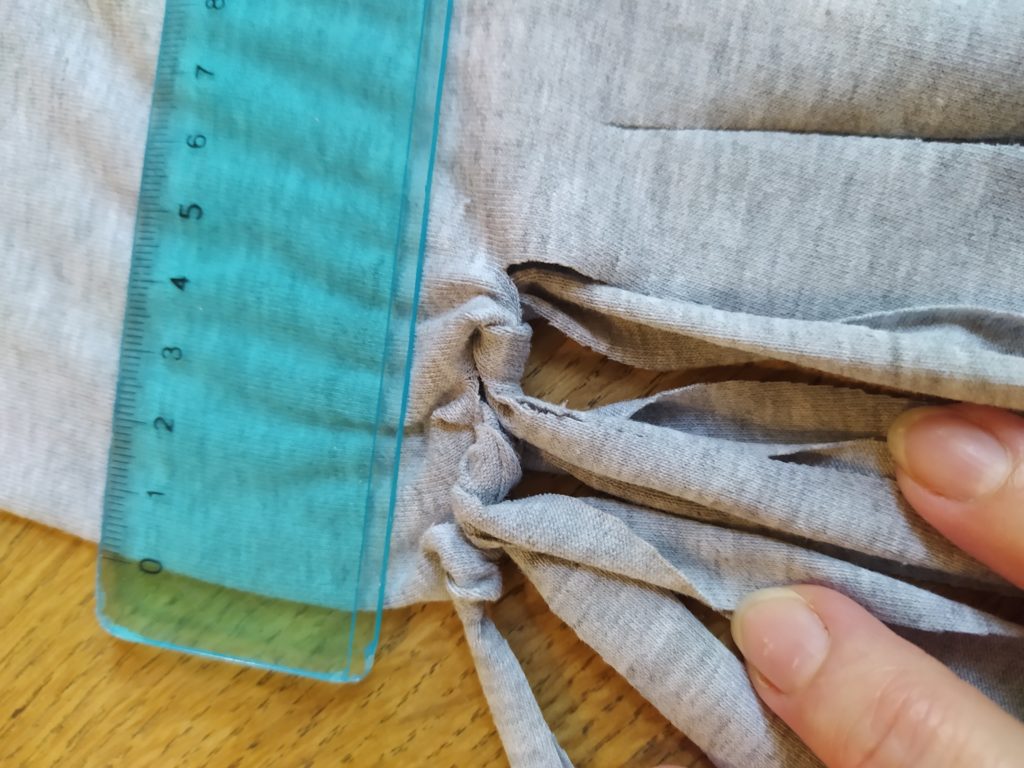
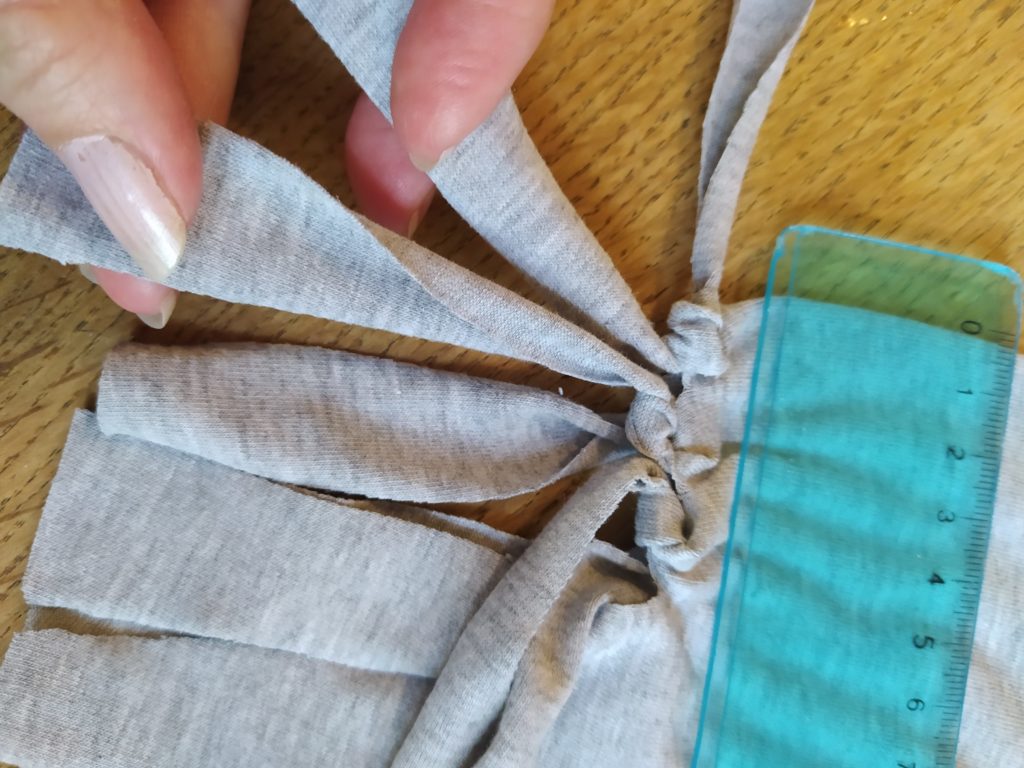
Doing three strips at a time, work your way across the entire t-shirt. Make sure you tie the strand from the knotted strips together with the strand from the knotted strips next to them, otherwise your t-shirt bag will have gaping holes at the bottom of it.
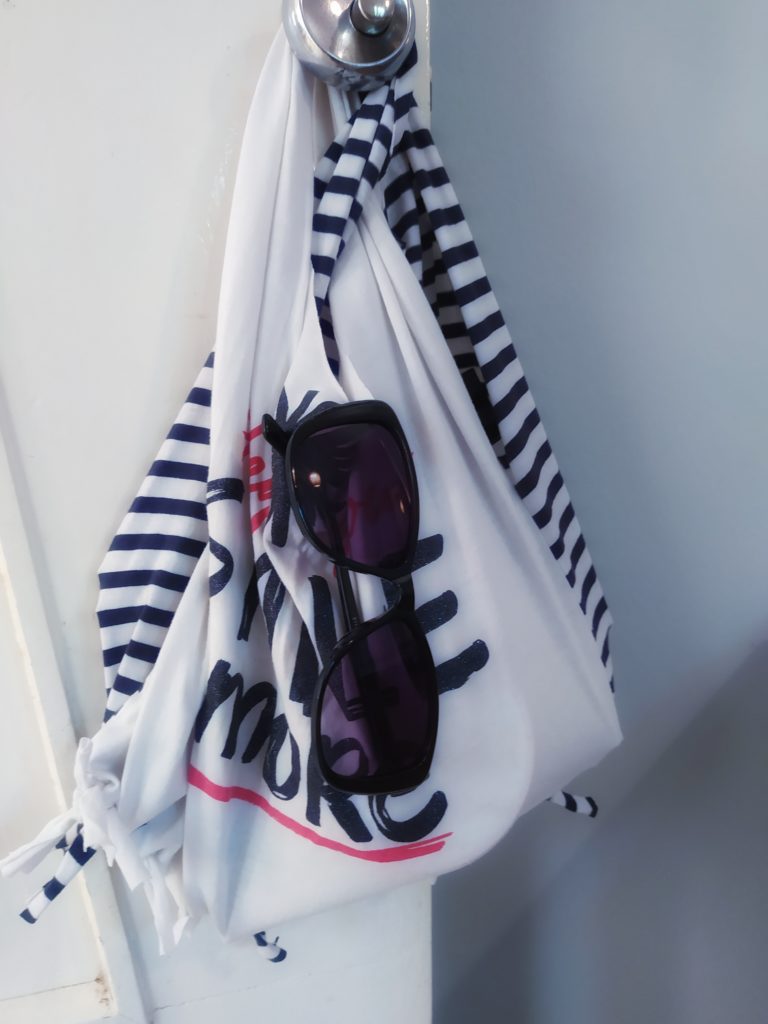
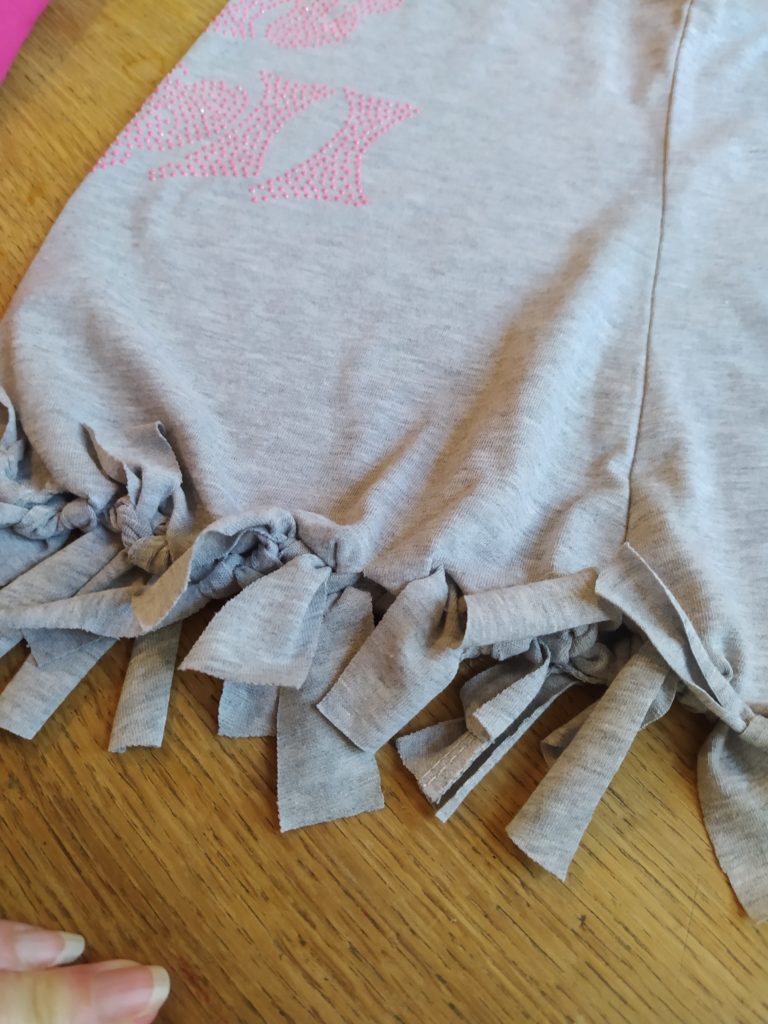
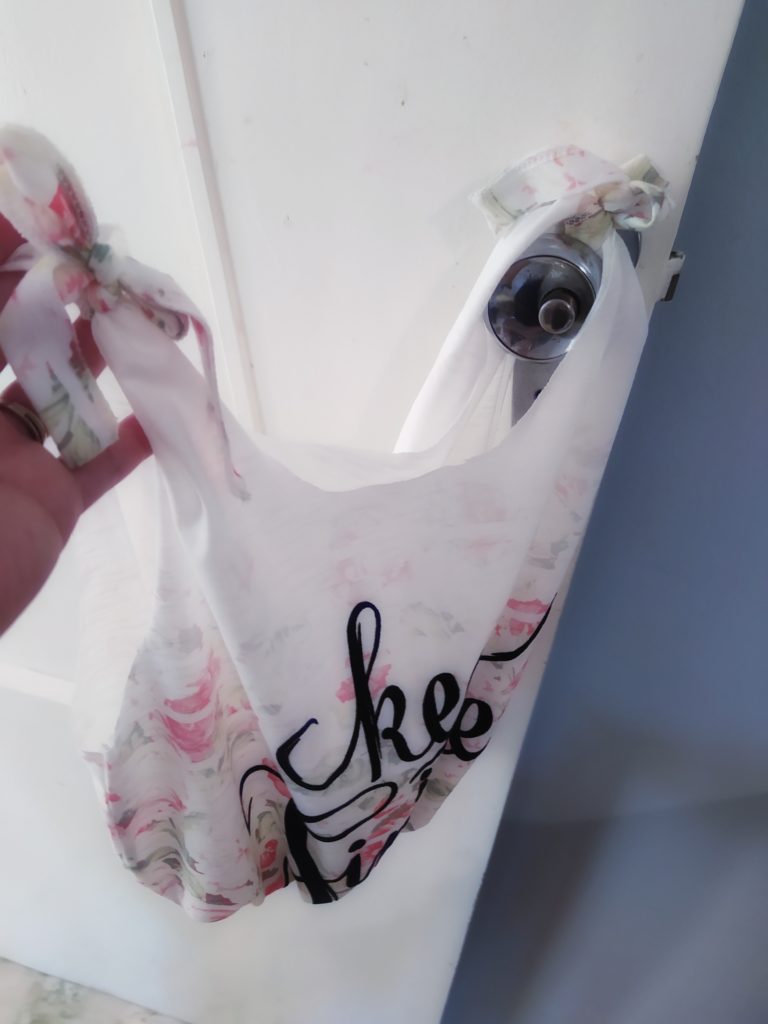
That’s it!! Super easy and lots of fun! Throw in all of your beach goodies and your …
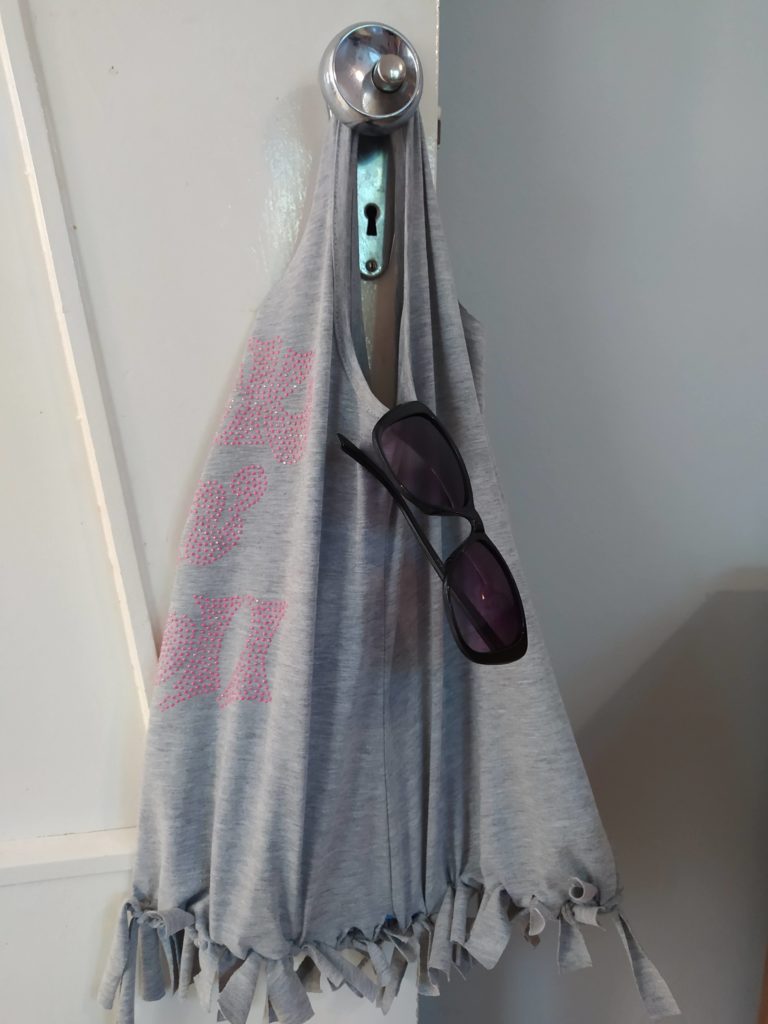
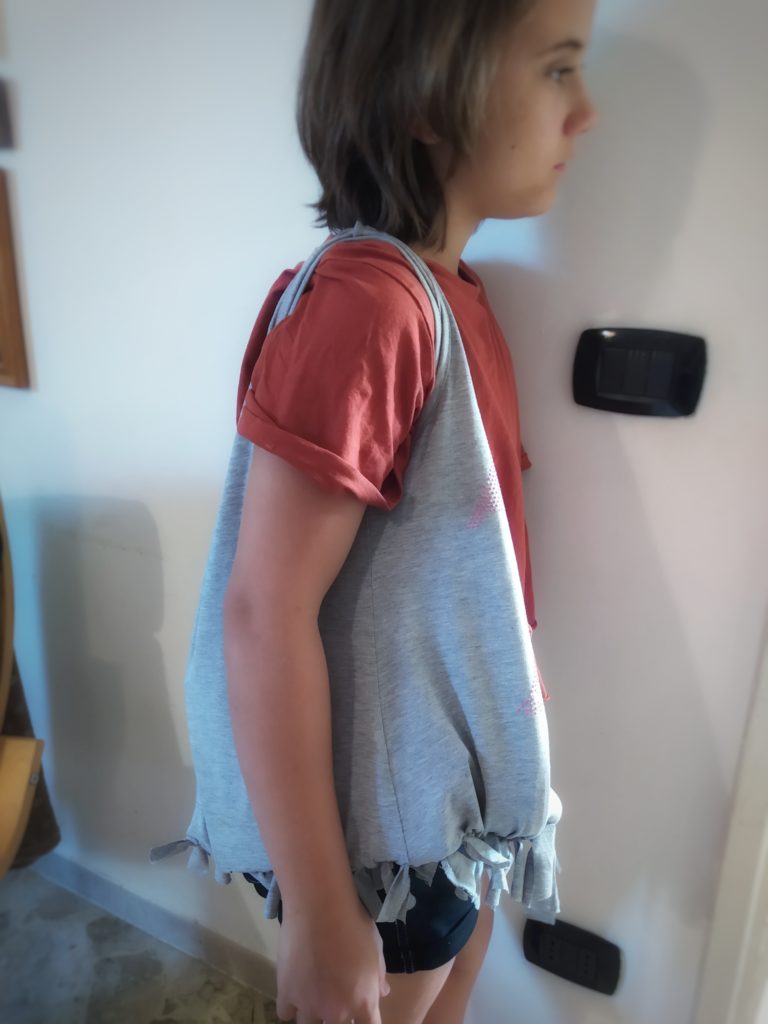
Ready for the beach!!!!!
Beach Bag 2:
Grab an old t-shirt. Make sure it is a long one. Short t-shirts will not work for this project, because your purse will end up being to shallow.
Begin by lining up all of the seams.
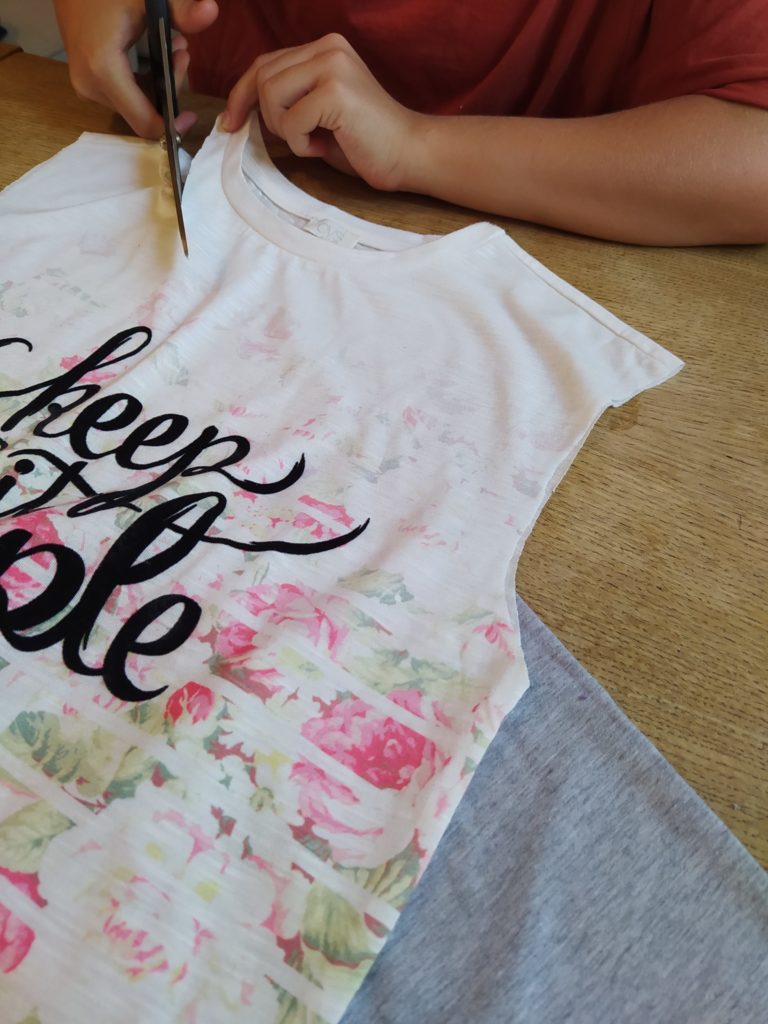
Next cut off the sleeves of your t-shirt. You want to cut off the seams (see photo).
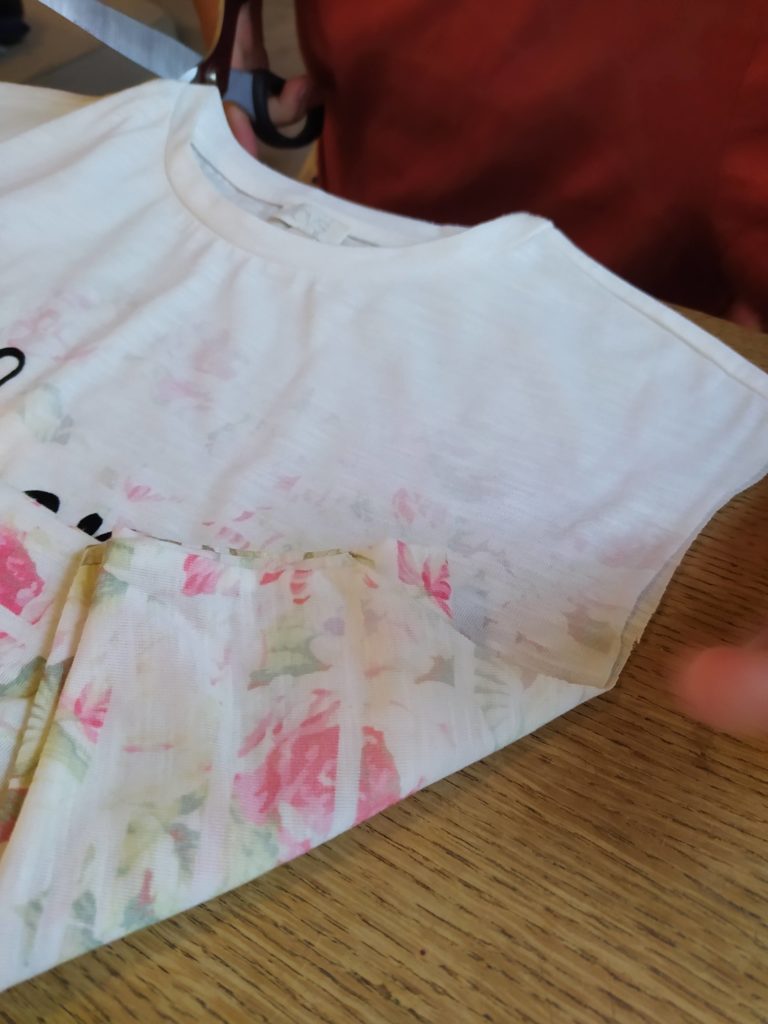
Next cut off your collar. We did a freehand oval shape, but you can also use a large round object to trace and cut out a circle.
Turn your shirt inside out for this model! Align all of your seams. Now cut off the bottom seam. Begin cutting your strips in the same way that you did for Beach bag 1.
Knot off your strips just like you did for beach bag one.
Next turn your shirt back right-side-out! The knots will create a cute gathered seam, but in this model you do not see them on the purse!
Use the bottom seam of your shirt that you cut off to tie cute bows around the straps of your bag!
That’s it! You’re ready for the beach, or the spa, or for a day out!
Happy creating!!
Welcome to Dolceamericana

I’m Carli. An event stylist, self-taught baker, and imperfect Mamma of 3!