DOLCEAMERICANA.BLOG

No-sew Hair Scrunchies
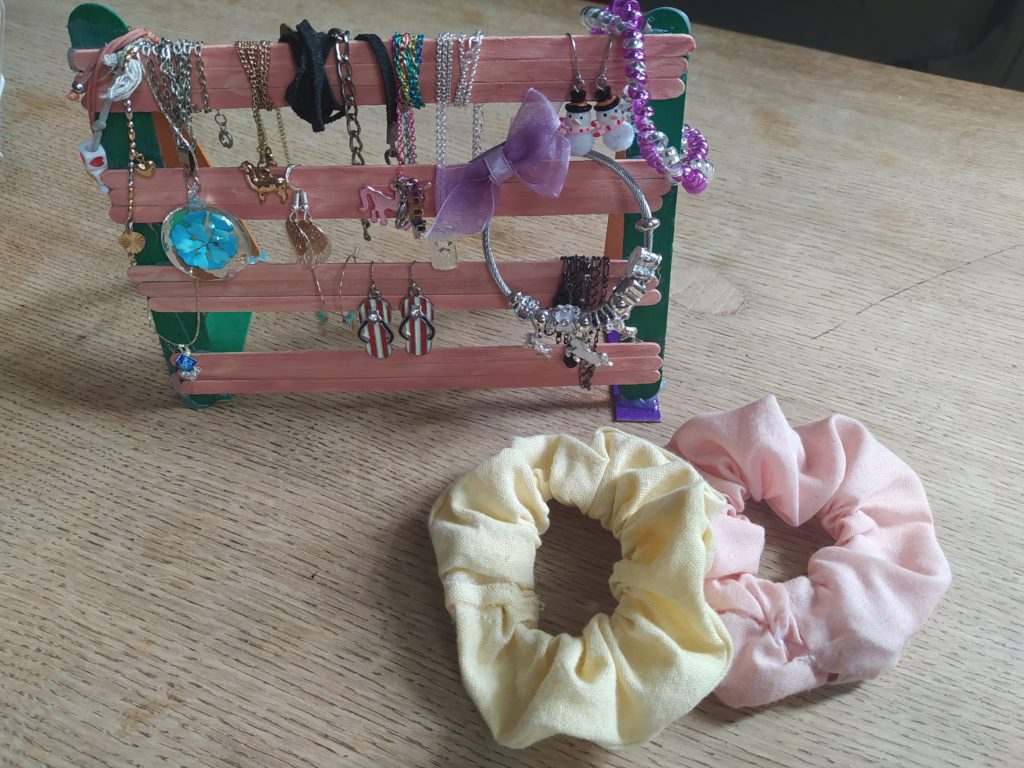
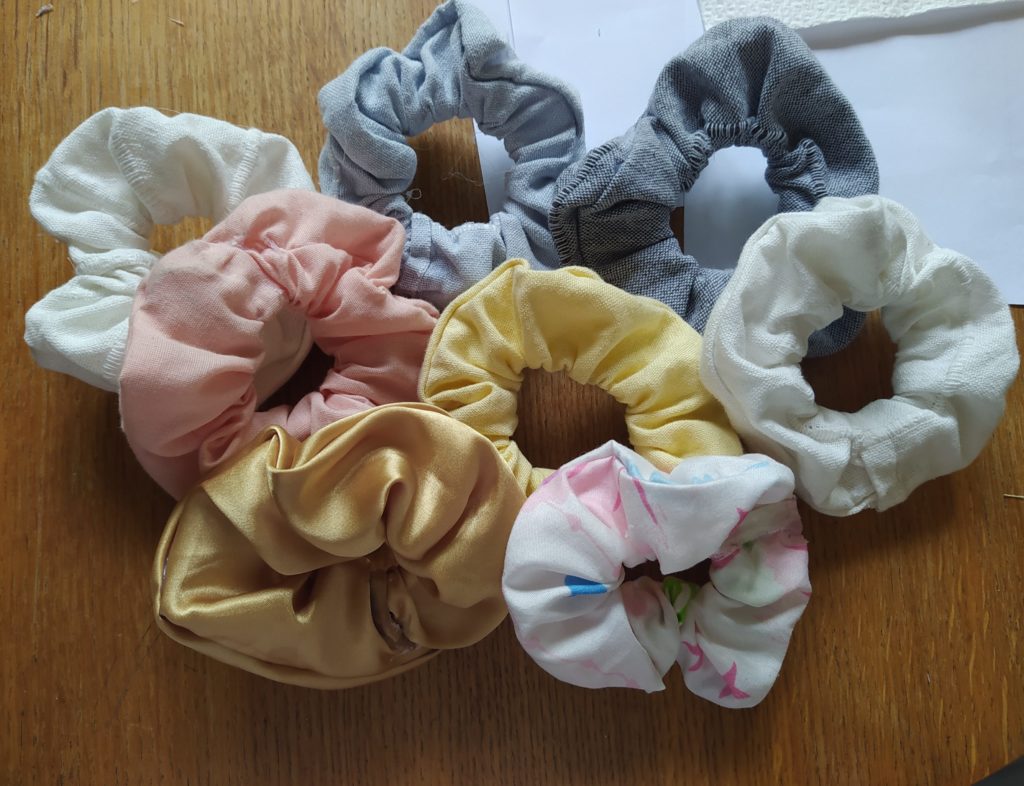
Hair scrunchies were so cool when I was young! In fact my Mom and I used to sew them together. They eventually came back around…they say fashion repeats itself. So here we are 30 years later and my girls love hair scrunchies too.
So my youngest figured out how to make hair scrunchies with no sewing involved. And needless to say she has made about 400 by now.
They are adorable and functional and take just a few simple steps.
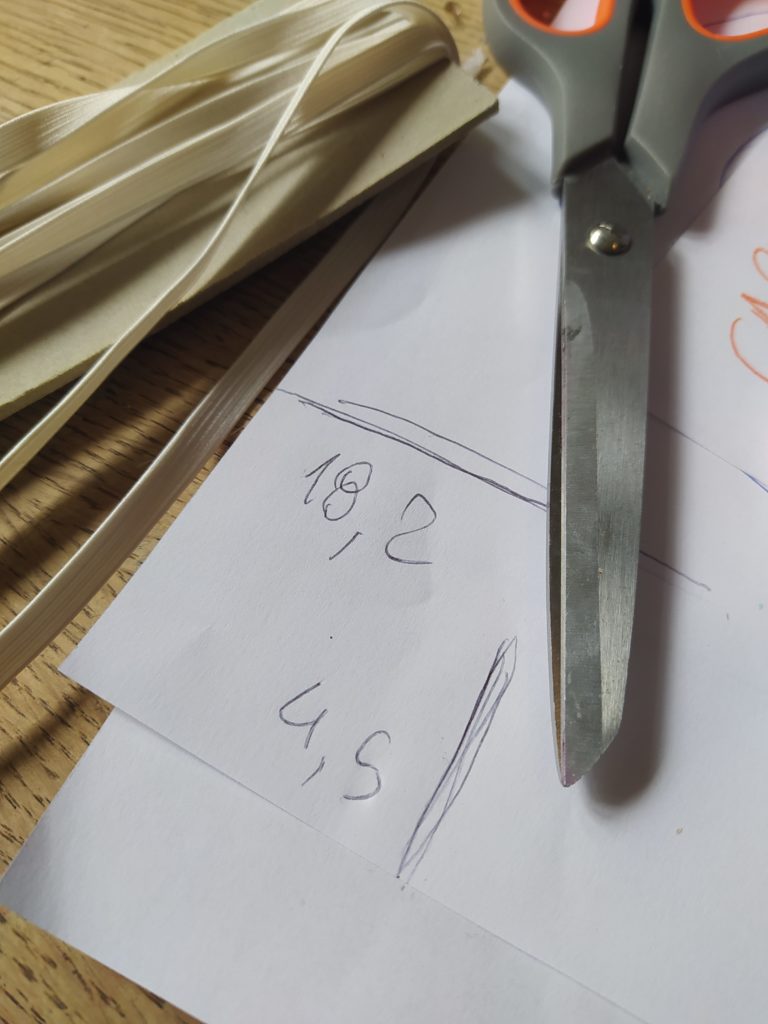
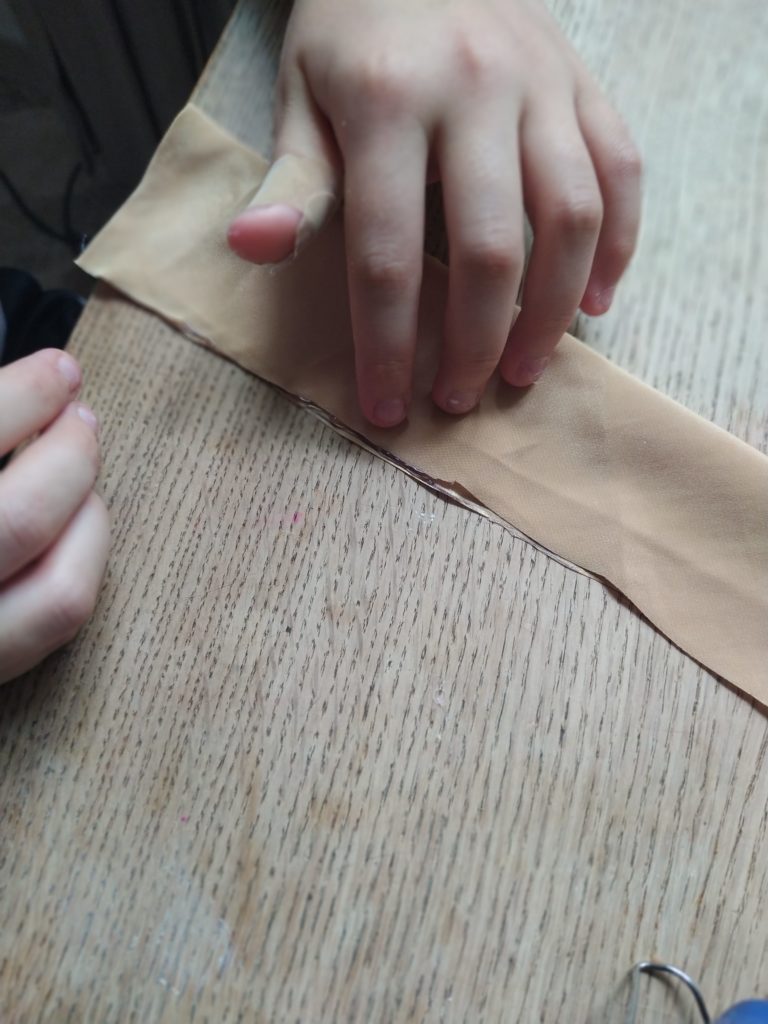
STEP 1:
Cut out your fabric. Your piece of fabric should measure 18 inches x 4 inches.
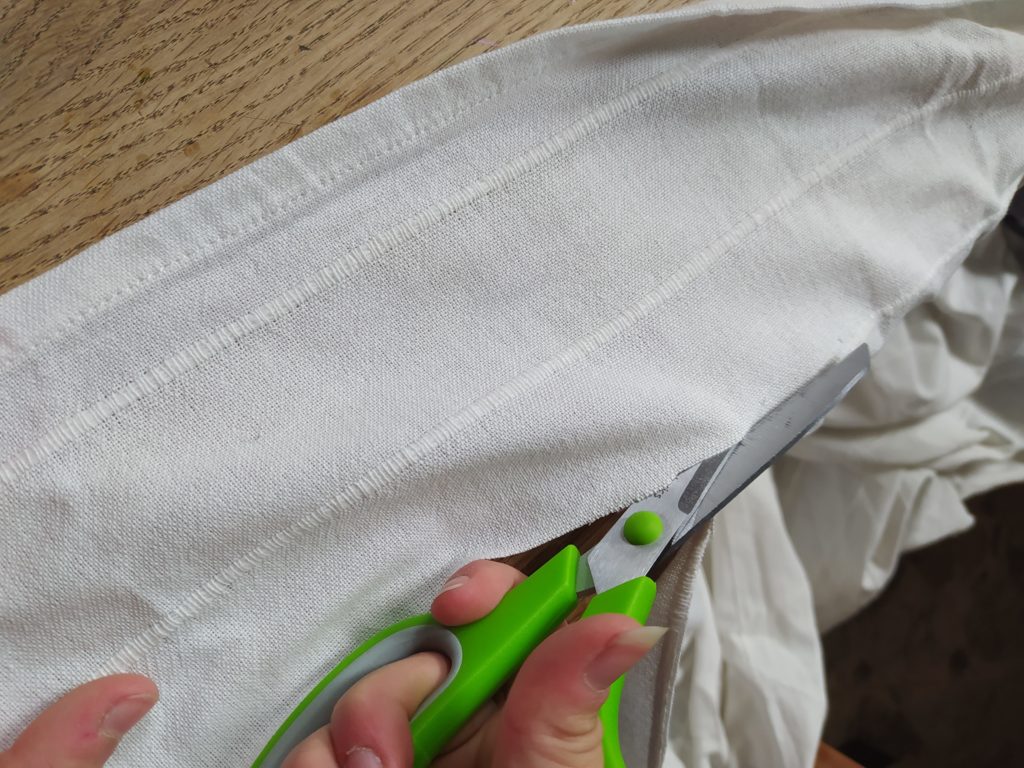
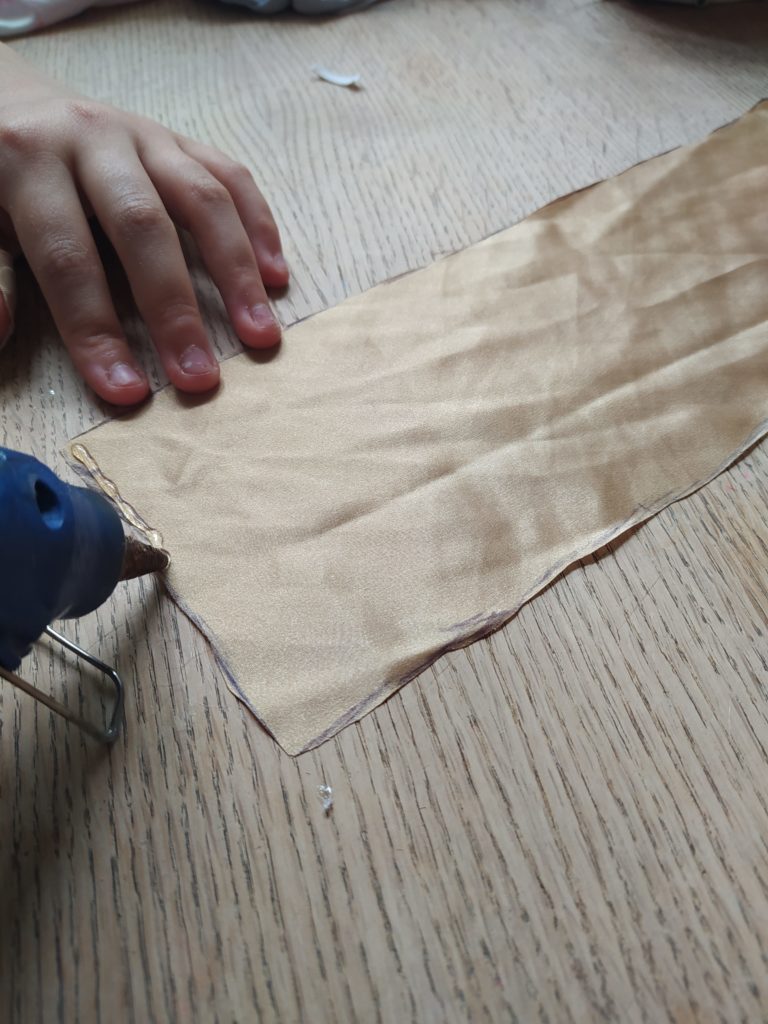
STEP 2:
Glue the ends of your fabric under. In order to strengthen your material, make sure your ends are straight and create a smooth edge, fold the two farthest ends of your fabric over and use a hot glue gun to glue them down.

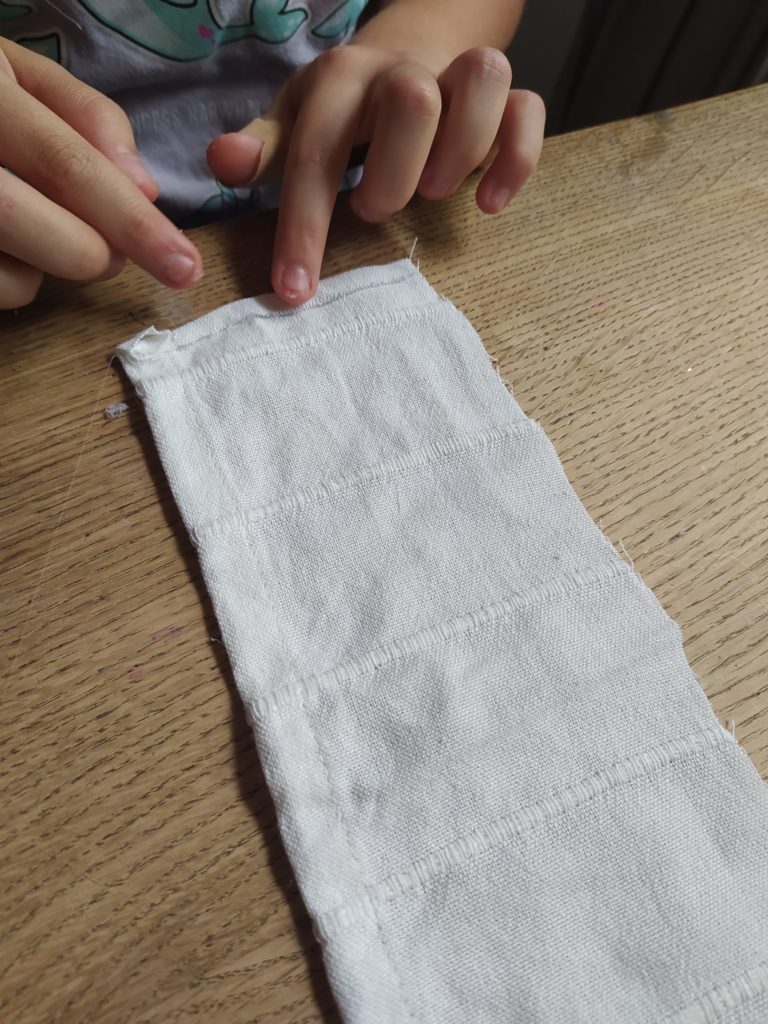
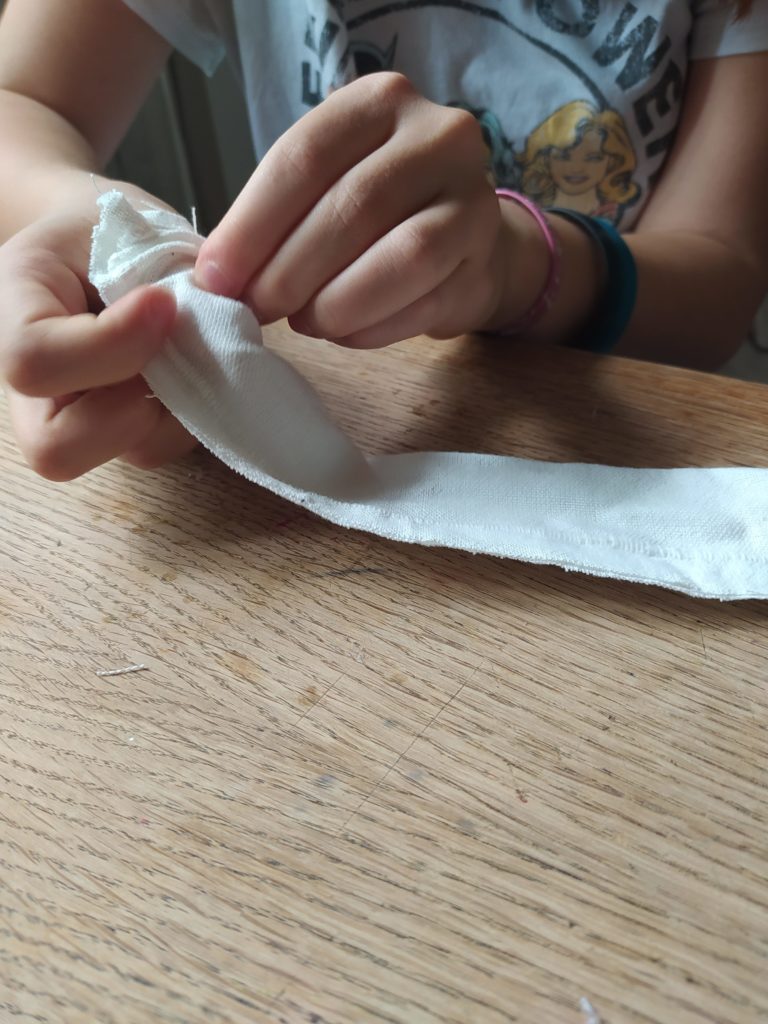
STEP 3:
Fold your fabric in half lengthwise, maintaining the full length of your fabric. Make sure you fold your fabric so that the good side/finished side of your fabric is on the INSIDE of your fold. Use the hot glue gun to glue the edges of the fabric (lengthwise) together. Allow it to cool/dry completely.
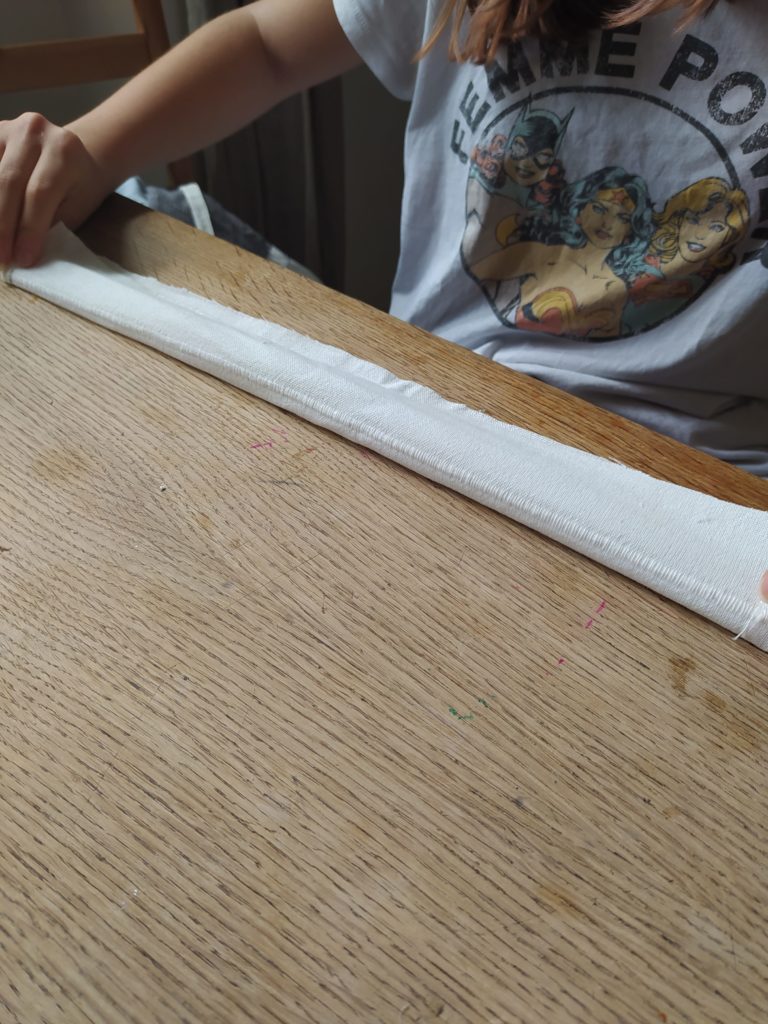
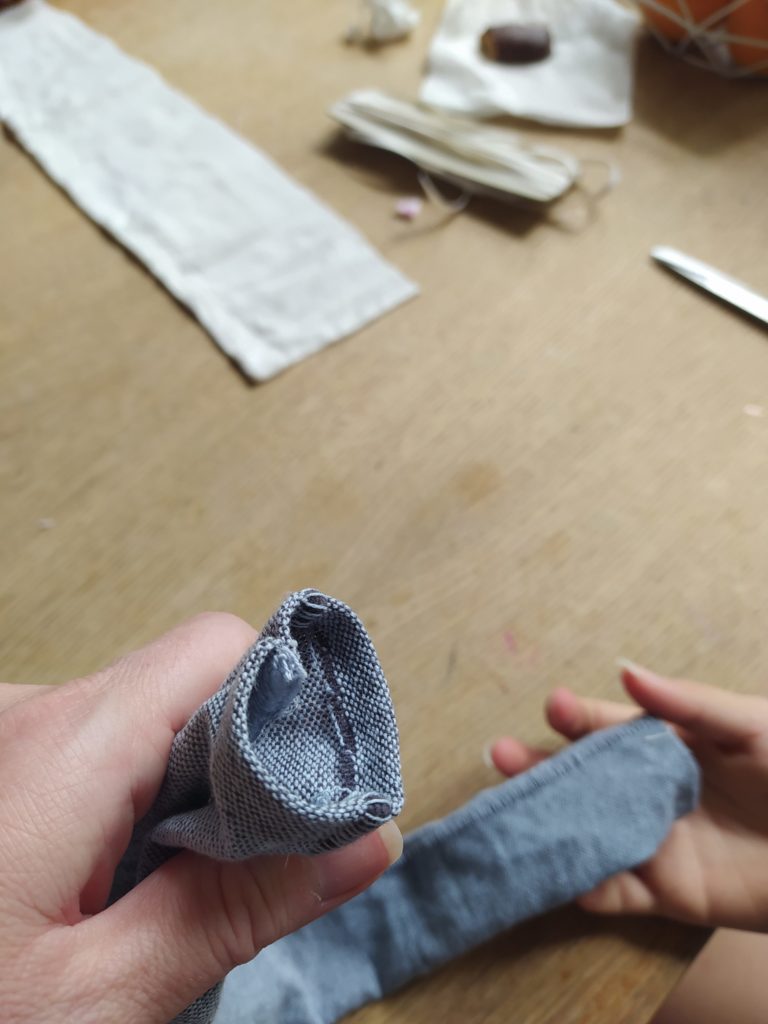
STEP 4:
Turn your glued piece of fabric right-side-out.
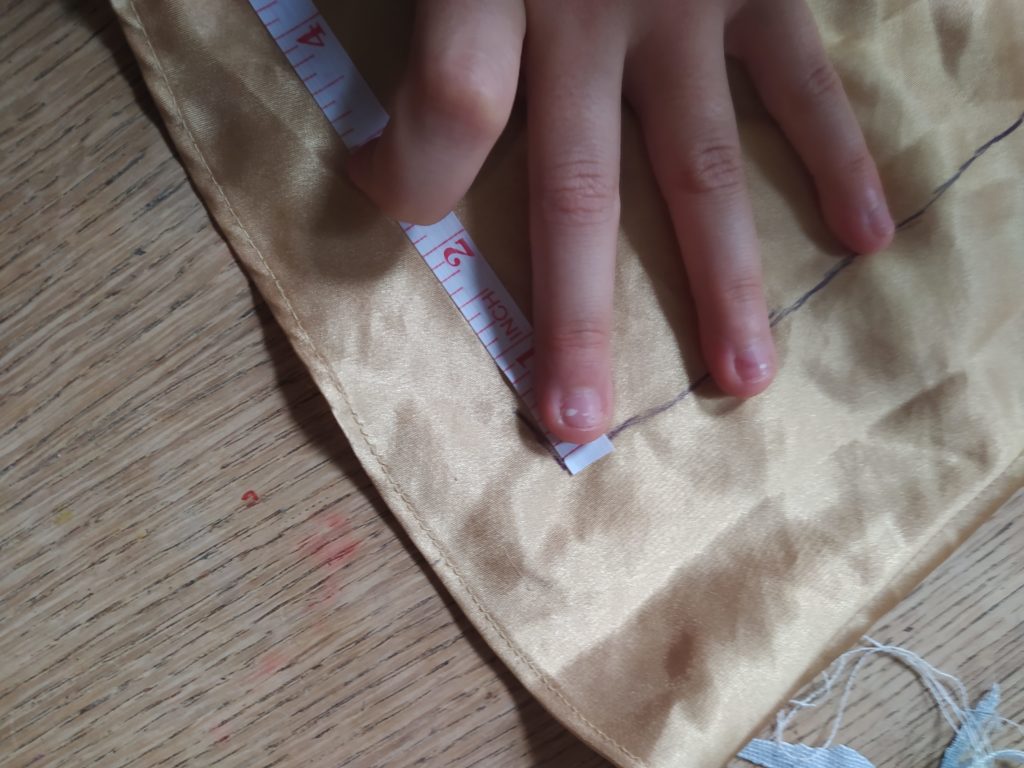
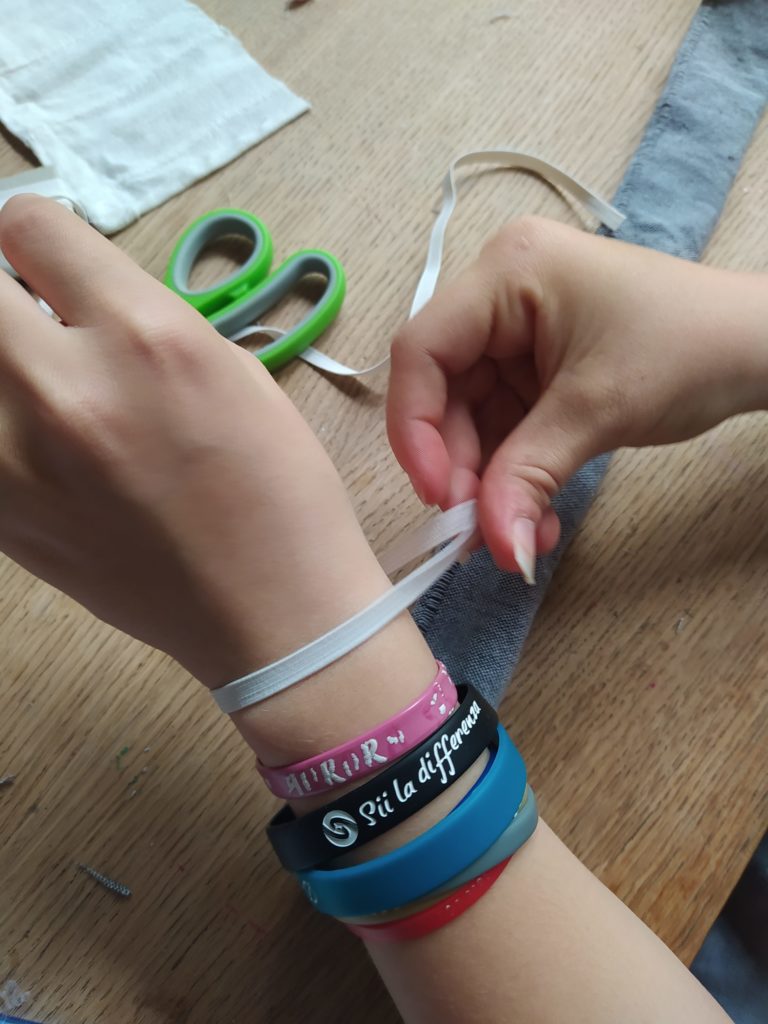
STEP 5:
Measure your elastic. It should be approximately 2 inches longer than the length around your wrist. Pull the elastic through your hair thing.
When you have hold of the elastic at both ends of your fabric, tie your elastic together in a knot or sew it together with a needle and thread.
STEP 6:
Carefully glue the two end of the fabric together. Allow your hair scrunchie to cool and dry completely before using it!

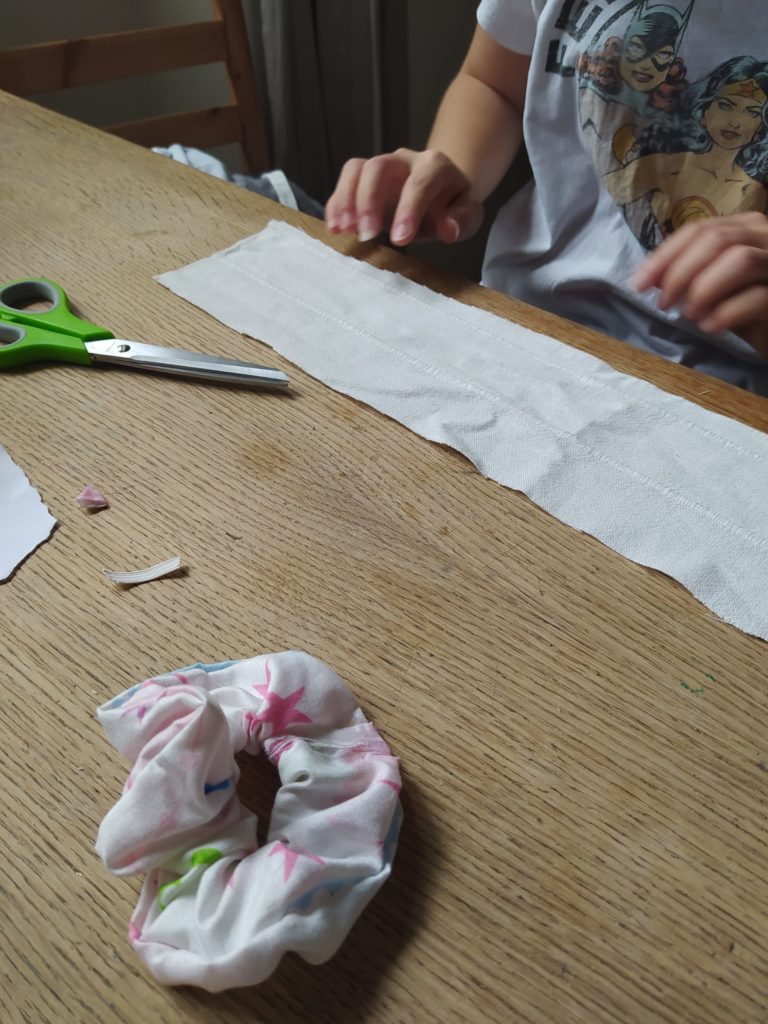
It’s an easy project for older kids and one that they can do by themselves without adult supervision! It’s also a great way to use up old fabric scraps! Or even to reinvent a favorite old shirt that doesn’t fit anymore!
Happy creating!
Welcome to Dolceamericana

I’m Carli. An event stylist, self-taught baker, and imperfect Mamma of 3!