DOLCEAMERICANA.BLOG

Easy Paper Mache Creations
These creations are easy and fun to make with older children! And you need few supplies that you likely have laying around the house!
Material:
- White School Glue
- Paper towels or tissue paper
- Aluminum Foil
- Acrylic Paint
- Other decorations to add to your creations (glitter, construction paper, tissue paper, googley eyes, pom poms, etc).
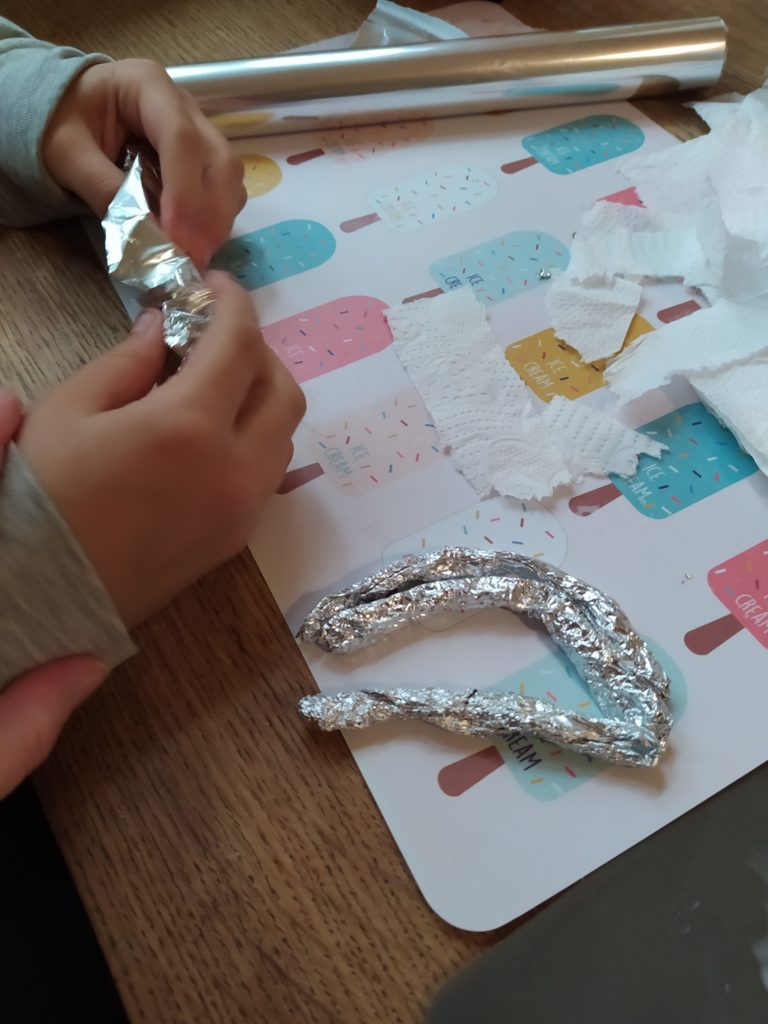
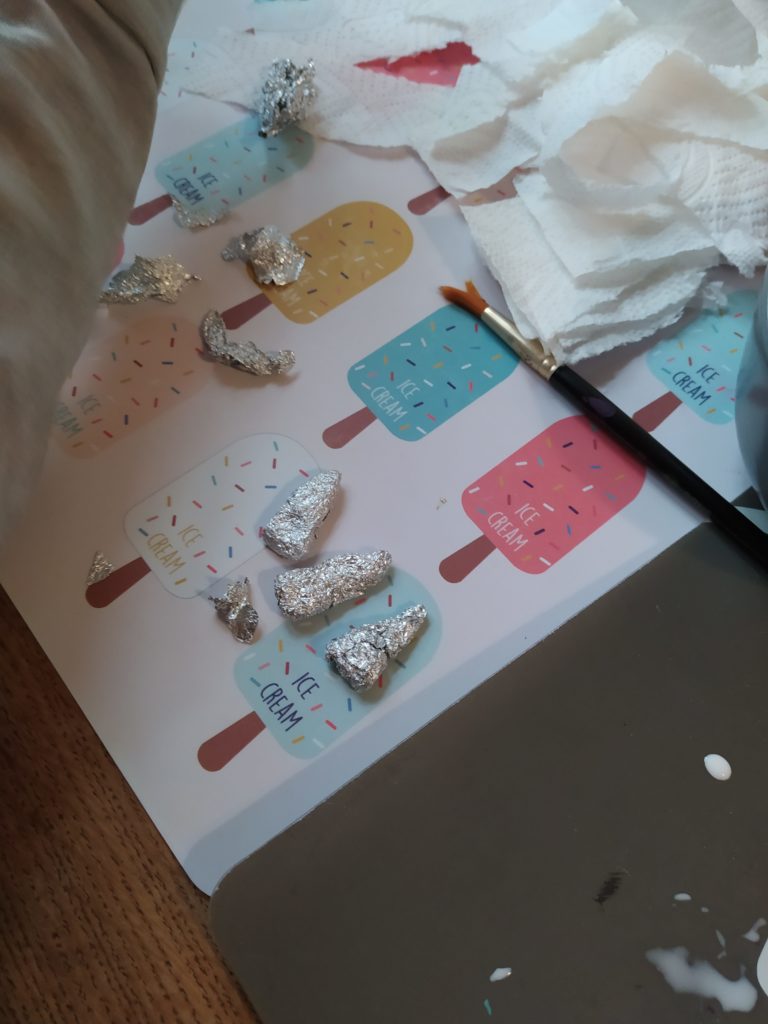
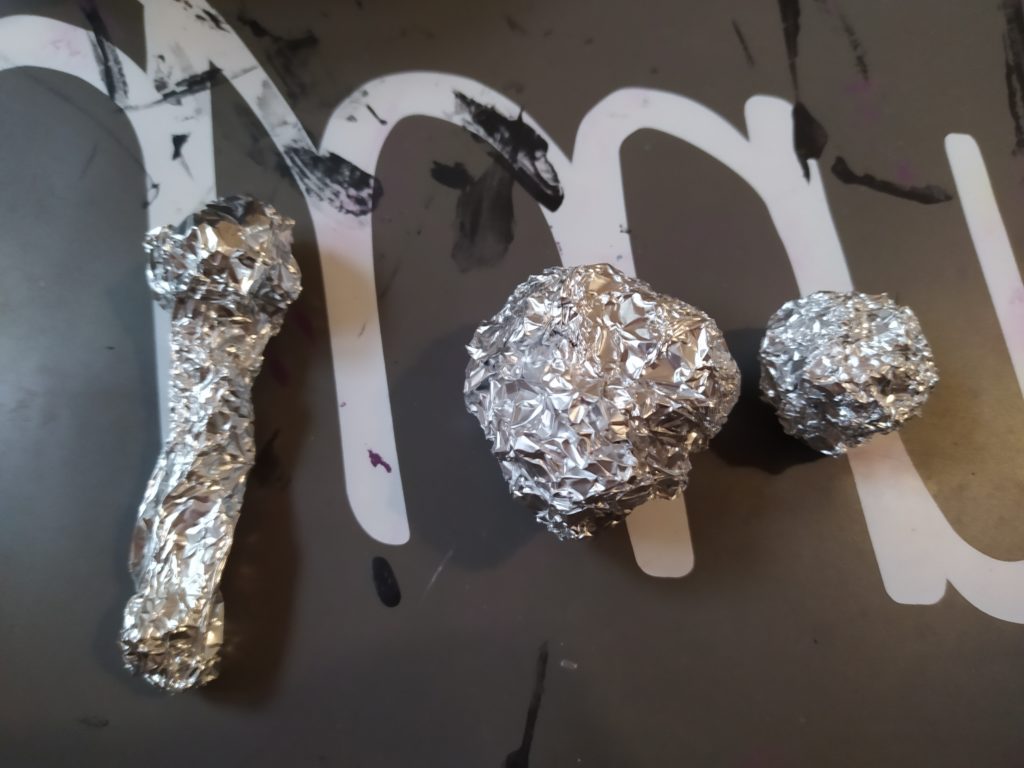
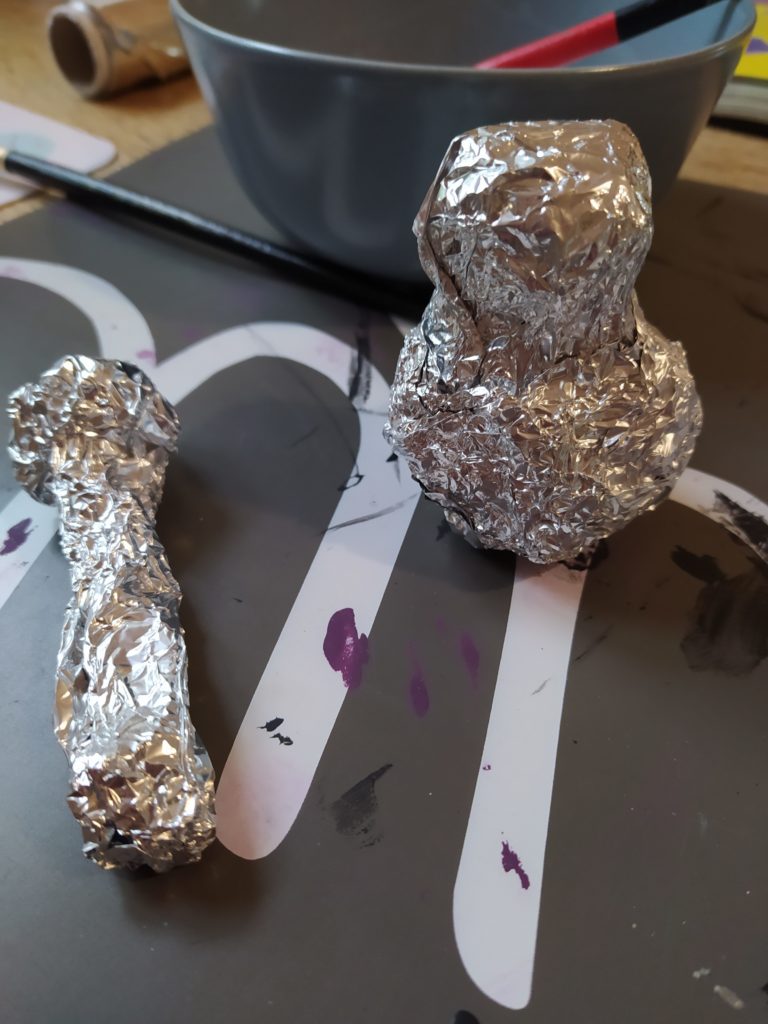
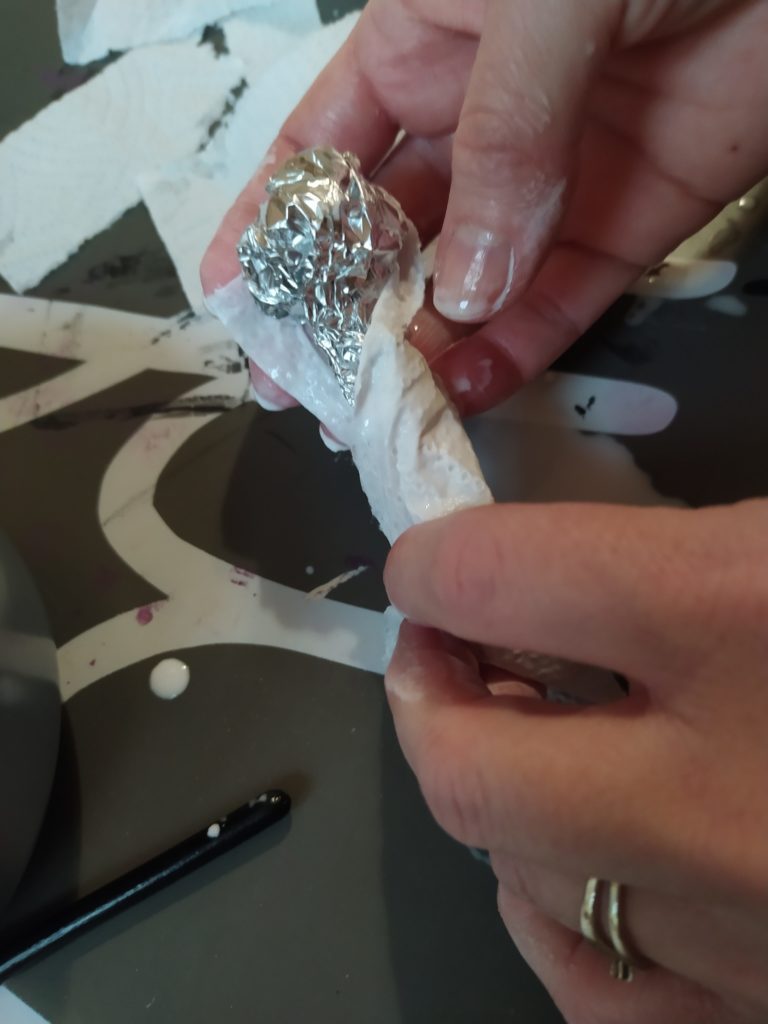
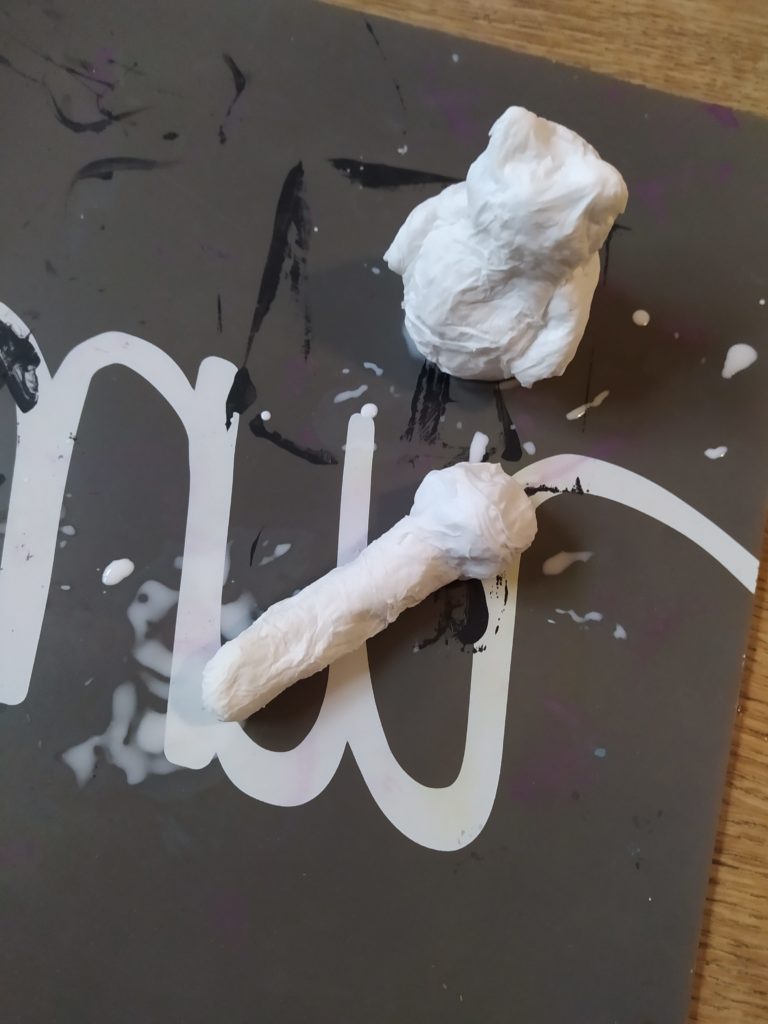
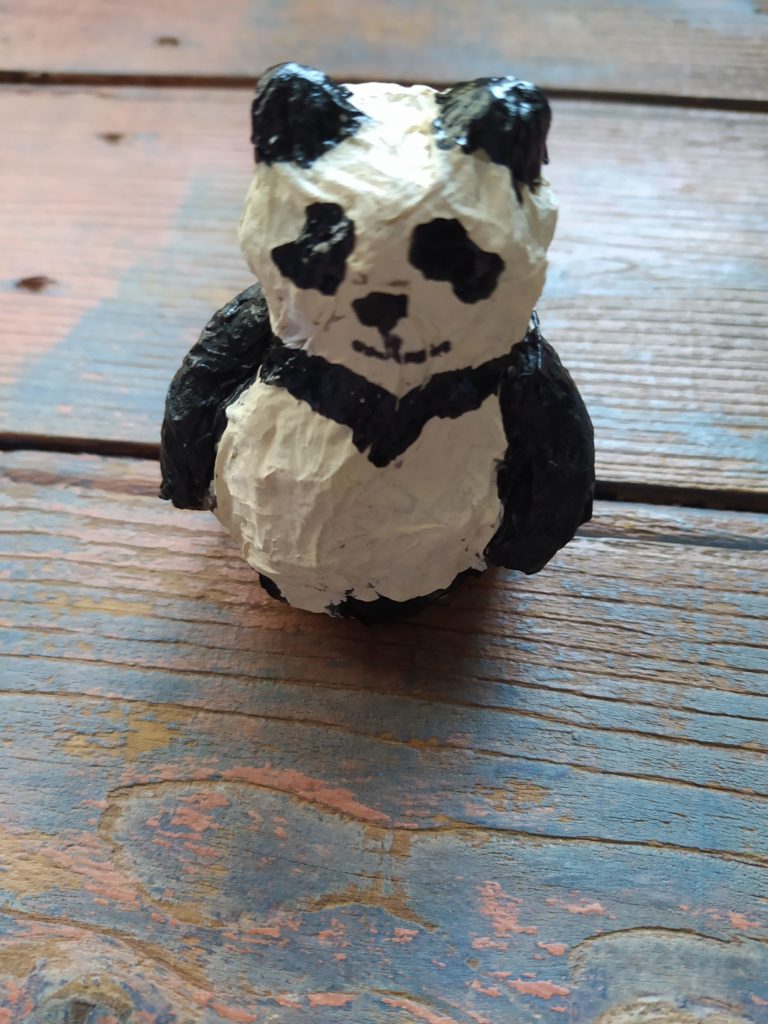
Begin by ripping out 12×12 sheets of foil. Take your sheet of foil and mold it into the shape that you need to create your animal or creation (see photos below). You can tear the foil into smaller pieces to make shapes to add on to the larger body. For example: A larger ball for the body of your bear, a smaller ball for it’s head, and two small sausage like shapes for his arms. Or a long snake-like shape for the body and a ball for the head of a butterfly body (wings can be made later with paper or tissue paper).
Then to connect the various parts of your body, or shape, lay another larger piece of foil on top of the shapes to hold them together. Make sure to compact the foil tightly into the shape you create.
Next make you paper mache “glue”. We used 3 parts white school glue to 2 parts water. Mix your glue and water well in a ceramic bowl. Lay out mats for you to work on.
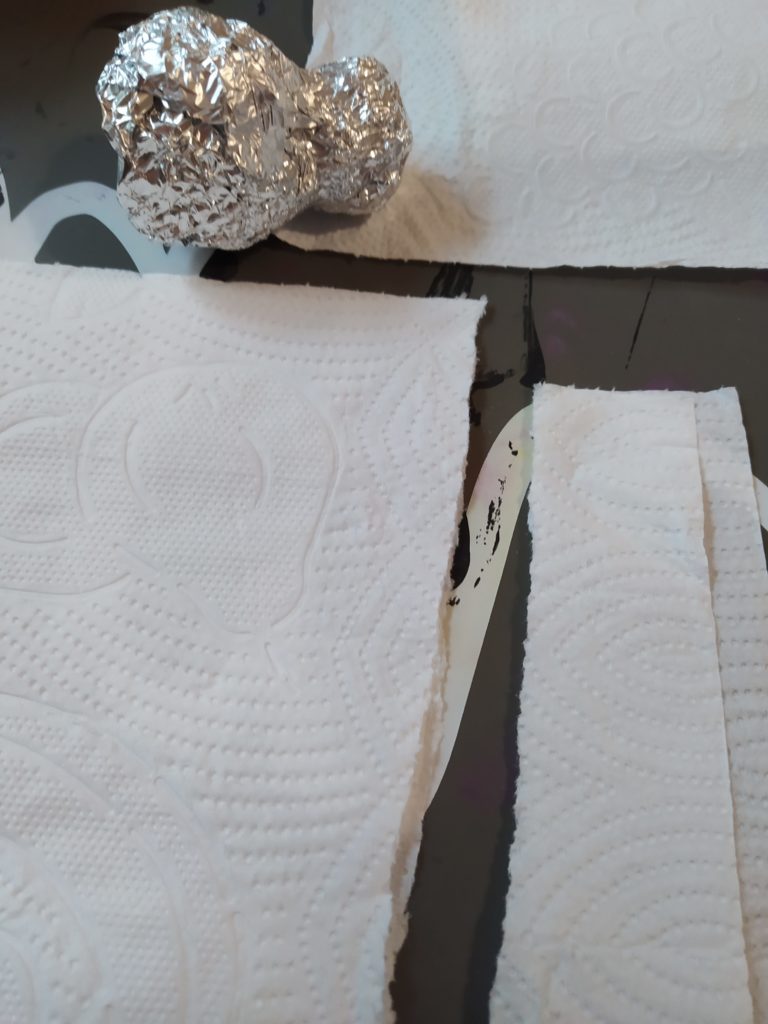
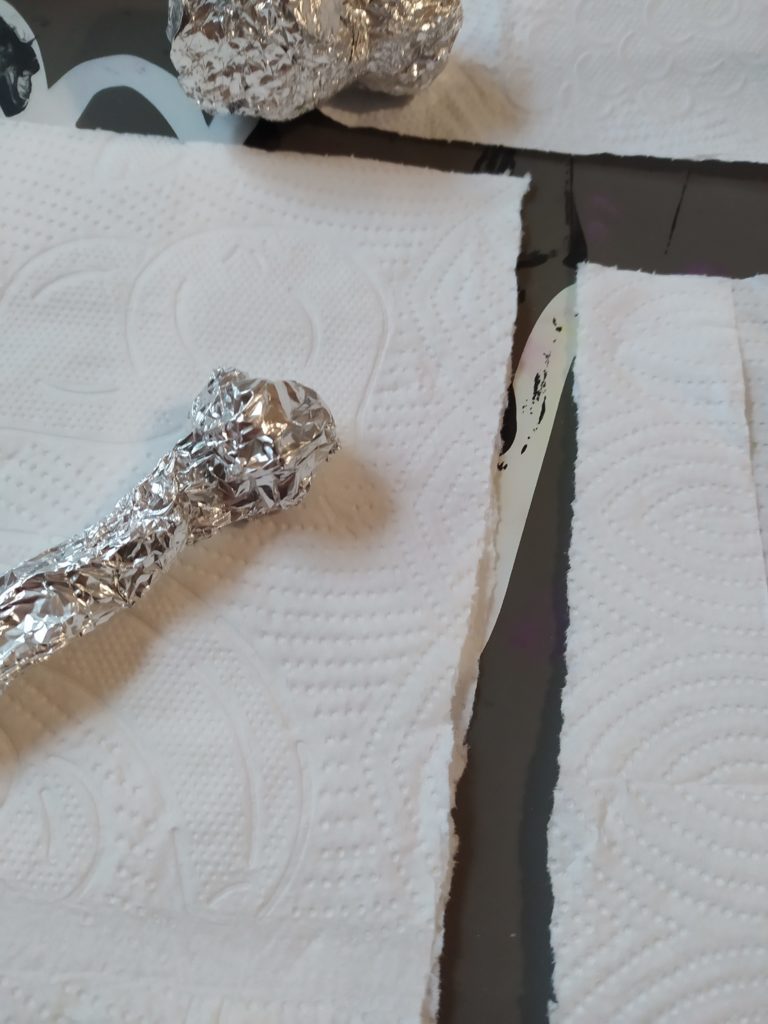
Tear up strips of tissue paper or paper towel and place them in a pile next to your work space.
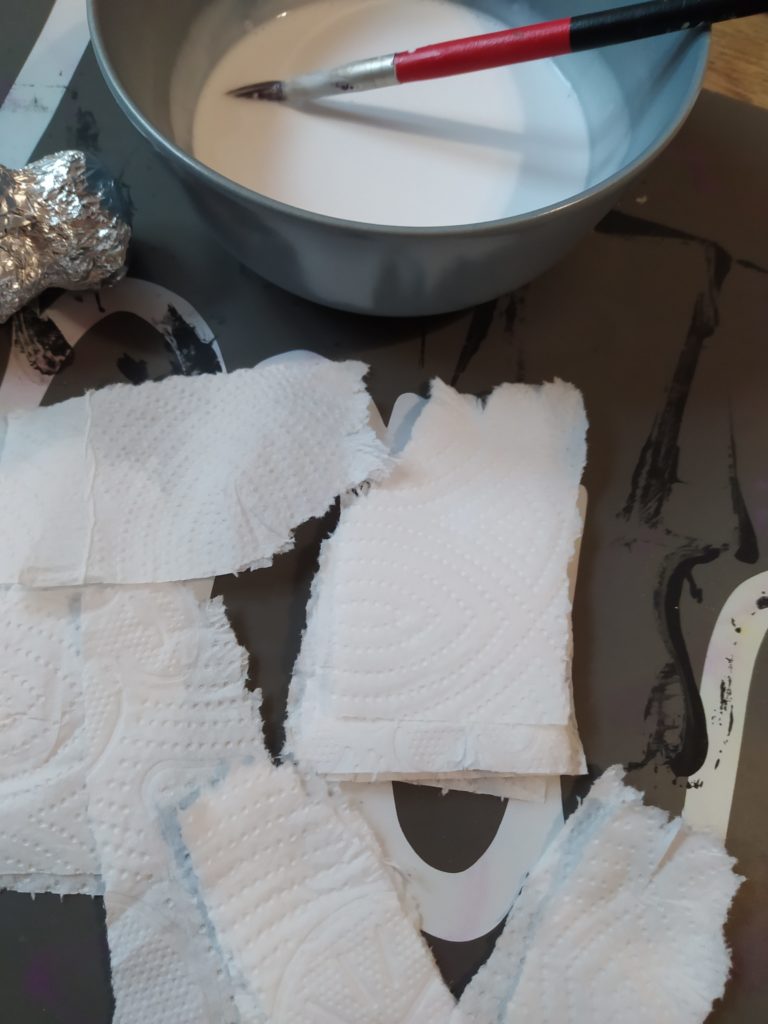
Now begin covering your creations. Dip the tissue paper/paper towel into the glue and coat it lightly. Then smooth it over your creation. The more smooth you make the foil, and then the mache, the more smooth your creation will be when it dries
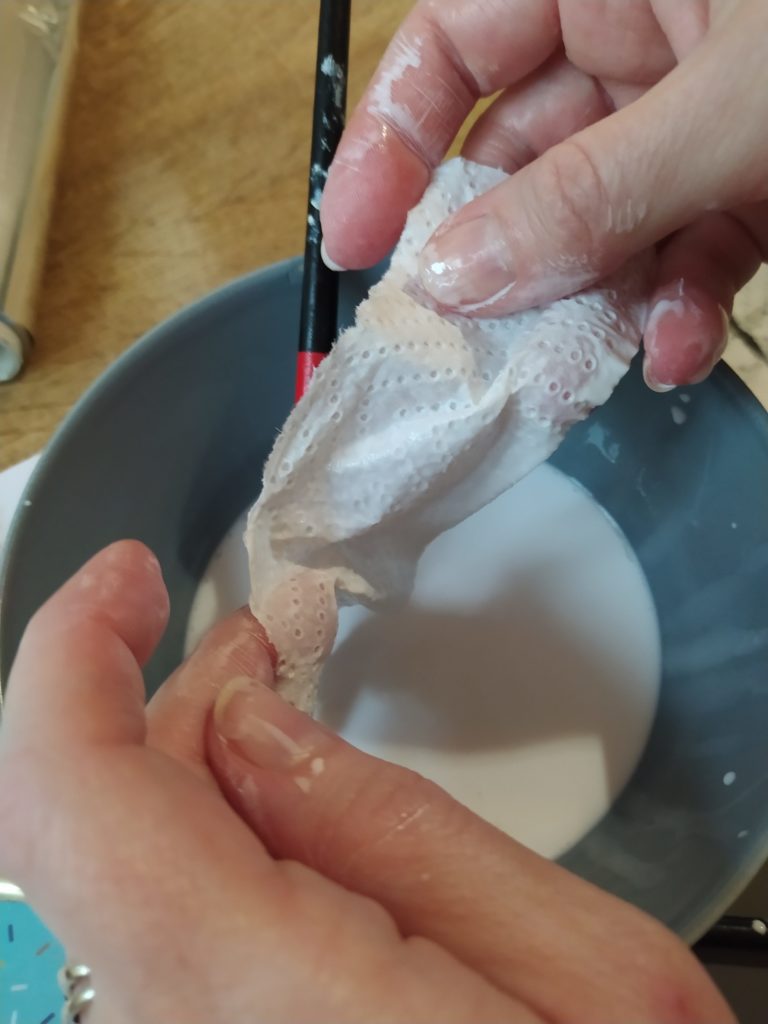
Make sure that your creation is well covered, with no aluminum foil showing through, and then add a second layer of mache over the top of the first layer, coating your creation well! Before you add the final layer, you can add small shapes in the glued tissue paper as well. For example: the ears of the bear were made from the glued paper towel and not from foil.
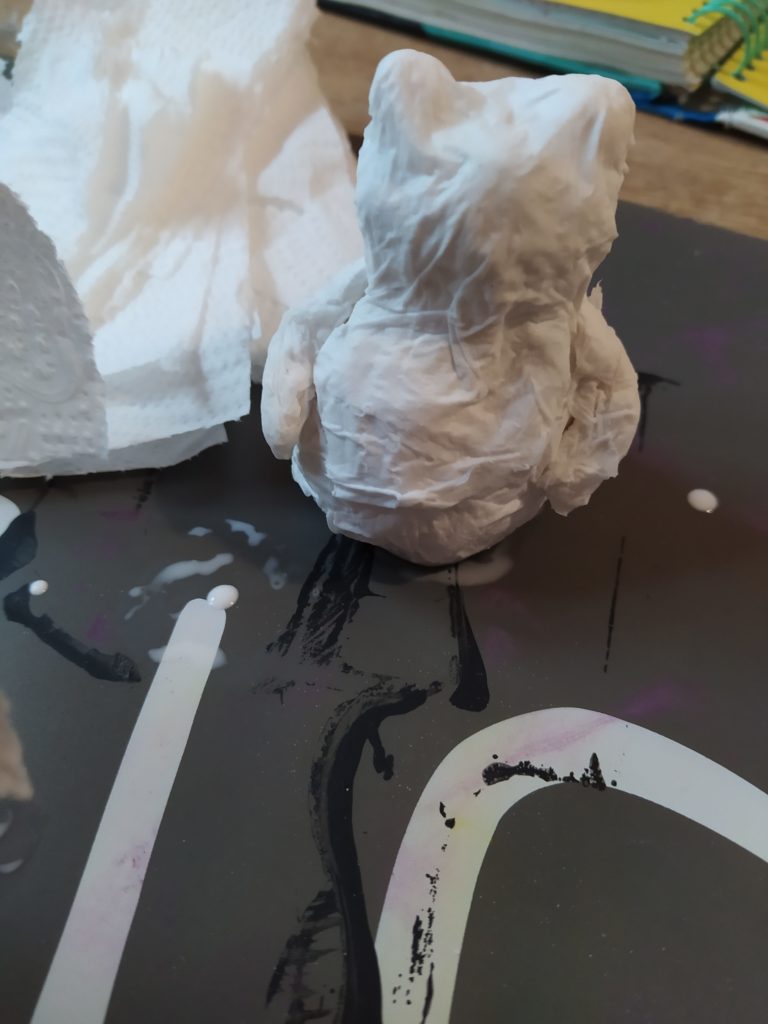
When you are done coating your creations, try to smooth it out as much as possible with you fingers and cover any dry patches with glue using your fingers or a paint brush.
Set in a warm, dry place to dry COMPLETELY.
Our took 2 days to dry, because we made them on rainy days. It depends on the weather and the house, but make sure it is dry before you start painting.
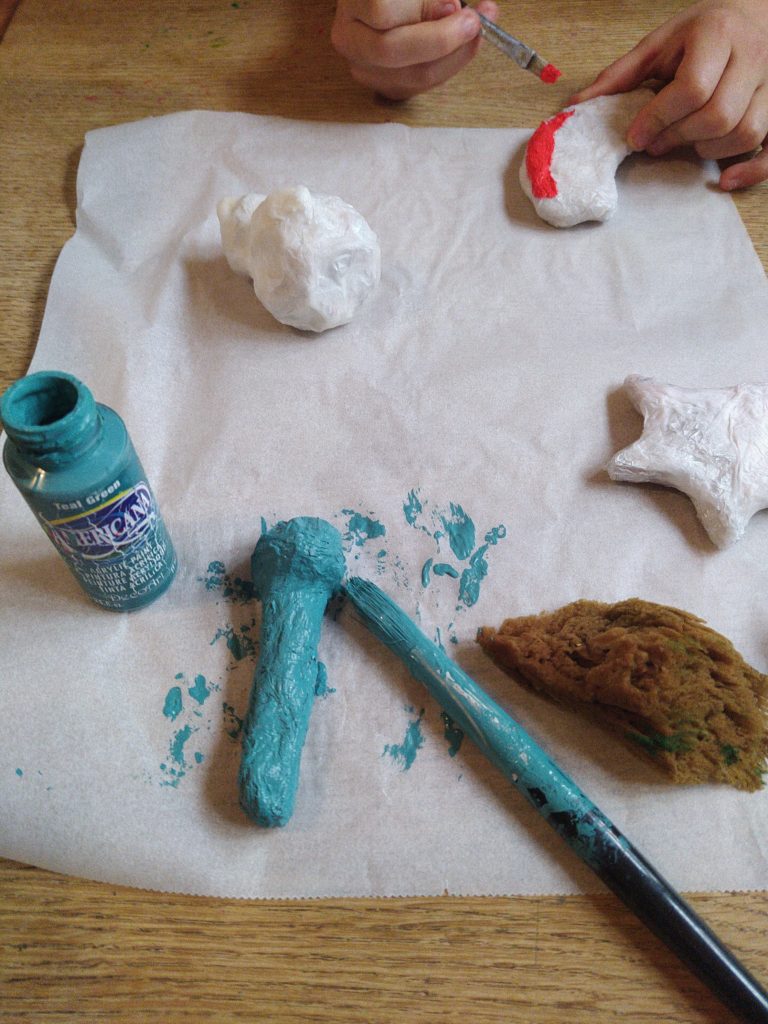
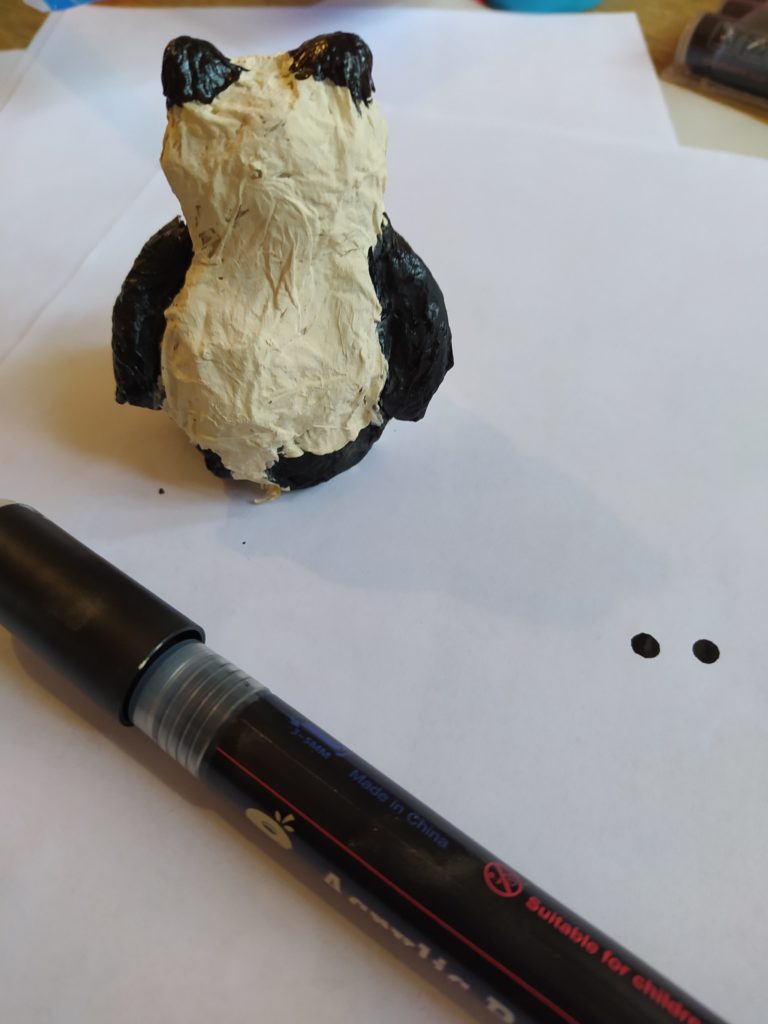
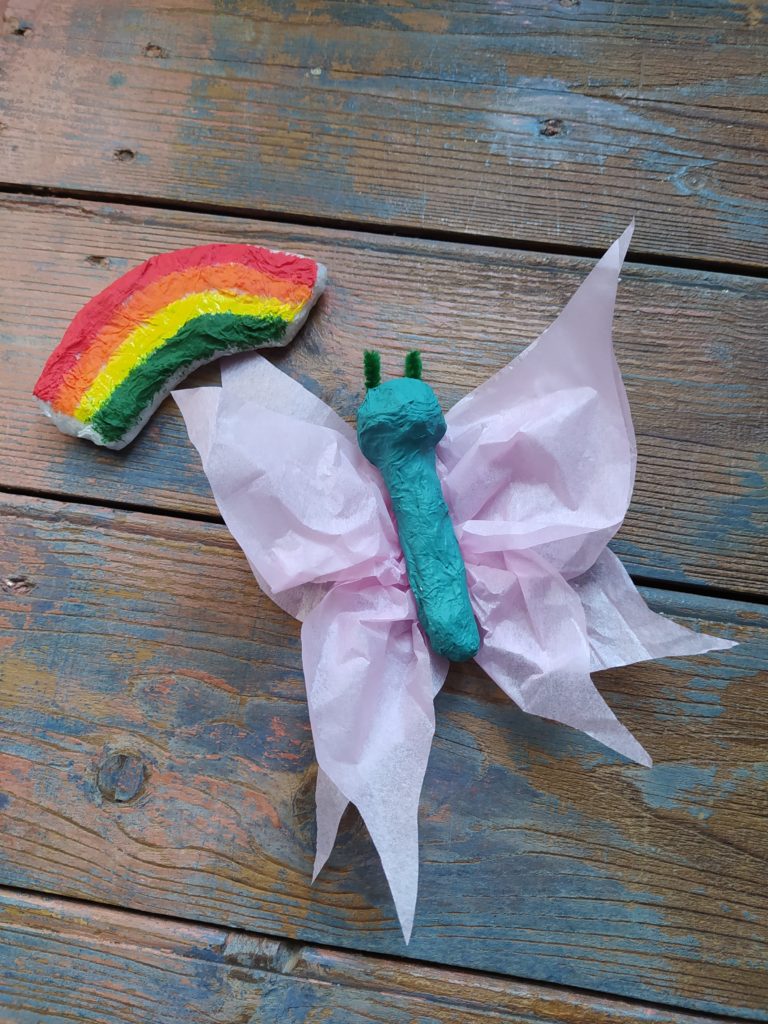
Paint your creation! You may need to paint more then one layers of paint to cover all the crevices in your creation. We used a combination of acrylic paint with paint brushes and acrylic paint pens.
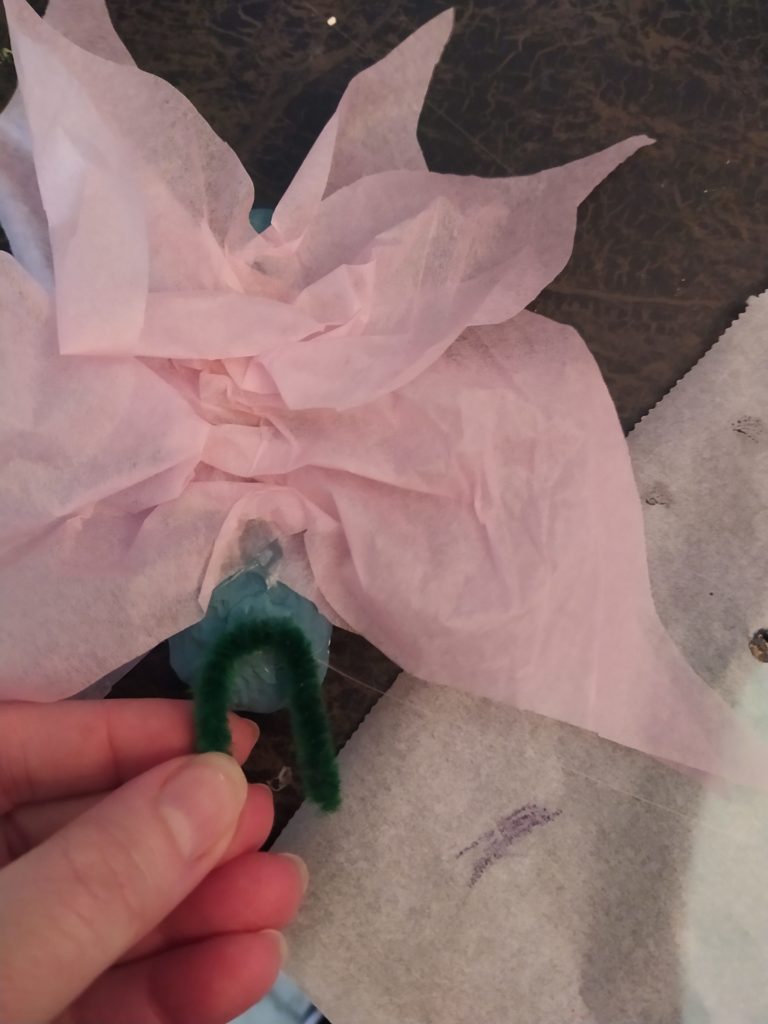
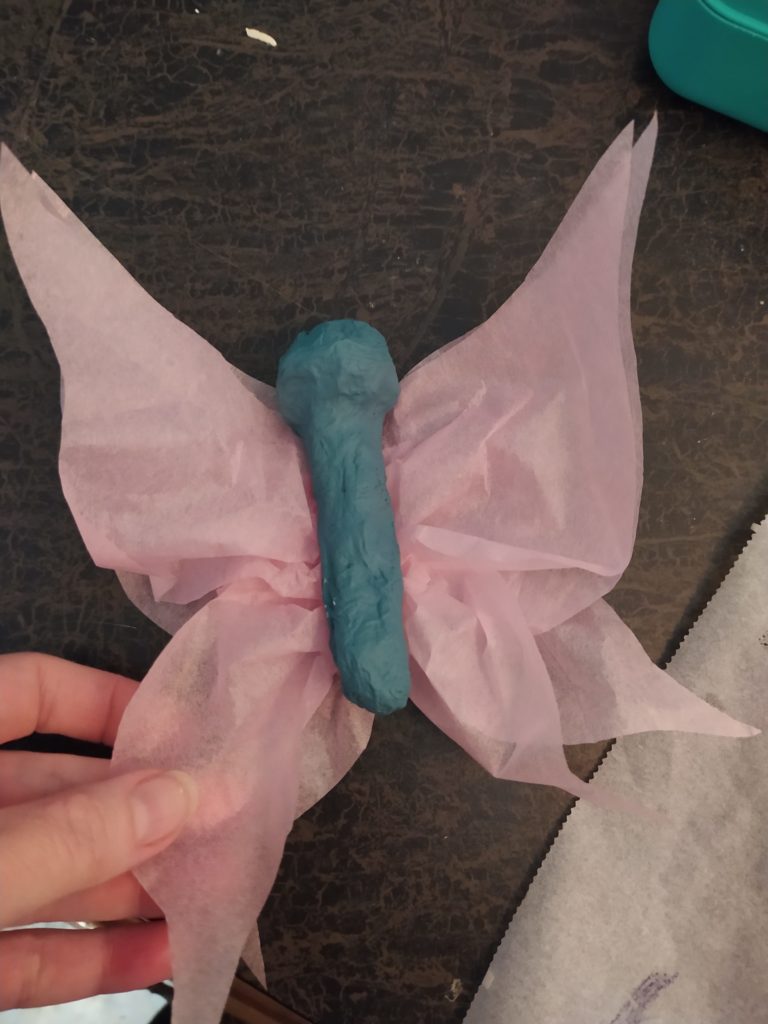
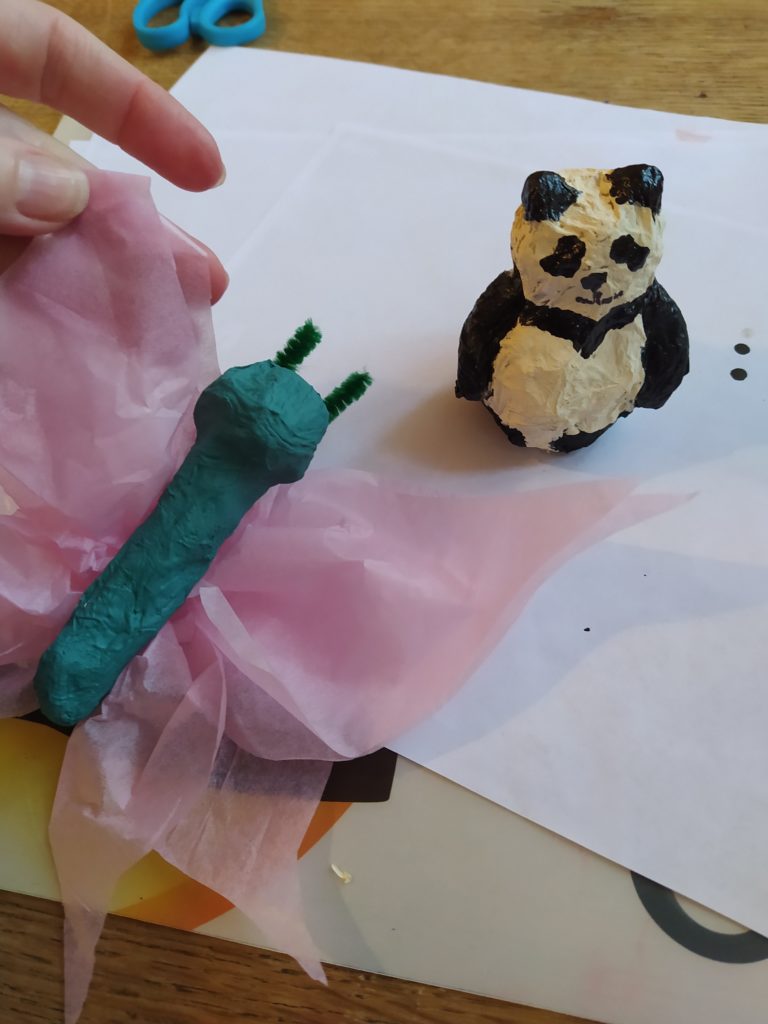
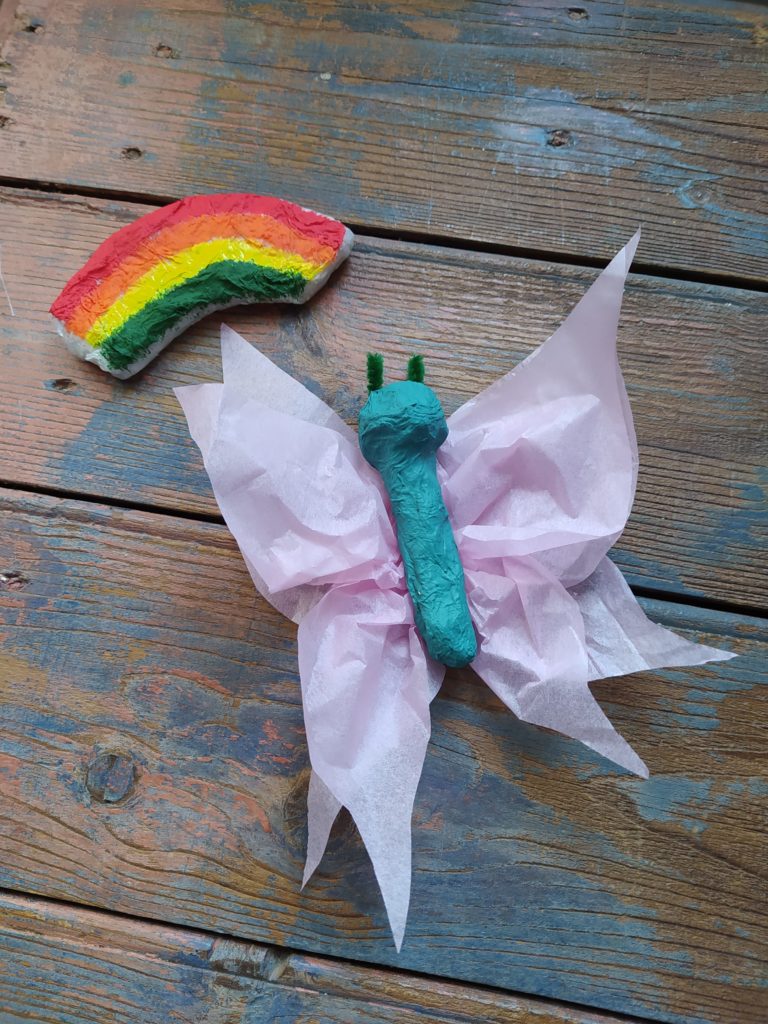
Allow the paint to dry completely and then add any decorations to complete your creation. Such as these tissue paper wings, and chenille stems. You can add googley eyes or paper, or draw a face on your creation with permanent pens. Anything to add a little personality to your creation.
Your creations are ready! Put them on display, or wrap them up as a gift for a special Mom or Dad with Mother’s day and Father’s day coming up soon!
Happy creating!
Welcome to Dolceamericana

I’m Carli. An event stylist, self-taught baker, and imperfect Mamma of 3!