DOLCEAMERICANA.BLOG

DIY Stenciled Cake Tutorial
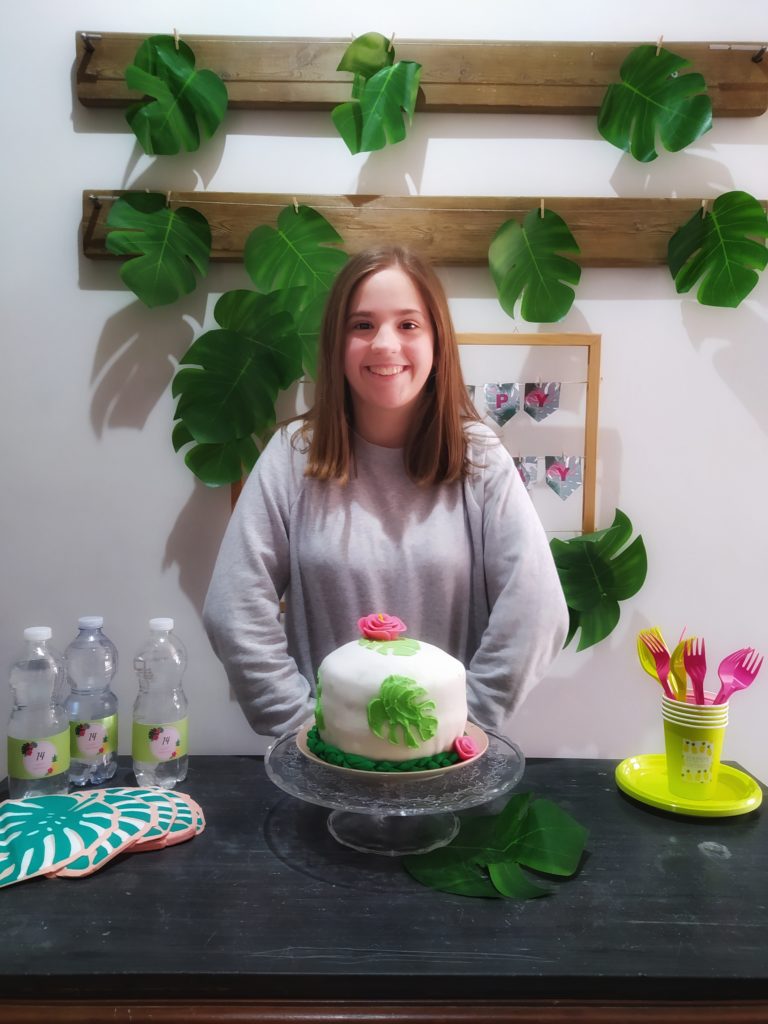
Let’s get tropical!!
I love monstera leaves!
They are so giant, and beautiful. We wanted to feel like we were on some kind of tropical island yesterday so this was the perfect cake for the occasion.
To make your own stencil:
I printed an image from the internet and cut out THE IMAGE FROM THE CENTER OF THE PAPER (leave your paper whole and in tact). You can do this by punching a hole through the image and then cutting it out. Next I did the same thing onto two sheets of wax paper. I placed a piece of wax paper on each side of the normal paper, then I used tape to attach them together. Lastly I used scotch tape to strengthen any weaker (narrow cuts) parts of the image. By taping them on both sides they became more rigid, less likely to be torn while frosting.
Next I made my frosting.
Then I layed my stencil on the cake where I wanted the leaves and frosted on top of the stencil. Then just gently lifted the stencil off of the cake and viola! Perfect monstera leaves!
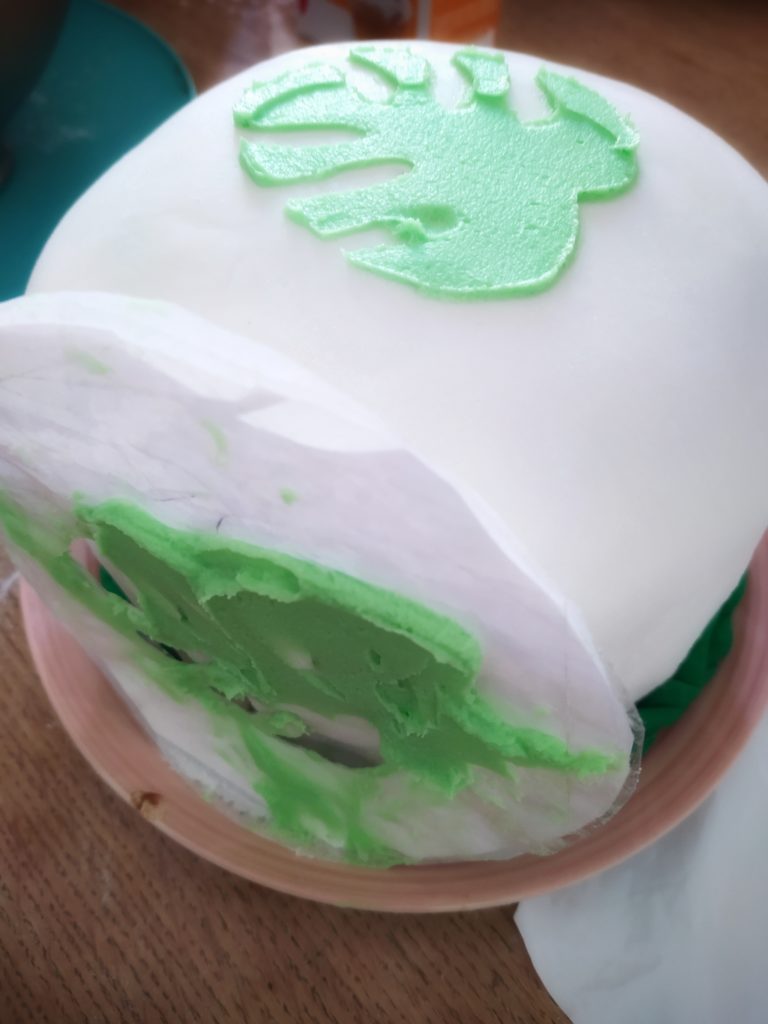
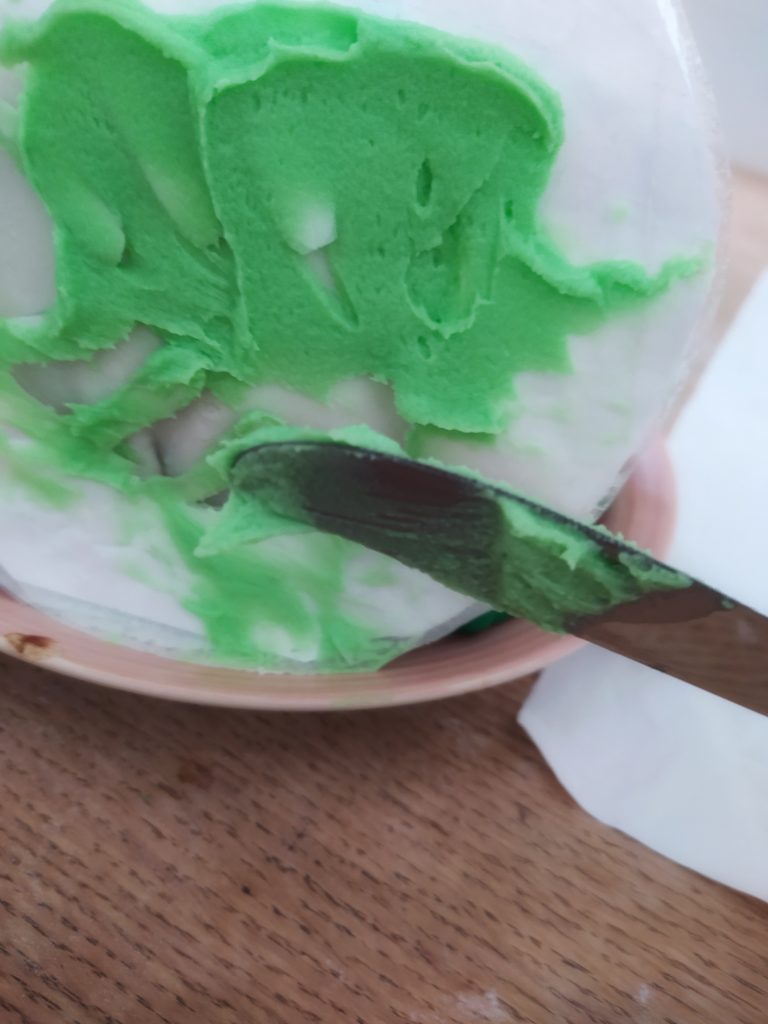
Just make sure to clean your stencil between each use, so that you do not have any frosting smears on your cake (or make multiple of the same stencil and throw away after each usage).
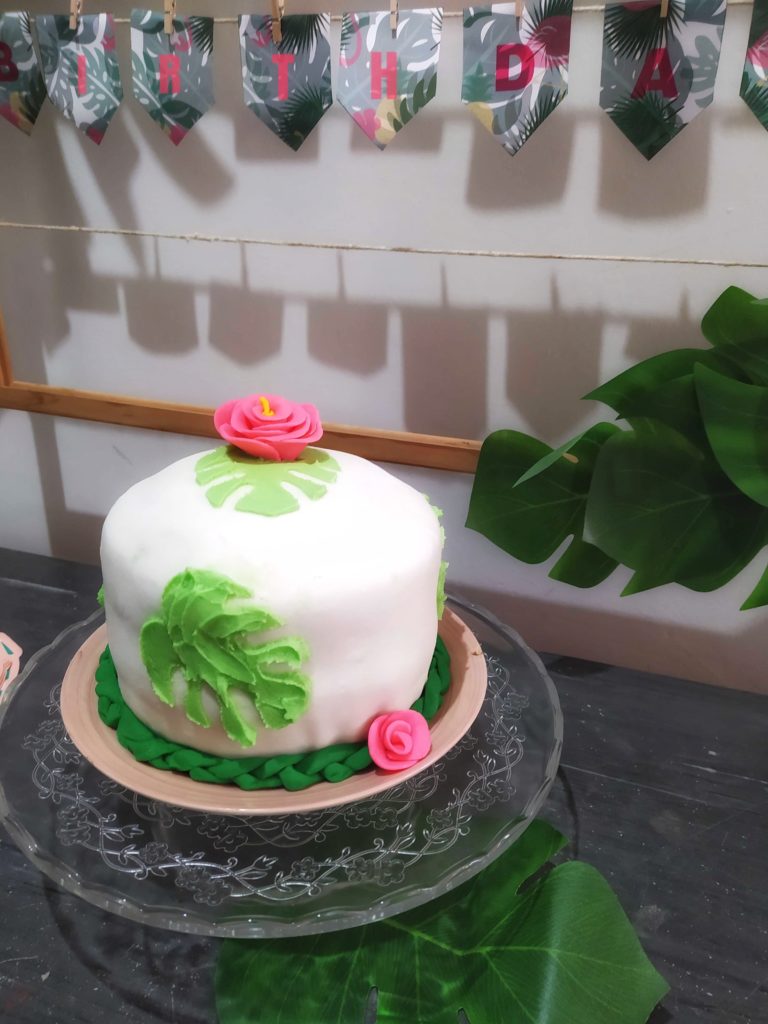
I am happy with how our tropical vacation cake turned out.
And even more happy that my sweet girl felt loved and celebrated on her birthday. Because that is why I create to begin with. . .for the joy of blessing someone else!
You can find the flower tutorial here .
The border of the cake is made with Wilton green fondant and braided for a “vine-like” look.
Now we just need this whole virus thing to pass so that we really can go somewhere tropical….
Happy baking and creating! Life is worth celebrating!
Welcome to Dolceamericana

I’m Carli. An event stylist, self-taught baker, and imperfect Mamma of 3!