DOLCEAMERICANA.BLOG

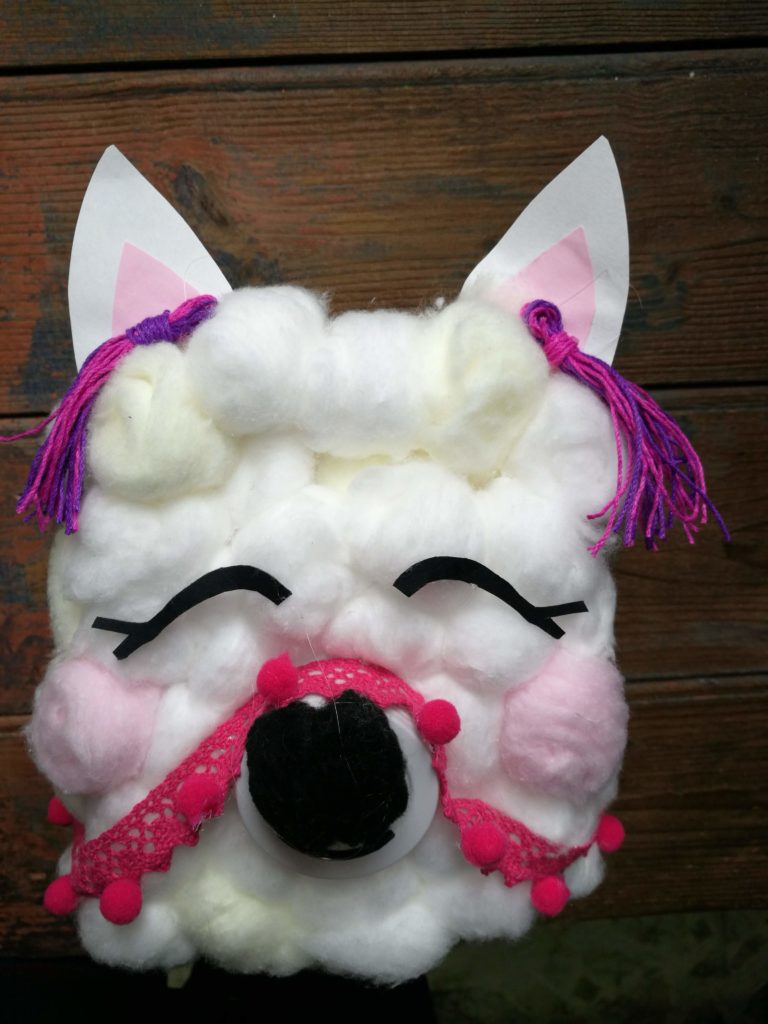
Llama Be My Valentine?
We are huge Llama/alpaca fans. In fact I have been trying to convince my husband to buy us a real one! LOL. My daughter fell in love with Llamas when she was little. Her favorite books were the Llama Llama series. We read Llama llama Red Pajama 10 thousand times. At least.
So when she chose what theme she wanted for her Valentine box, a fluffy Llama was the obvious choice!
For this cute little guy you will need a few basic supplies:
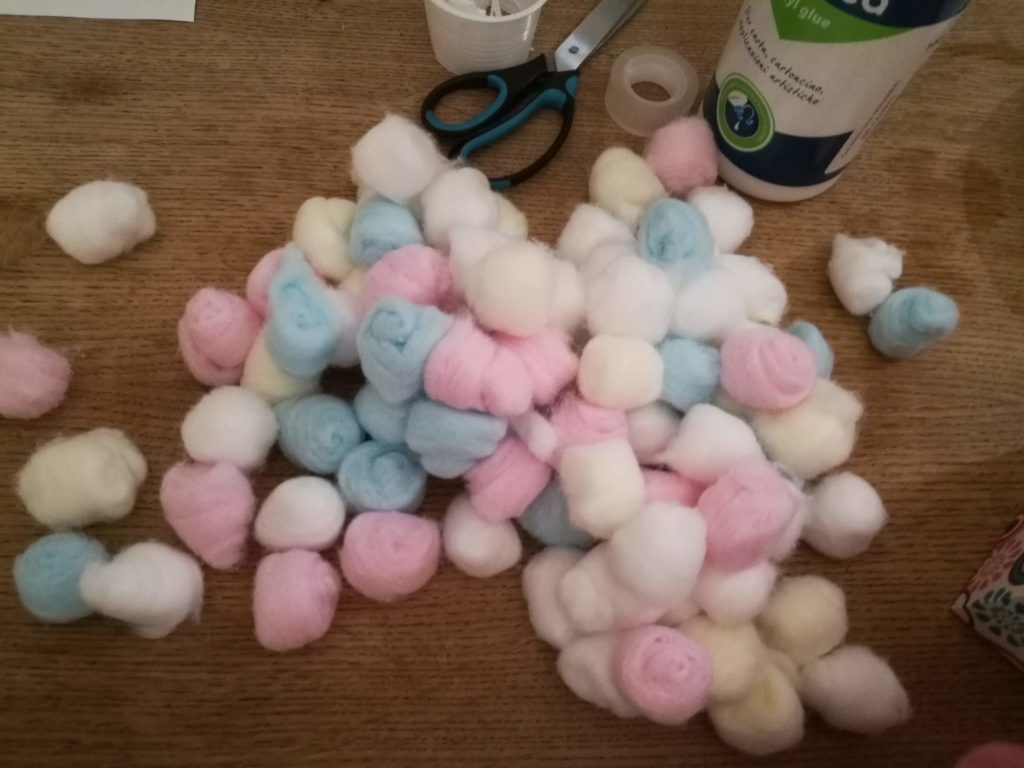
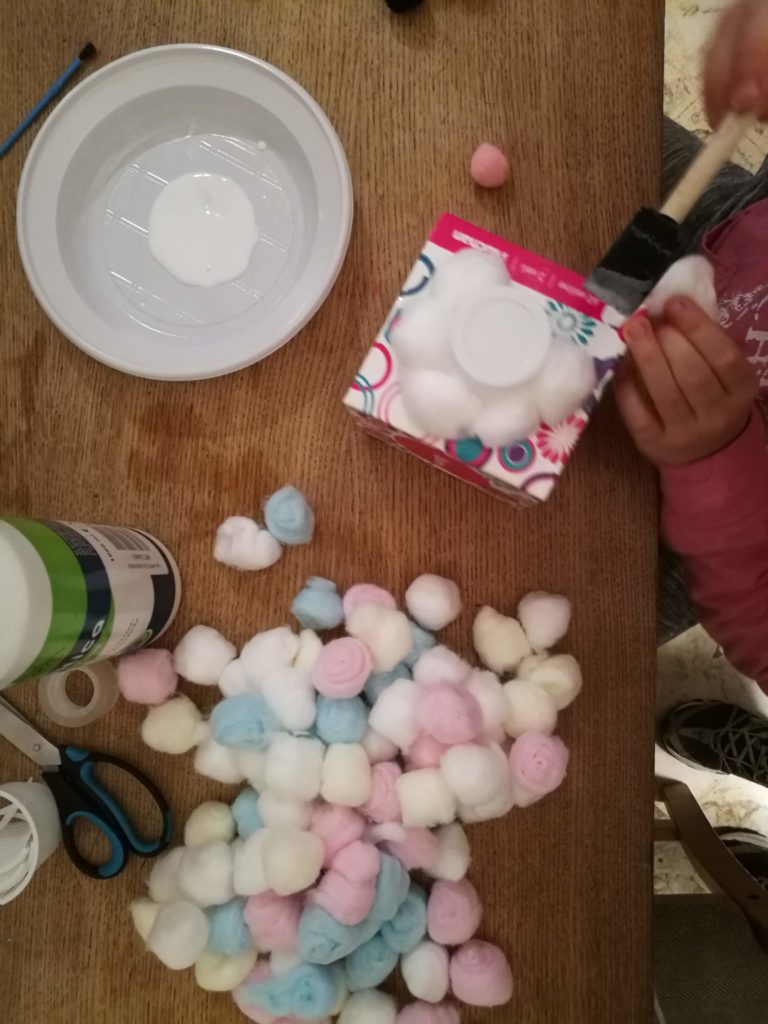
- Cotton balls
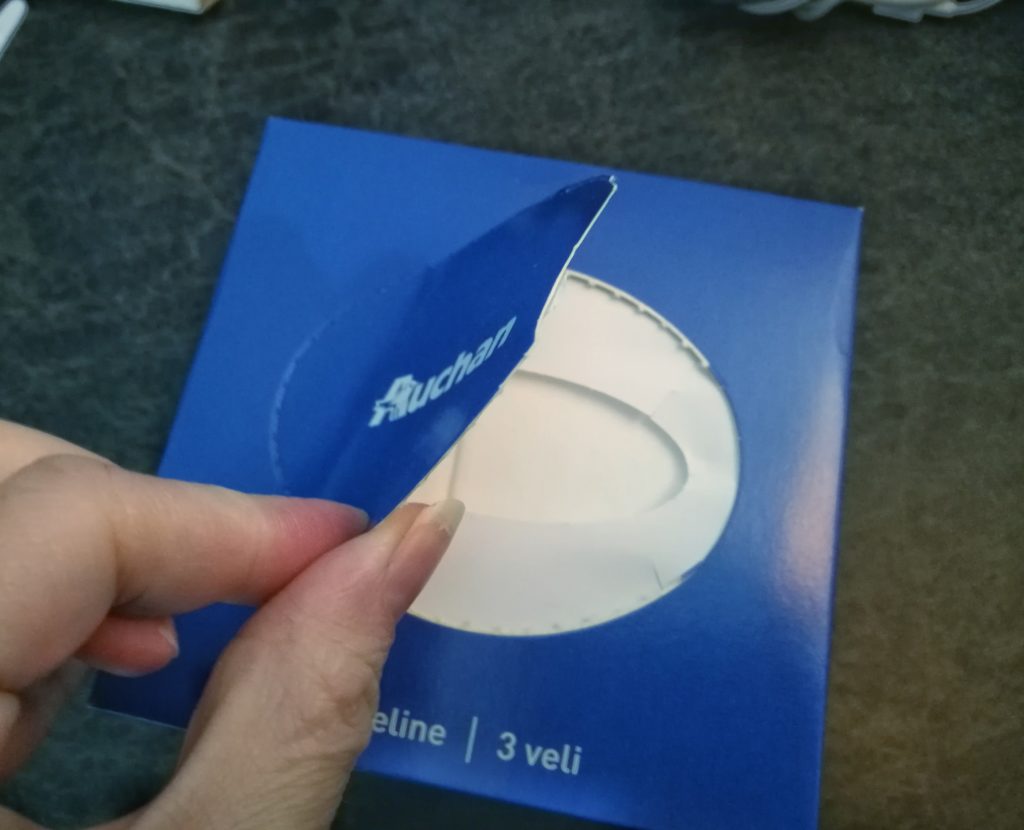
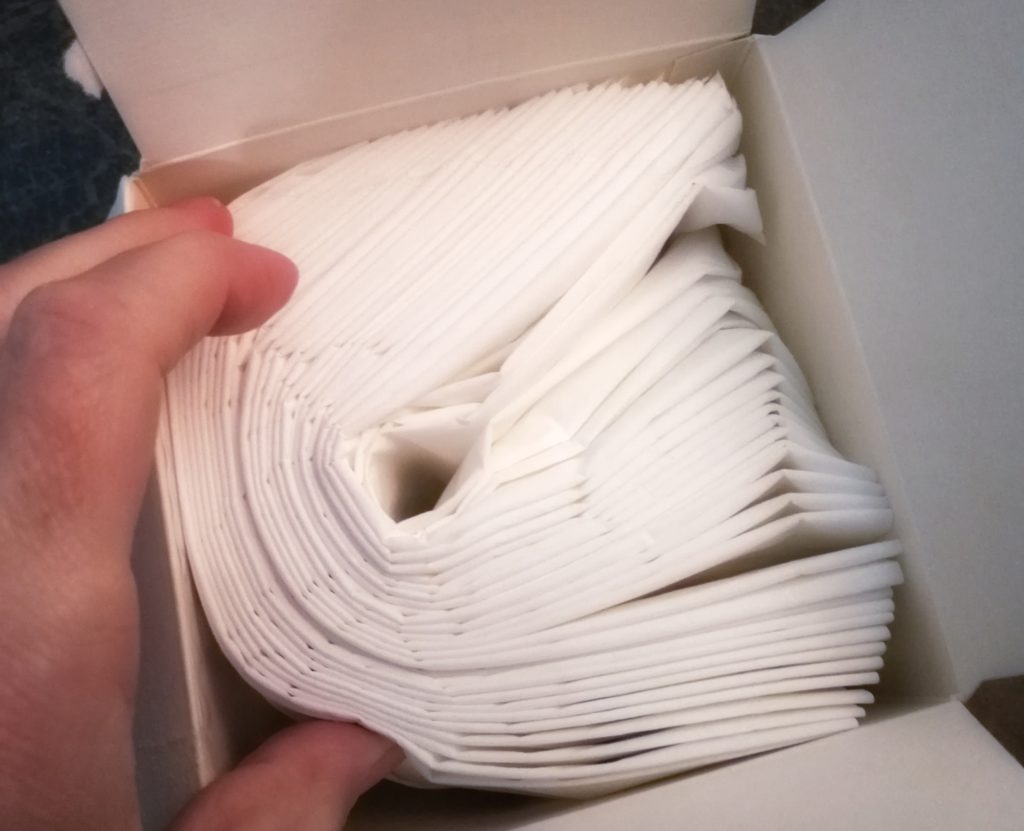
- Square Kleenex box (empty)
- Glue
- Tape Scissors
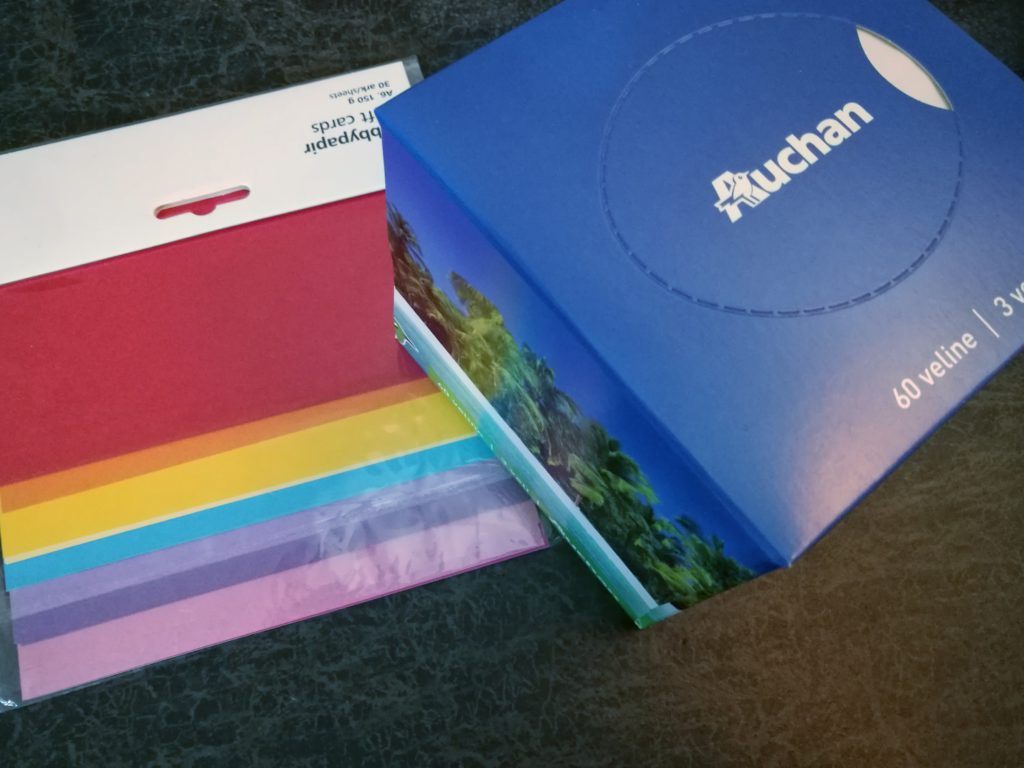
- Construction Paper (white and pink)
- White plastic or paper cup
- Black pom pom for the nose
- Black felt (or construction paper) for her eyes
- Optional decorations: I found this adorable pom pom ribbon, which worked perfectly for a “harness” and I made tassles for his ears.
Begin by removing the kleenex from your tissue box. Close it again with tape. You will want to make sure and have the opening at the top of the Llama (behind his ears), so that you can get the valentines in and out, and the flap to the box on the bottom (taped shut), so that you can access the valentines from underneath if necessary.

Next cut you cup in half width wise (making the cup half of the height it was). Hot glue the cup onto the front of your box (take care to choose the front correctly!). Begin gluing the cotton balls all around your box with white glue. We used white cotton balls for the Llama, except for a couple pink ones for her rosy cheeks.
While your cotton balls are drying, cut out your ears from the construction paper. Glue the white and pink pieces together. Cut out your Llama’s eyes using construction paper or felt (I used felt). Use a hot glue gun to attach the ears to the top of your kleenex box and the eyes above your nose.
Glue the black pom pom onto the front of your cup for his nose. Add any decorations you would like to make you Llama more festive!
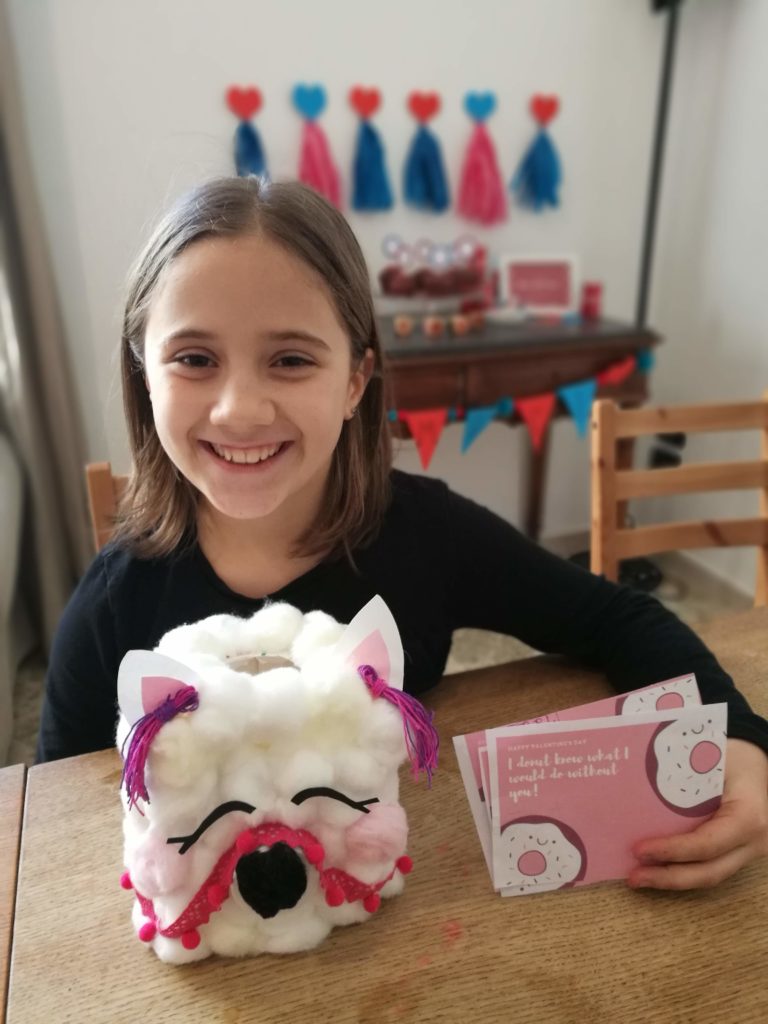
That’s it! You have your very own super fluffy Llama to hold all of you sweet valentine notes. We had our little class party with the english class I teach. Which is only 6 students. So the square kleenex box was the perfect size. If you have a larger class, you can adapt the project to fit the size of the box that best suits your needs!
Happy crafting!
Welcome to Dolceamericana
I’m Carli. An event stylist, self-taught baker, and imperfect Mamma of 3!