DOLCEAMERICANA.BLOG

TUTTI FRUTTI
DIY Mason jar Craft
Summer is almost here! Yeah! I am so excited that school is almost out.
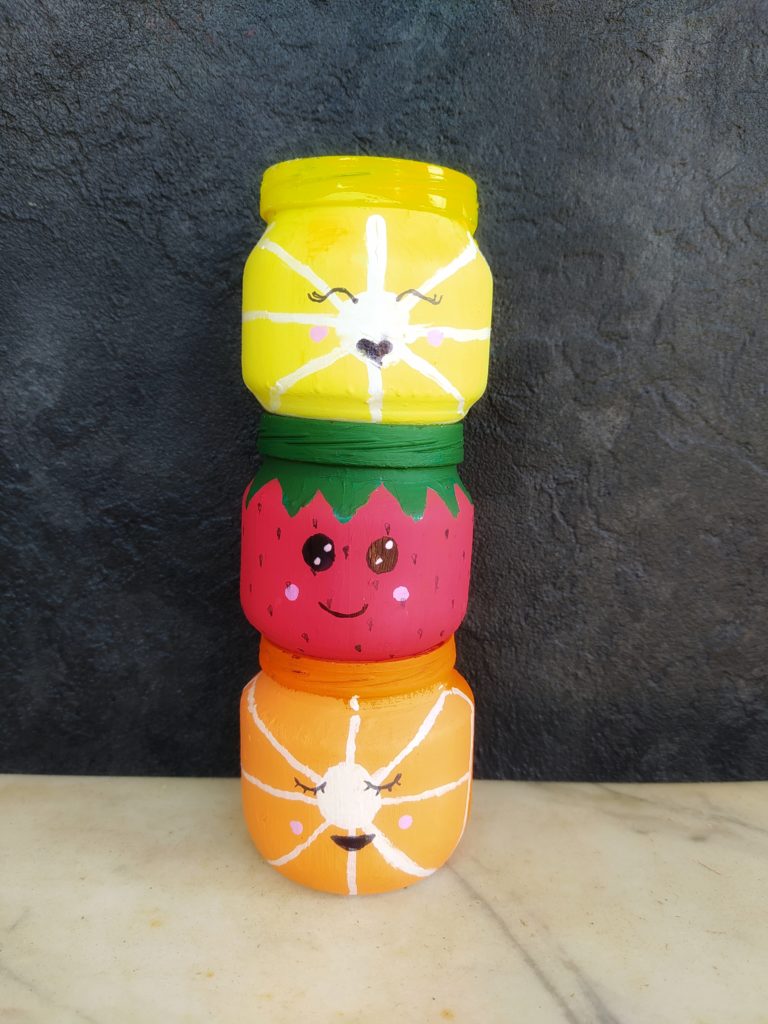
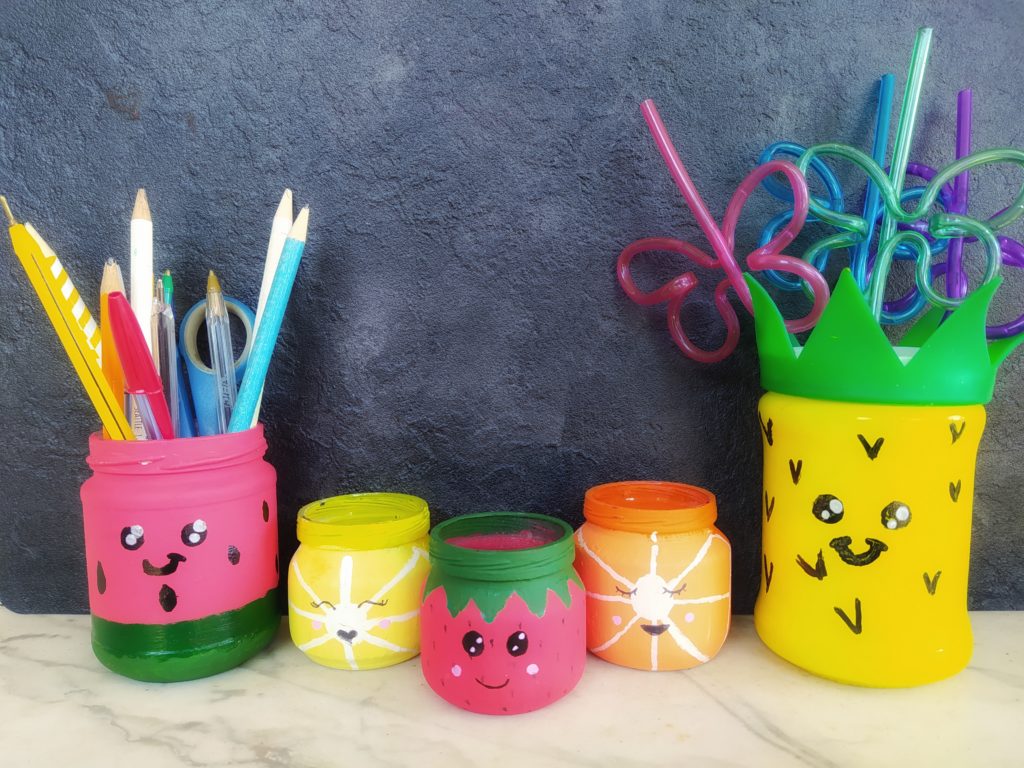
Summer reminds me of sunshine and fresh fruit and especially watermelon and pineapple. We made these too cute jars to celebrate!
The larger size are perfect for pencils or a party table, and the mini jars are adorably perfect for earrings, erasers, sugar, salt or paper clips.
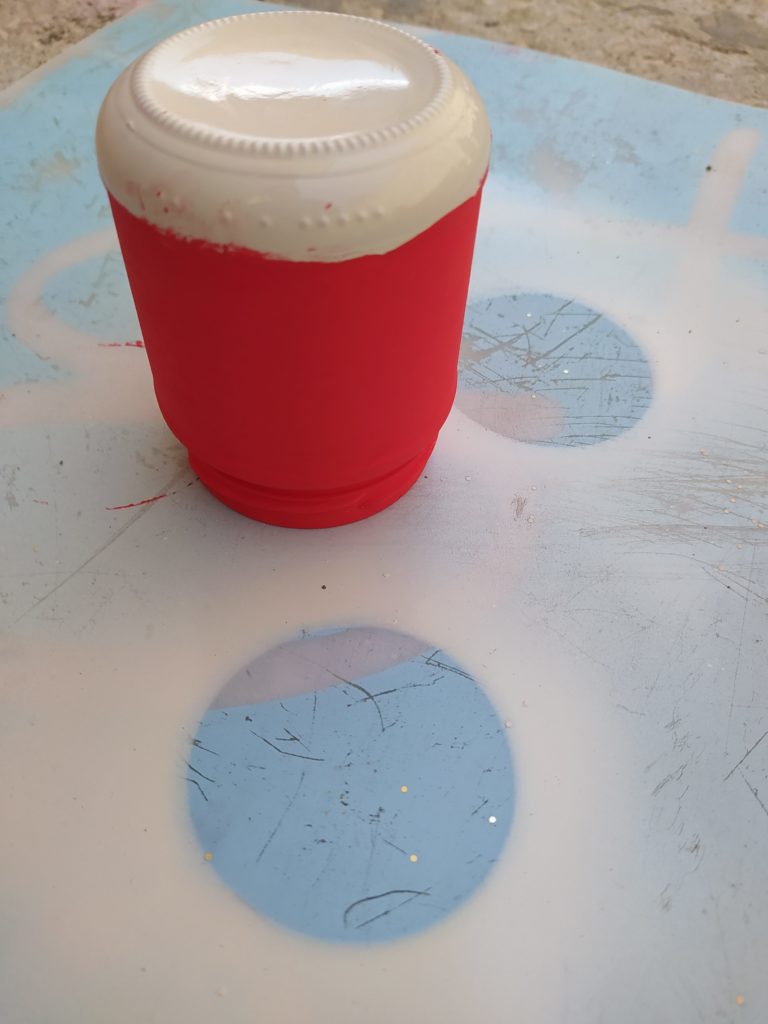
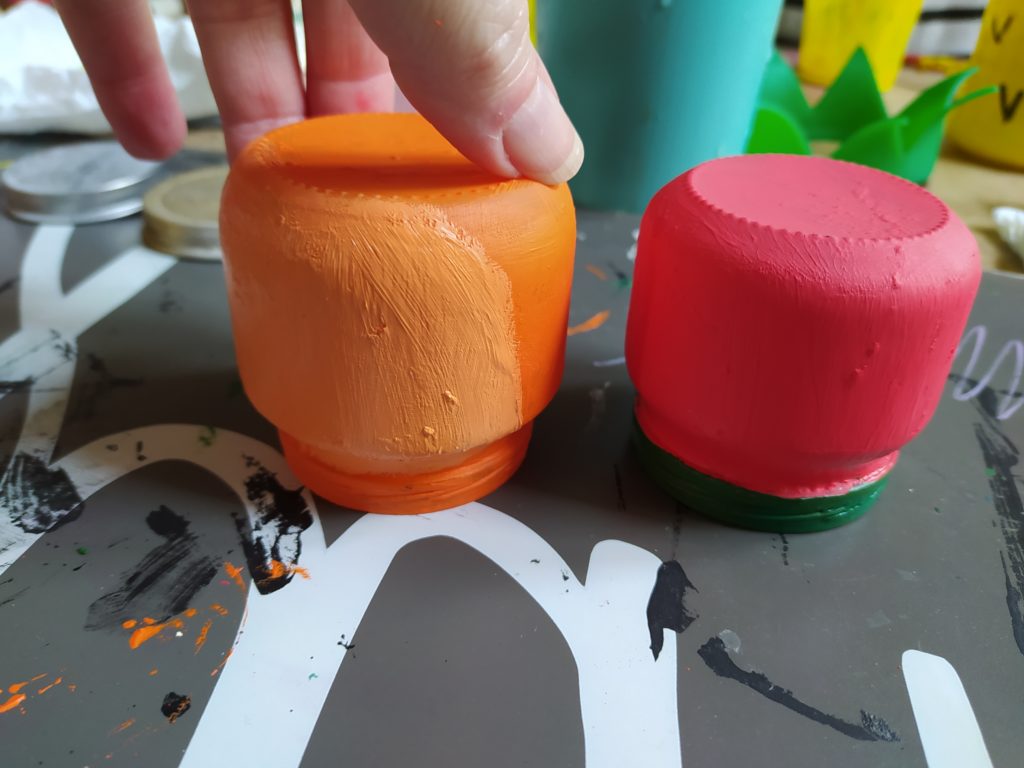
Begin by priming your jar with a plain white spray paint primer. We used white, but I ran out and I used clear and it worked just as well. The primer spray paint will help the acrylic paint to stick better to your jar.
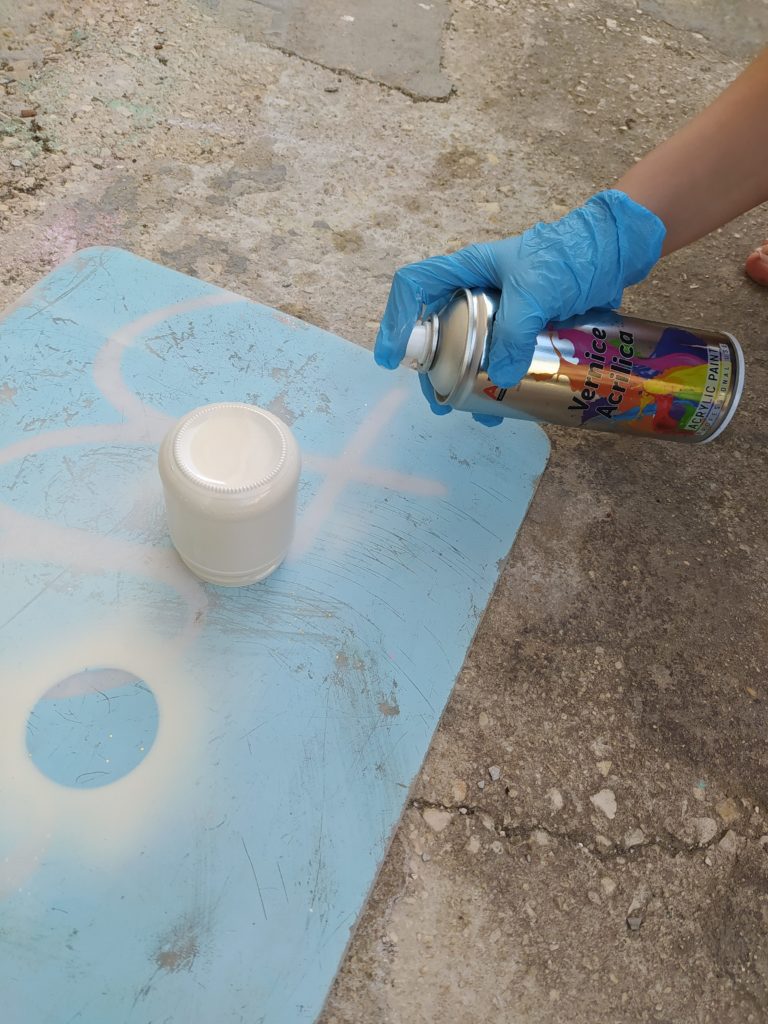
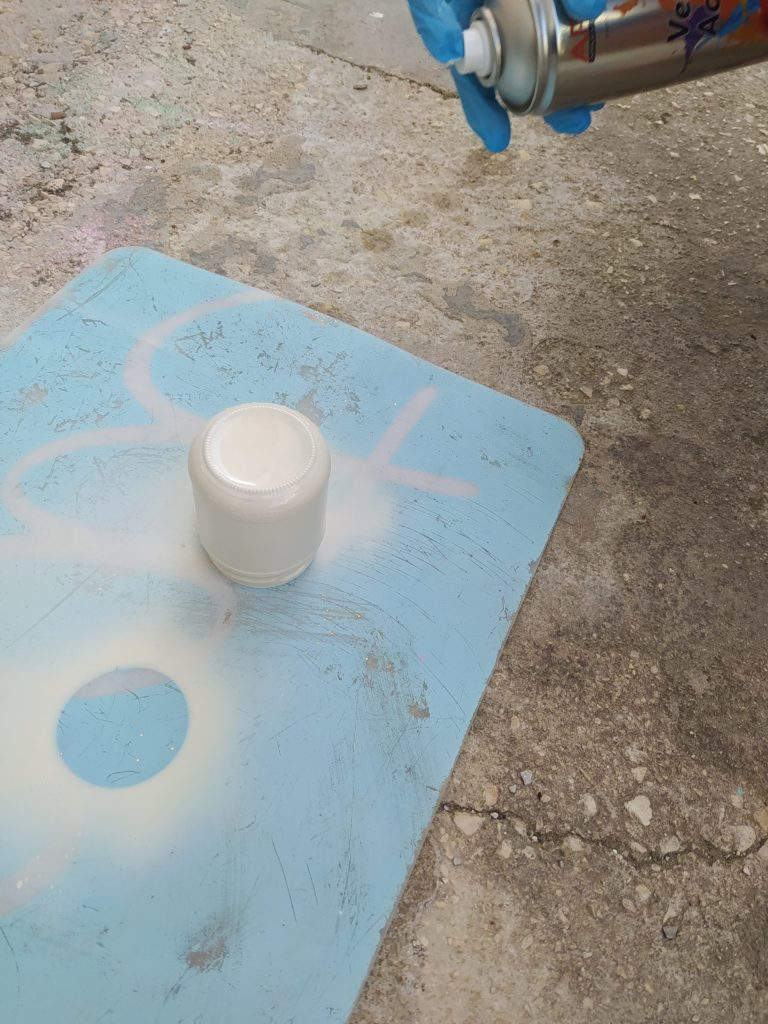
Make sure to spray your jar well (sitting it upside down on a mat or cardboard box), including coating the rim of the jar.
WATERMELON:
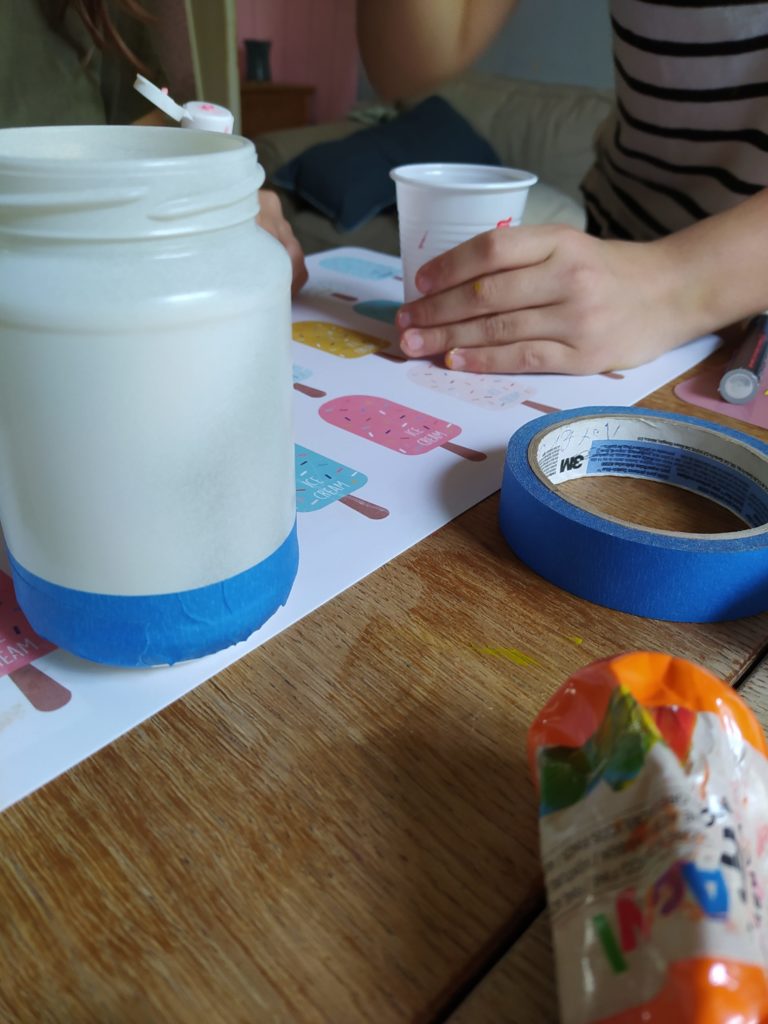
Tape off the bottom inch of your jar.
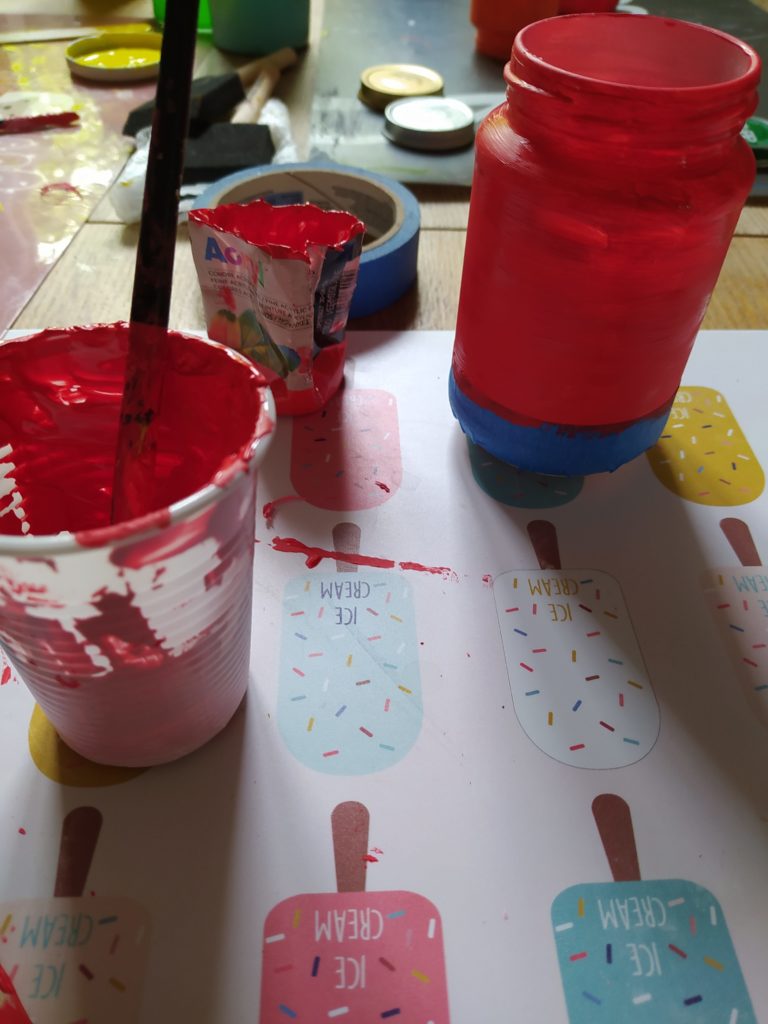
You can choose a pink watermelon, red watermelon, or like us mix pink and red together to create a beautiful coral color. Paint your jar. You will need two coats. Make sure to allow it to dry completely before you paint the second coat.
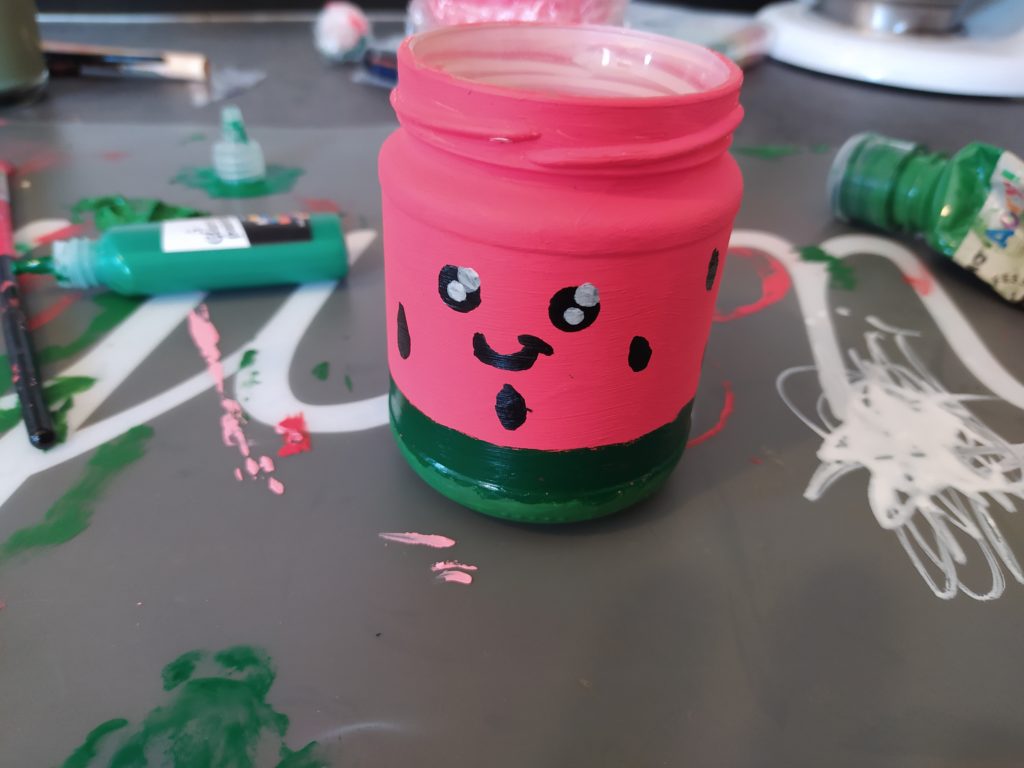
When it is dry remove the tape and paint the green strip. you can do two different shades of green or one. Allow it to dry completely.
Lastly, add your face and black seeds to your watermelon.

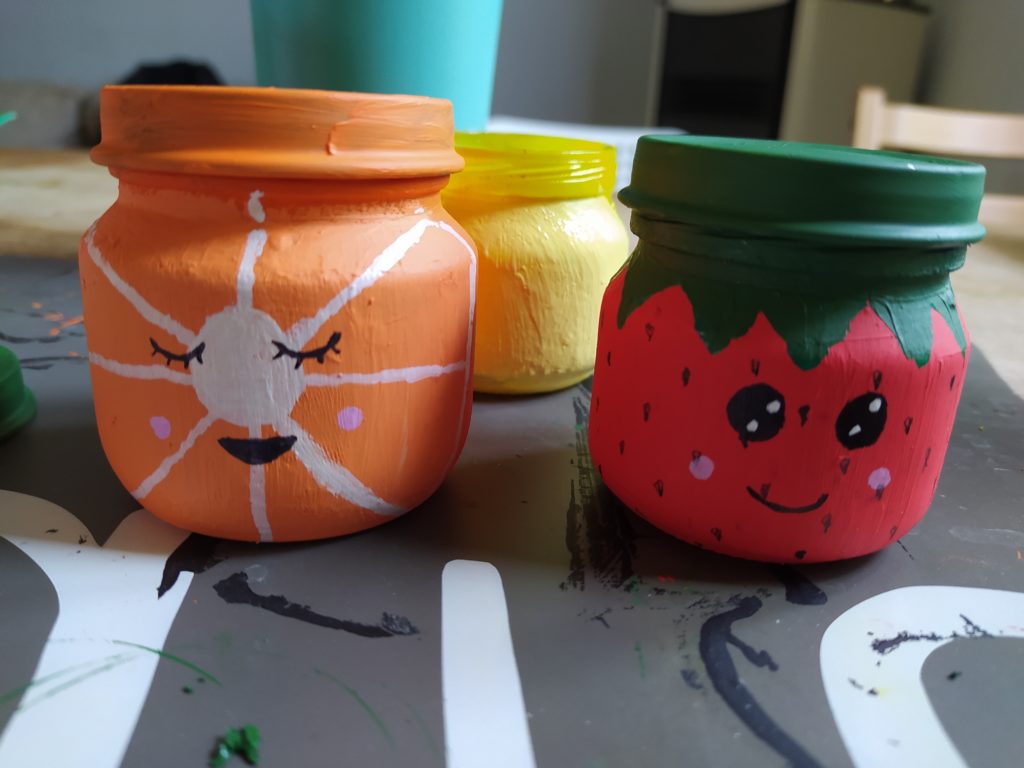
STRAWBERRY & ORANGE (LEMON) MINI JARS:
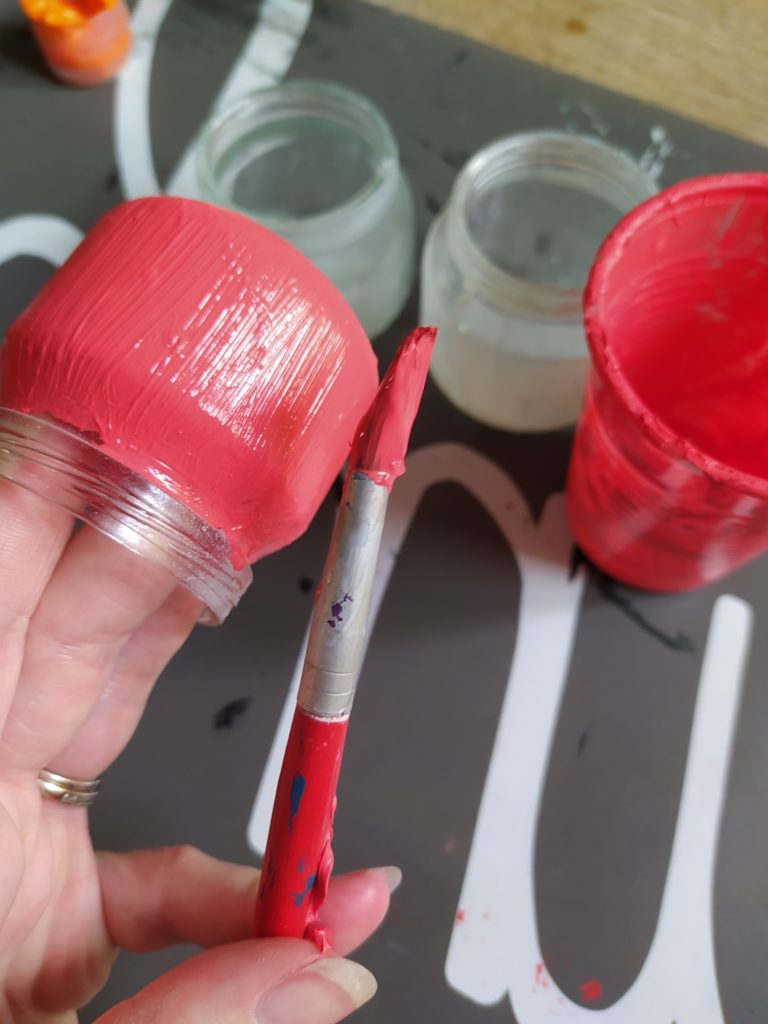
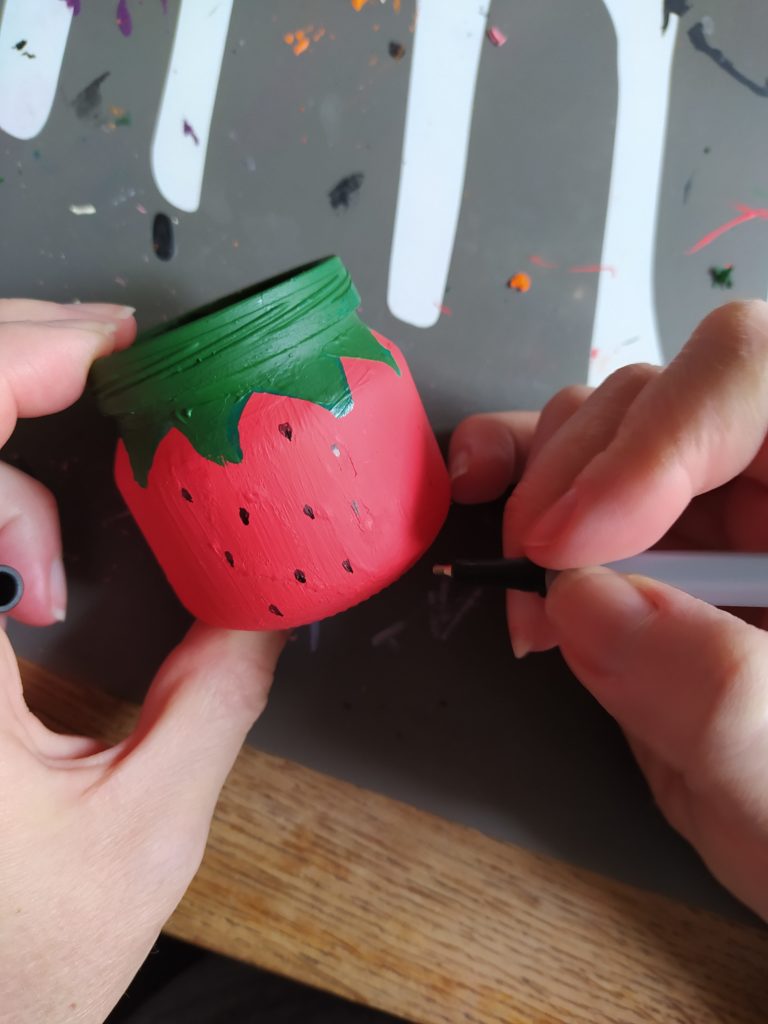
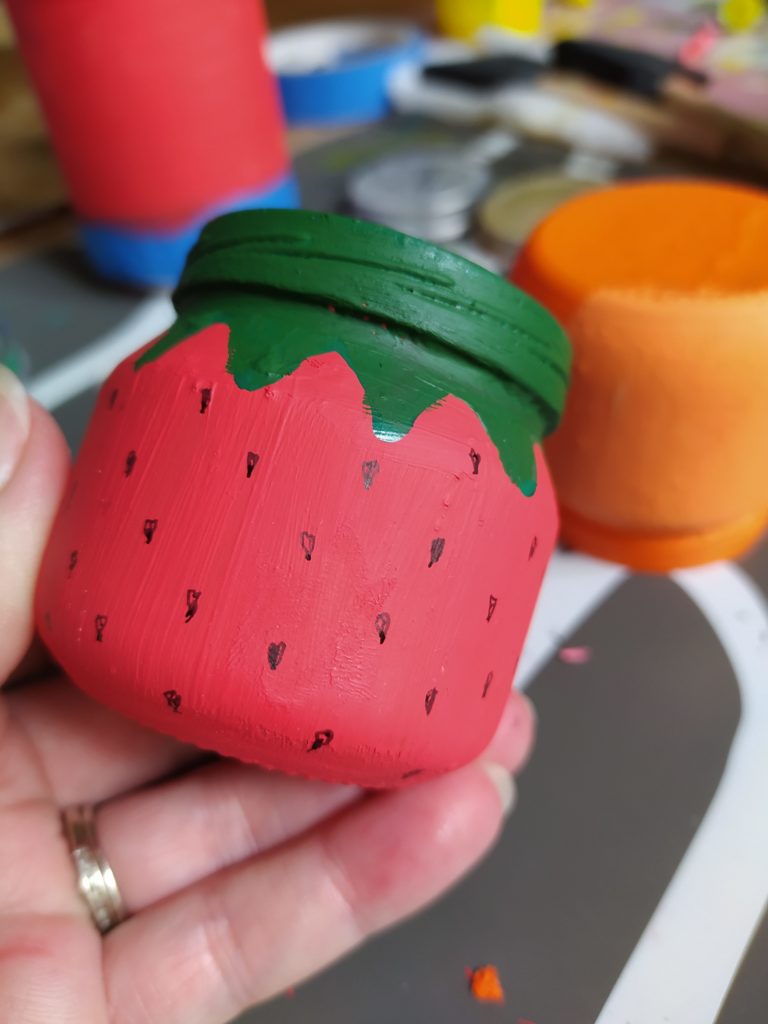
Strawberry: Prime your jar. Allow it to dry. Add two coats of red paint allowing to dry after the first coat. Leave the rim plain. When it is dry, paint the jar rim green, I used an acrylic paint pen to paint the green stem, it was more precise than a brush.
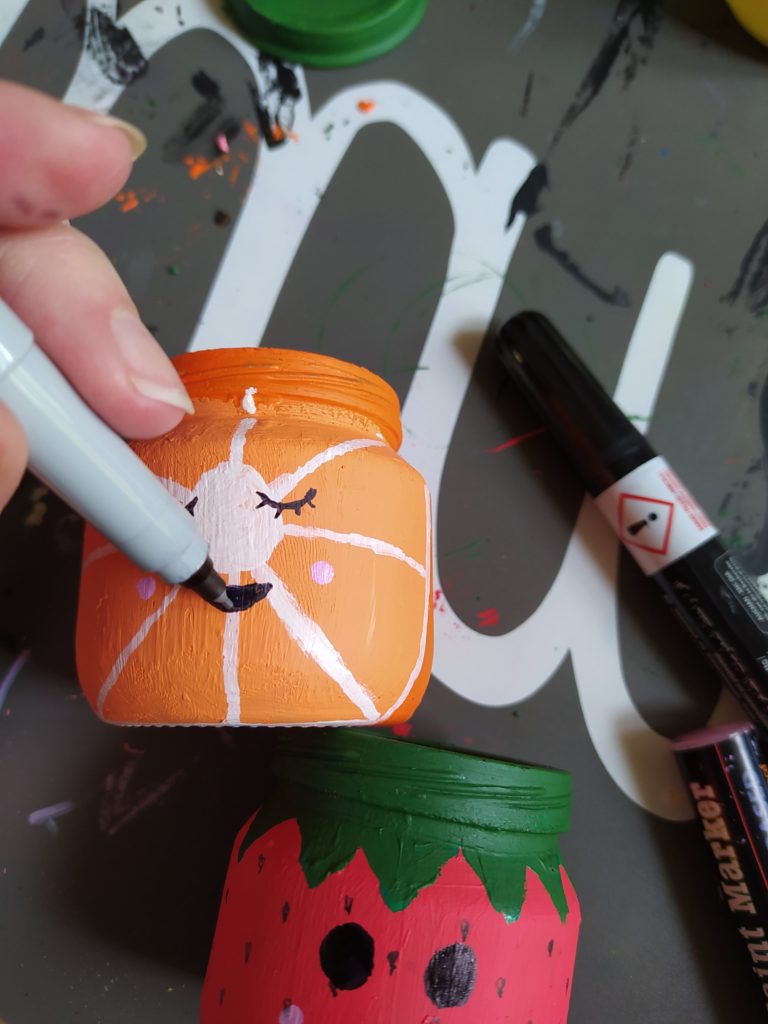
Lastly add your seeds and your face. I used permanent pens to draw my faces. Except for the pink cheeks which I made with an acrylic paint pen.
ORANGE (LEMON):
To make the orange and the lemon, follow the same steps, with different paint colors.
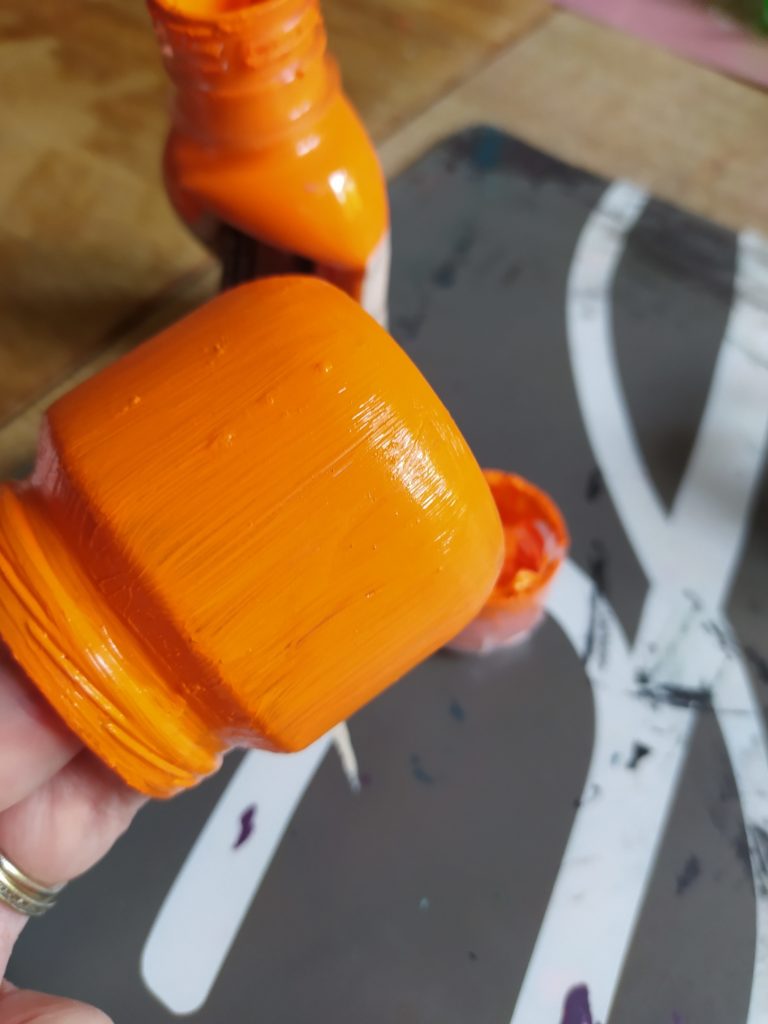
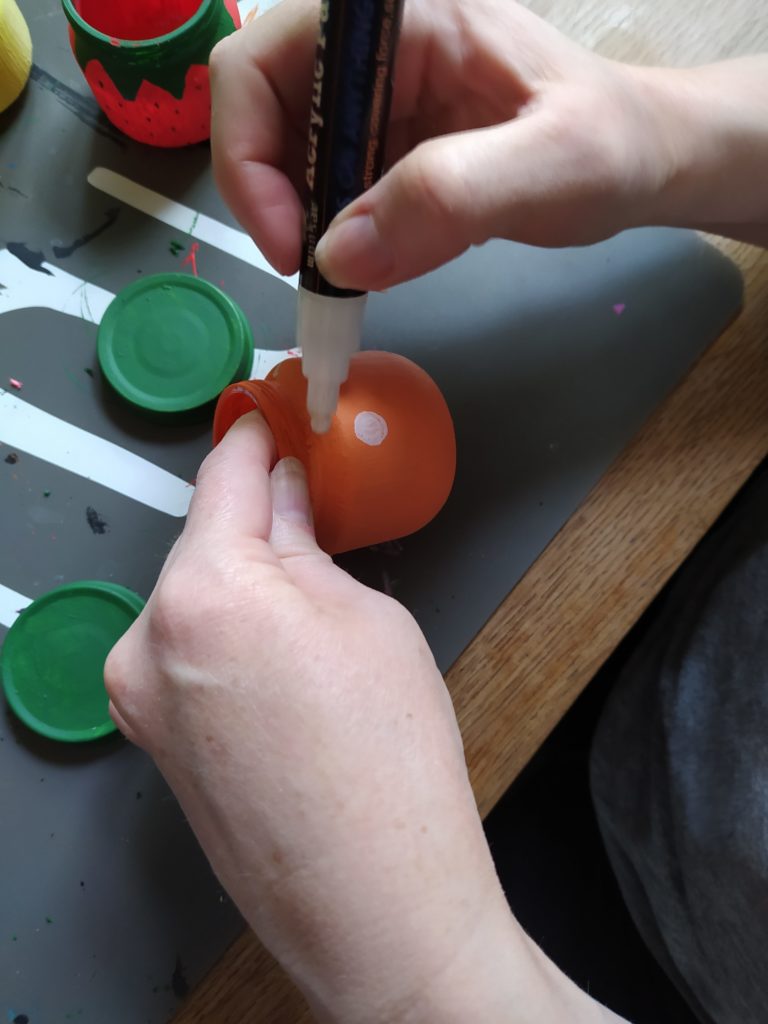
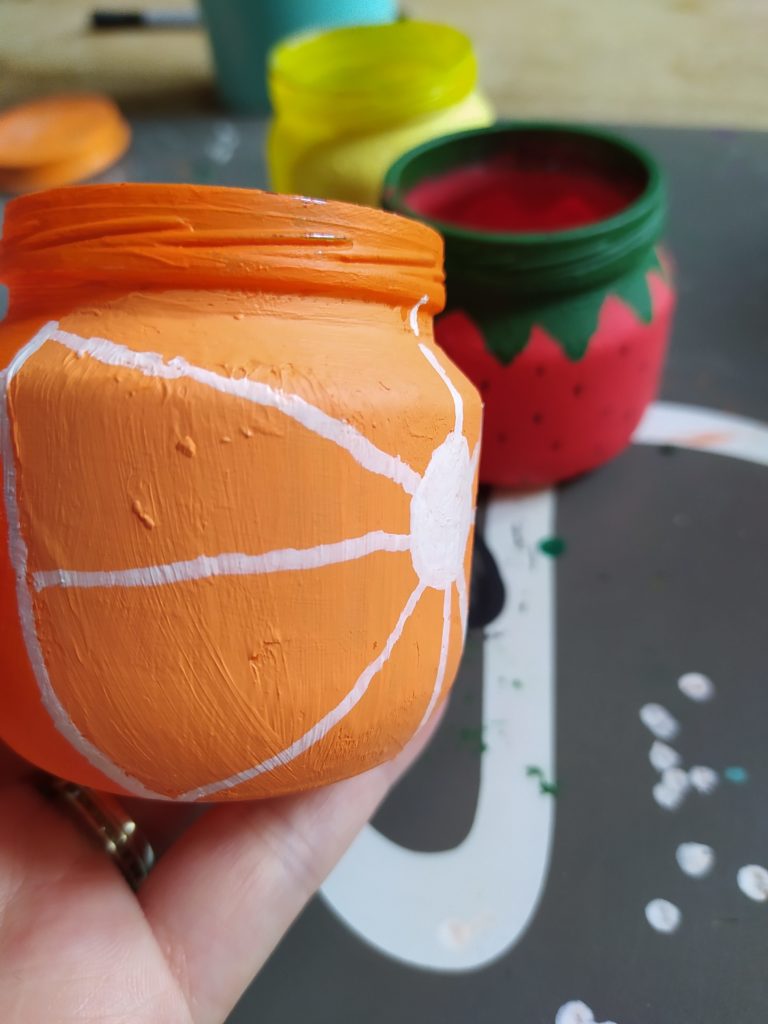
For the orange. Prime your jar. Coat your jar with two layers or orange paint, allowing to dry before each layer. Paint a circle onto the front of your jar in a lighter orange color of paint. Allow it to dry.
Draw a circle with an white acrylic paint pen in the center of your light orange circle. From your circle draw rays shooting out and reaching to the edge of your circle (draw one line down the middle vertically and one line down the middle horizontally and that lines in the middle of those). Draw a line around the outside of your light orange circle. Allow to dry.
Draw your face onto your orange (or lemon).
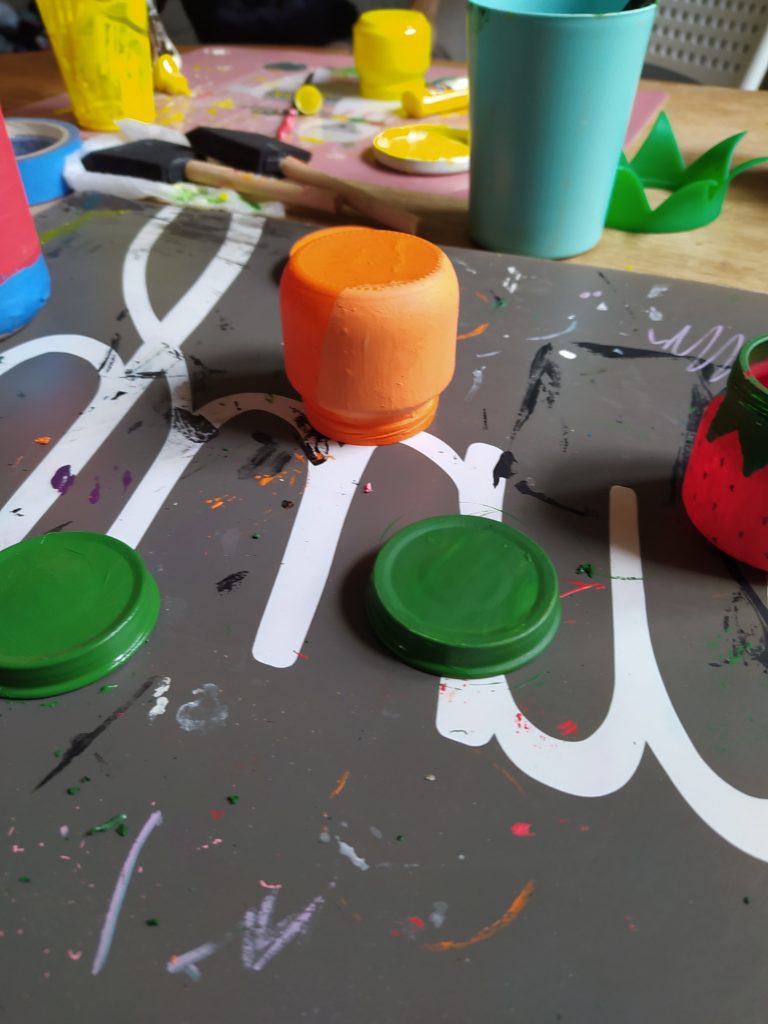
Here’s our adorable fruity bunch! We love how they turned out! The girls did an adorable job!
Have fun creating your own fruit themed jars with your kiddos today!
Happy creating!
These jars are fun as a gift for Teacher! Just add their favorite candy, a gift card, or some school supplies to the jar after you have prepared it and print out these free printable tags!
Free printable Teacher Appreciation Tags:

Welcome to Dolceamericana

I’m Carli. An event stylist, self-taught baker, and imperfect Mamma of 3!