DOLCEAMERICANA.BLOG

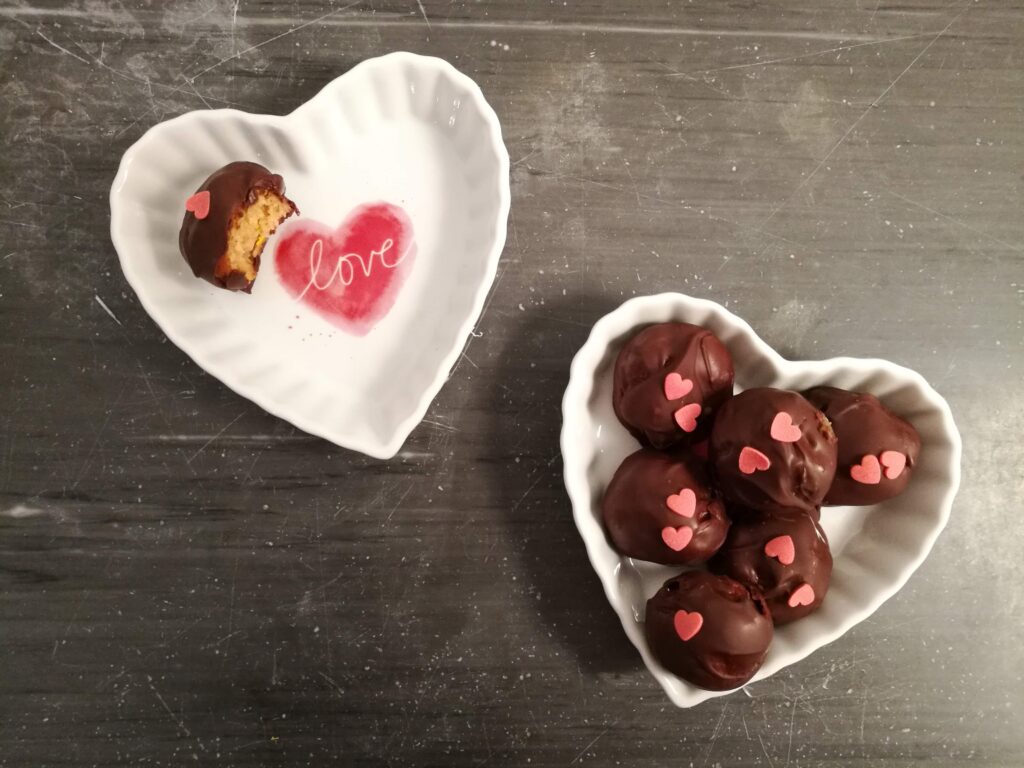
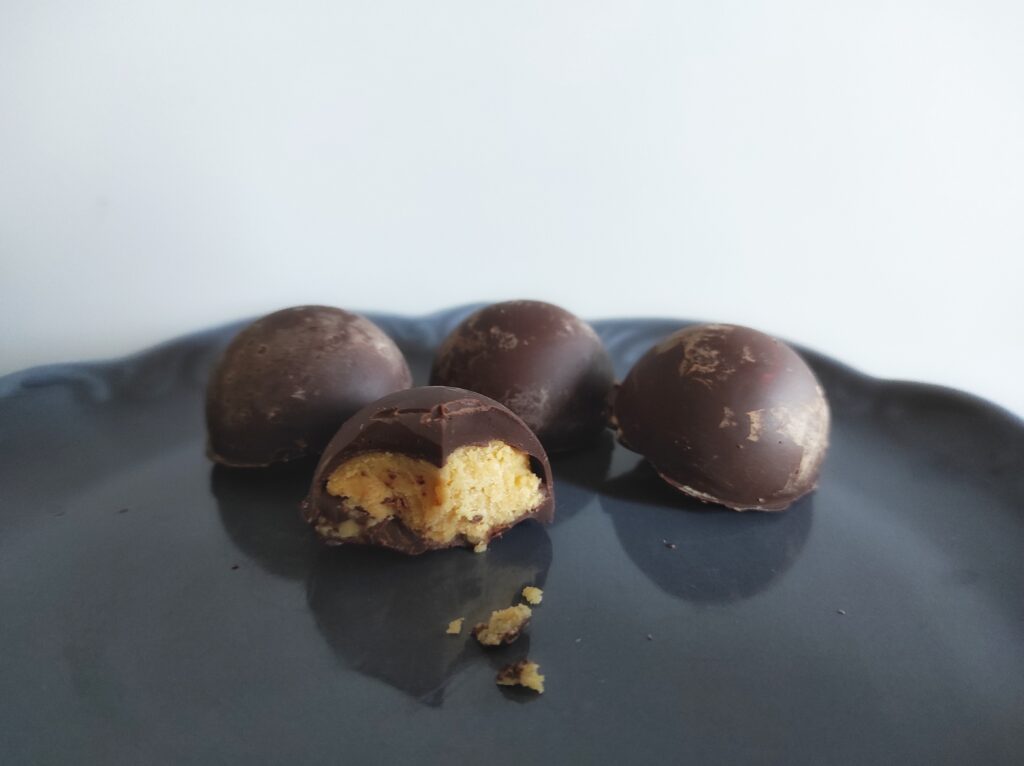
Peanut Butter bites
When I was a tween and my sister a teen we had a secret treat we loved to make when my parents were away… I really have no idea who started it, or who had the original idea, but it was one of those things that we would make as soon as my parents walked out the door and eat by the spoonful that evening!
Peanut butter goop. That’s what we called it. Not a particularly creative name, but it was so good that it didn’t really matter. So good, and soooo unhealthy. Basically we would mix corn syrup, peanut butter and powdered sugar and then stick it in the freezer. It was curiously addictive and we could finish off the bowl in no time, despite it being super sweet!
So years later, when I was feeling a little nostalgic, I decided to make it into balls and dip them in chocolate as well. But I did not want something as crazy unhealthy as the original version. I have done a lot of experimenting and a couple of the versions were pretty good….so good I might share them with y’all another time. But the final recipe is perfect!
You’ll love these peanut butter treats, although I’ll warn you that they are pretty addictive! You can make them even more delish by adding Rice Krispies into the mix. It gives it just a little extra crunch!
Ingredients:
- Melting Chocolate (You can use dark or milk chocolate or a combo of both).
- Peanut butter
- My Perfect Caramel Recipe (For which you will need: granulated sugar, butter & heavy whipping cream)
- Powdered Sugar
Procedure:
To make 20 chocolates…
- I used 150 grams of chocolate (you won’t use it all).
- 1/2 cup peanut butter
- 1/4 cup caramel
- approx 1/3 cup powdered sugar
Begin by melting your chocolate and preparing your “shells” if that is the method of choice. Then you only need to add the filling once it is ready.
There are three different ways to make these treats! The result is quite similar. The main difference is the chocolate to filling ratio. A cup or a chocolate candy will have more chocolate than filling, whereas a ball with have more filling than chocolate. So it is really up to your personal preferences!
I will show you the steps now to make the shells for the chocolate candies. The procedure is the same for making peanut butter caramel cups. The only difference is that instead of using the silicone cake pop pan, you will use a silicone mini cupcake pan instead.
To make the shell of your chocolates or cups….
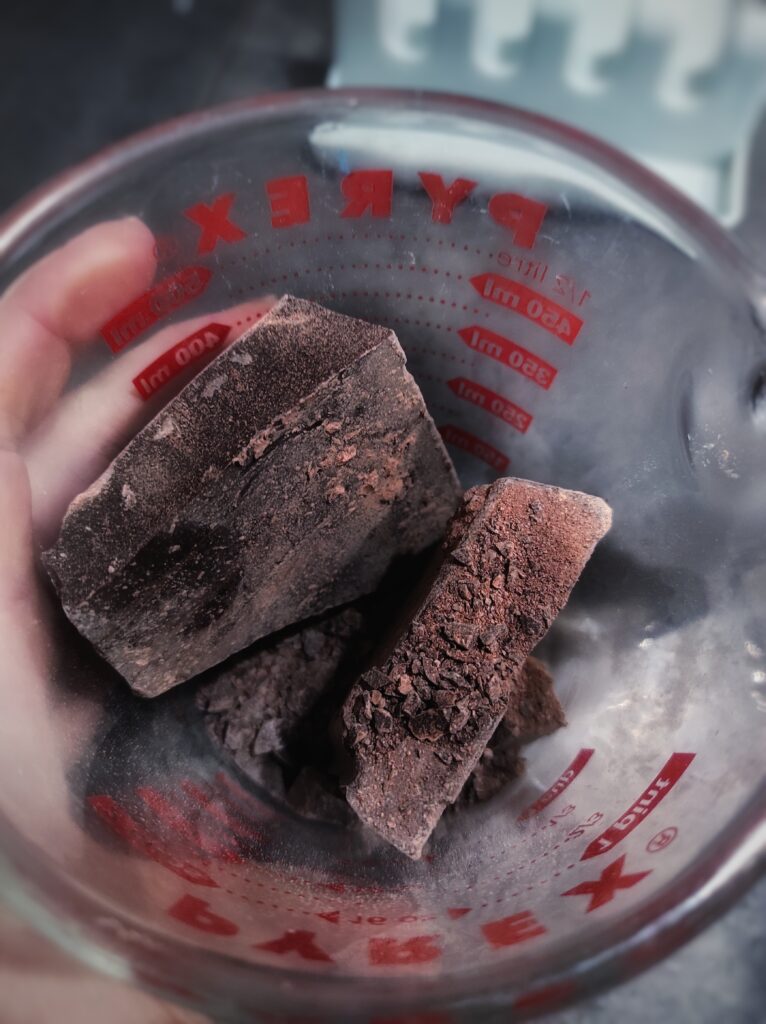
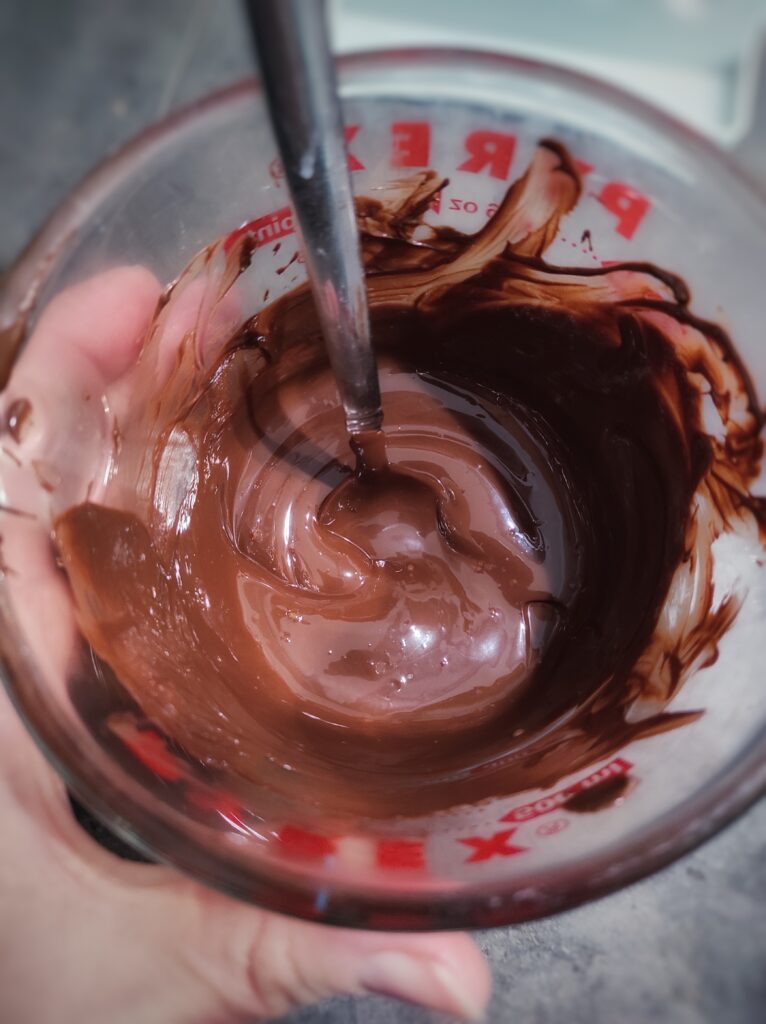
Melt your chocolate. Smooth a thin layer of the melted chocolate around the mold of your cake pop pan (or mini muffin pan), coating the inside of each mold well, but with only a thin layer of chocolate. Make sure to use silicone so that you can easily pop your chocolates out once they are dry (or to put cupcake liners that you can peal off later or serve your chocolates in if you cannot find a silicone mold).
Allow to harden completely. While the chocolate is setting, make your filling.
To make the filling for your balls (cups or chocolates) you will need…
To mix 2 parts peanut butter to 1 part caramel. Mix your peanut butter and caramel together really well, until it is smooth. Then slowly add in your powdered sugar to thicken the mixture. It is approximately equal parts caramel to powdered sugar, but I hesitate to give precise amounts, because caramel is not always the same (sometimes it turns out slightly runnier and sometimes slightly thicker). So slowly adding in the powdered sugar until you reach the desired consistency (thickness) will yield the best result.

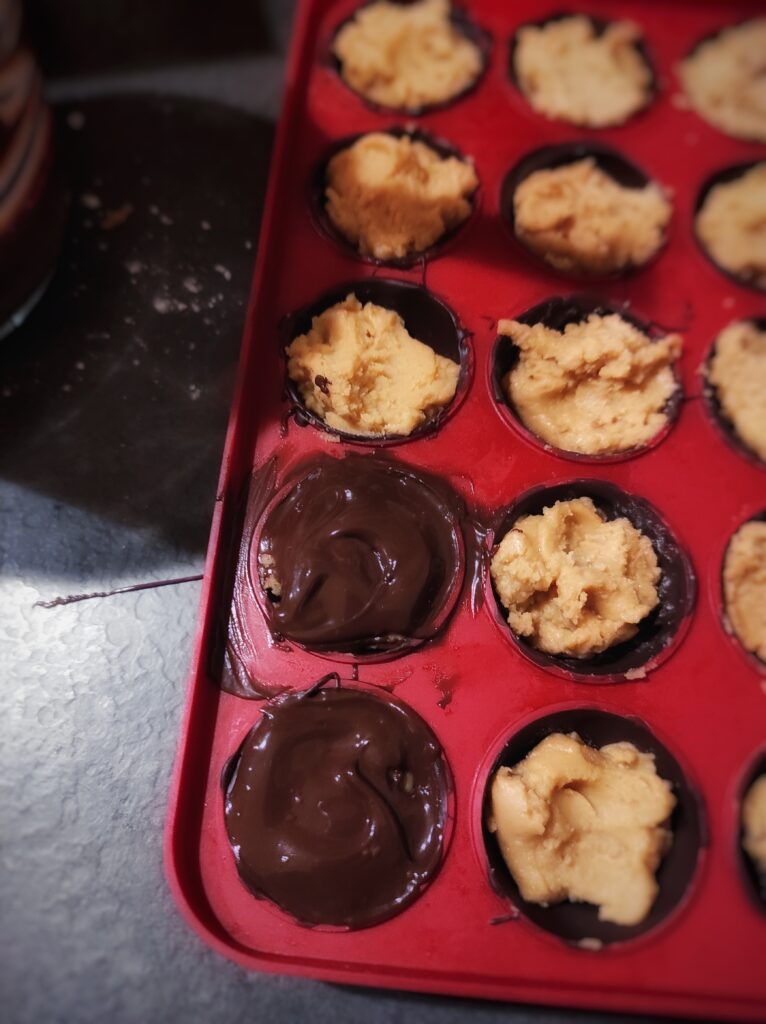
Fill your chocolate shell with the peanut butter caramel filling. Cover with another thin layer of melted chocolate. Make sure there are no holes. Wait for it to harden completely before trying to remove your chocolates.
To make chocolate peanut butter balls instead….
Make your filling. Roll it into smooth balls of the desired size (I usually do approximately 1 inch balls). Place in freezer for 10 to 15 minutes or in the refrigerator for an hour to harden.
Melt your chocolate. Dip your ball into your melted chocolate. Set on wax paper to dry. Remove from wax paper once they have dried completely.
This version will have more filling with each bite!
Enjoy! And happy baking! These are the perfect treat to share with your sweetie this Valentine’s day!
Welcome to Dolceamericana
I’m Carli. An event stylist, self-taught baker, and imperfect Mamma of 3!
2 Comments
These look delicious!!
They are so good! Finally figured out how to recreate our peanutbutter goop days!