DOLCEAMERICANA.BLOG

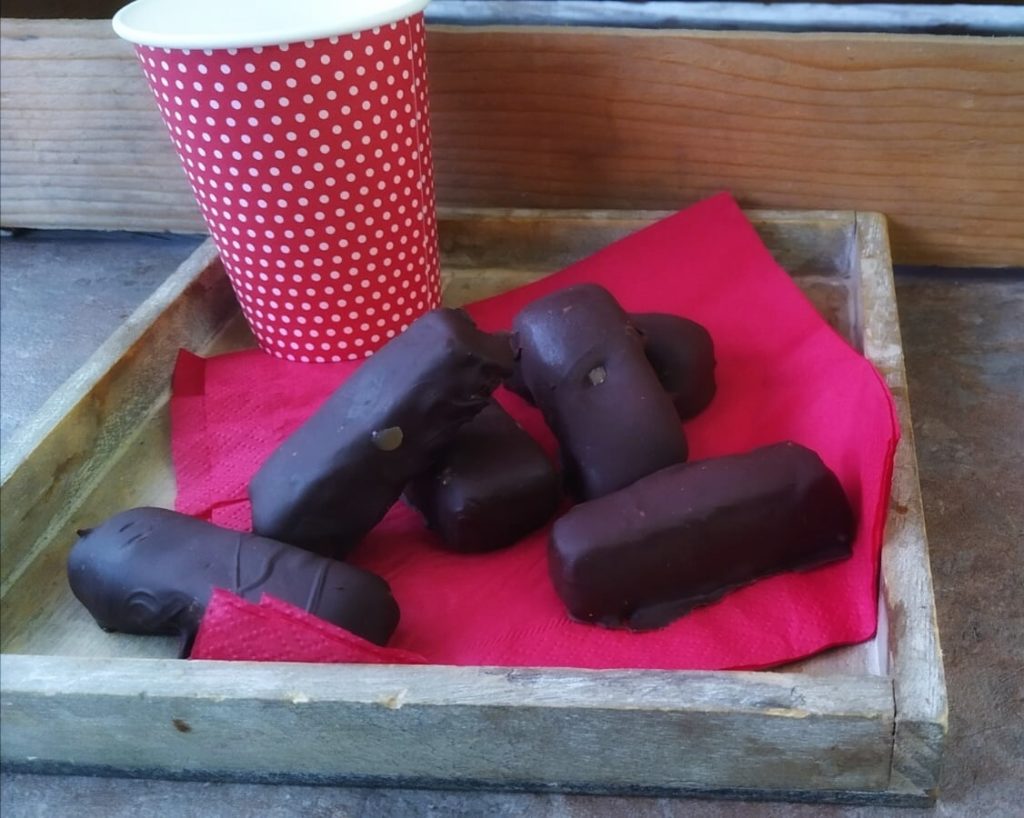
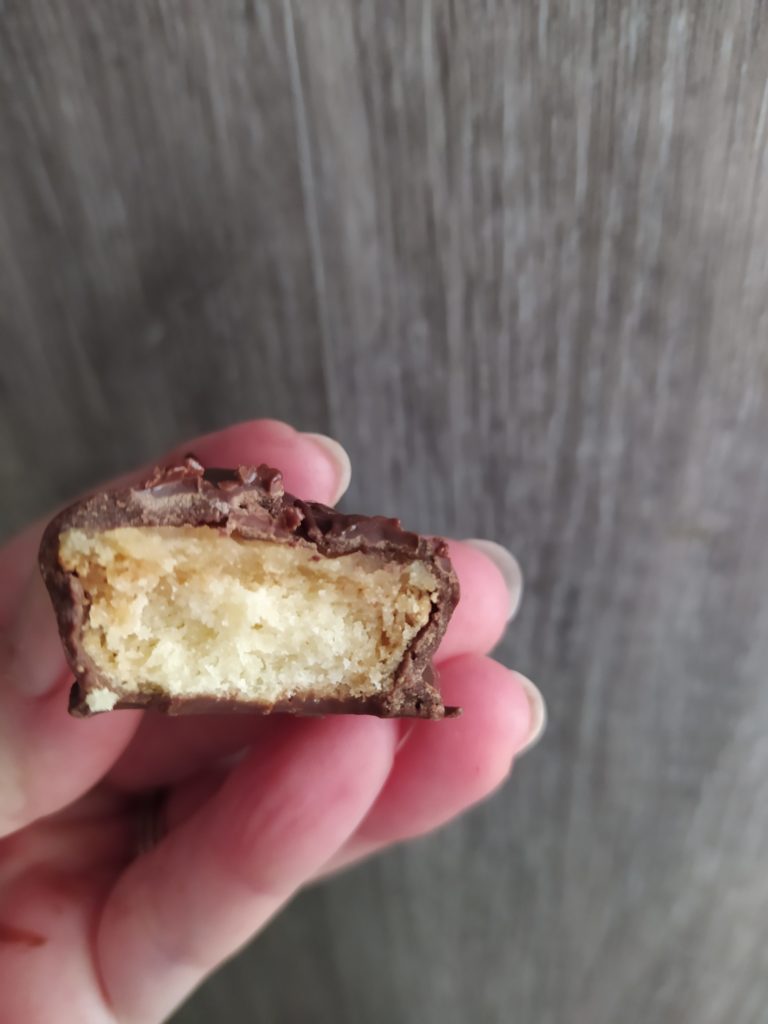
Homemade Twix Bars
This homemade version is even better than the store bought treat!
These Homemade twix bars will knock your socks off! They are that good. It takes a few steps to make them, so they are not for the weak of heart, but if you are ready for some baking fun, then you will enjoy putting these together, and enjoy even more eating every last one . . .I mean, sharing them with your neighbors.
Begin by making the cookie base. To make the Twix cookie base:
Ingredients:
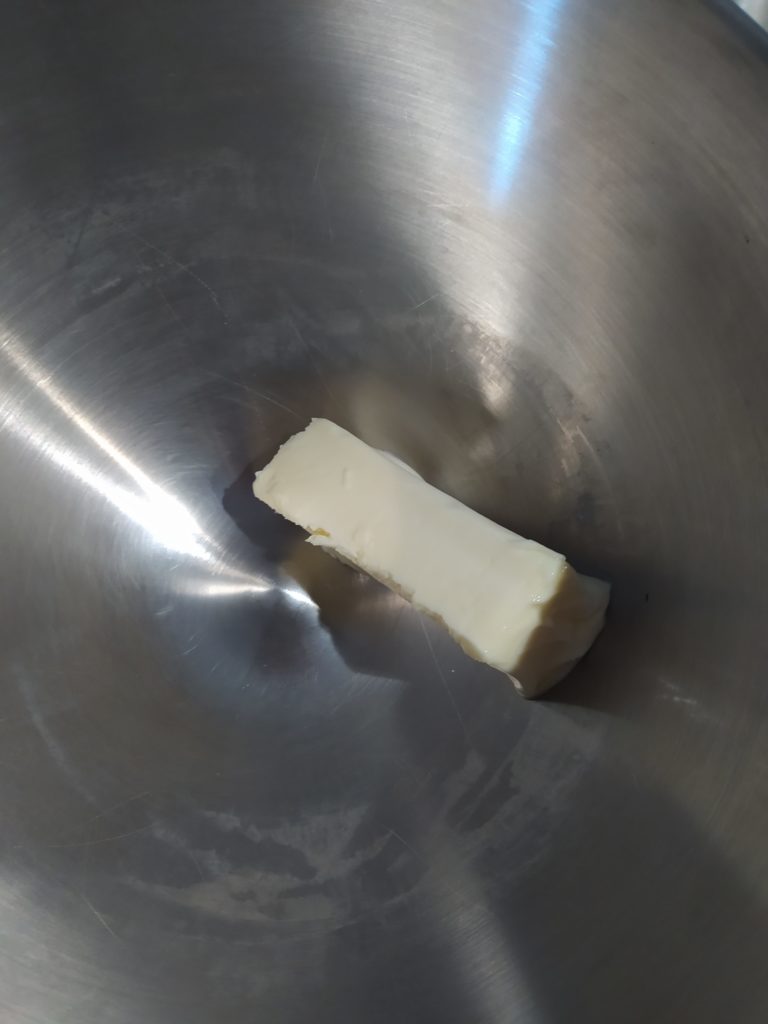
- 125 grams Butter (9 tablespoons)
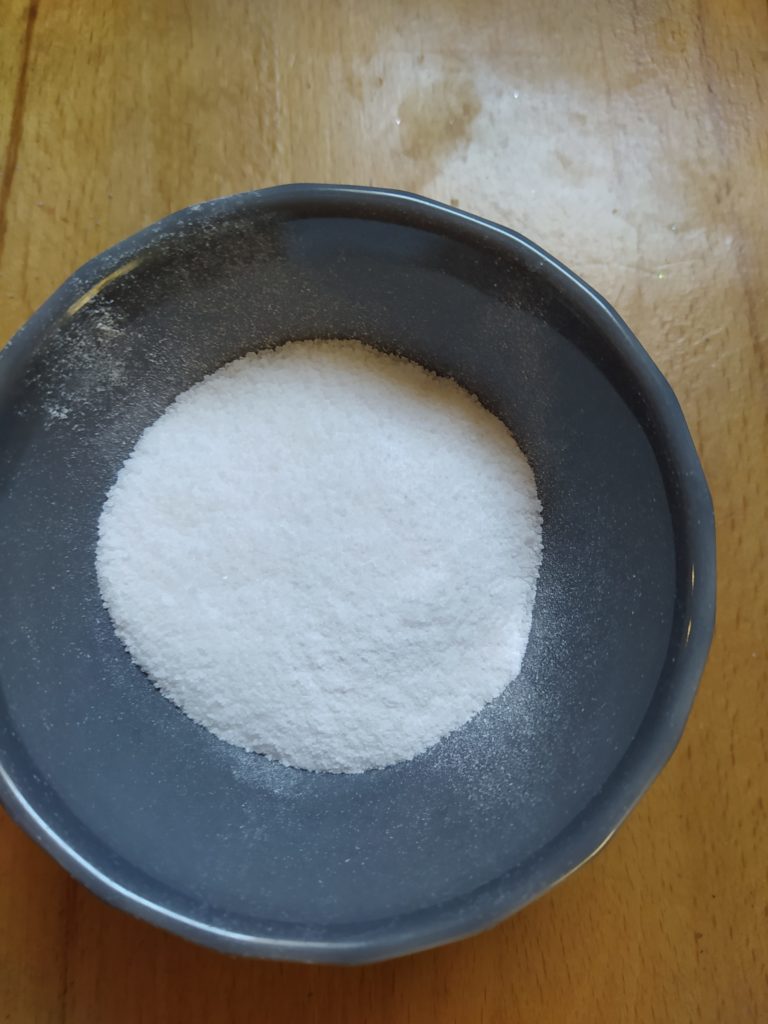
- 55 grams Castor Sugar (4 1/2 tablespoons)
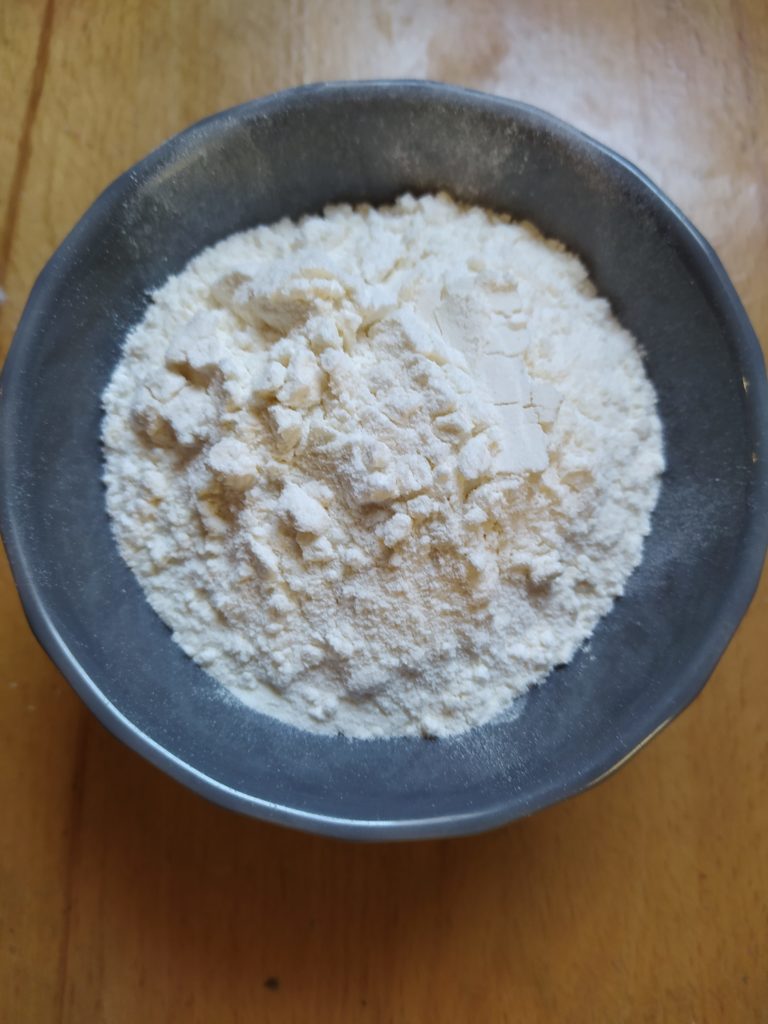
- 180 grams Flour (1 1/2 cups)
- 1/8 teaspoon Salt
Measure for caster sugar and butter into your electric mixer. Mix on high, scraping the sides as you go, until the mixture is well blended. Scrape sides again before adding your flour and salt.
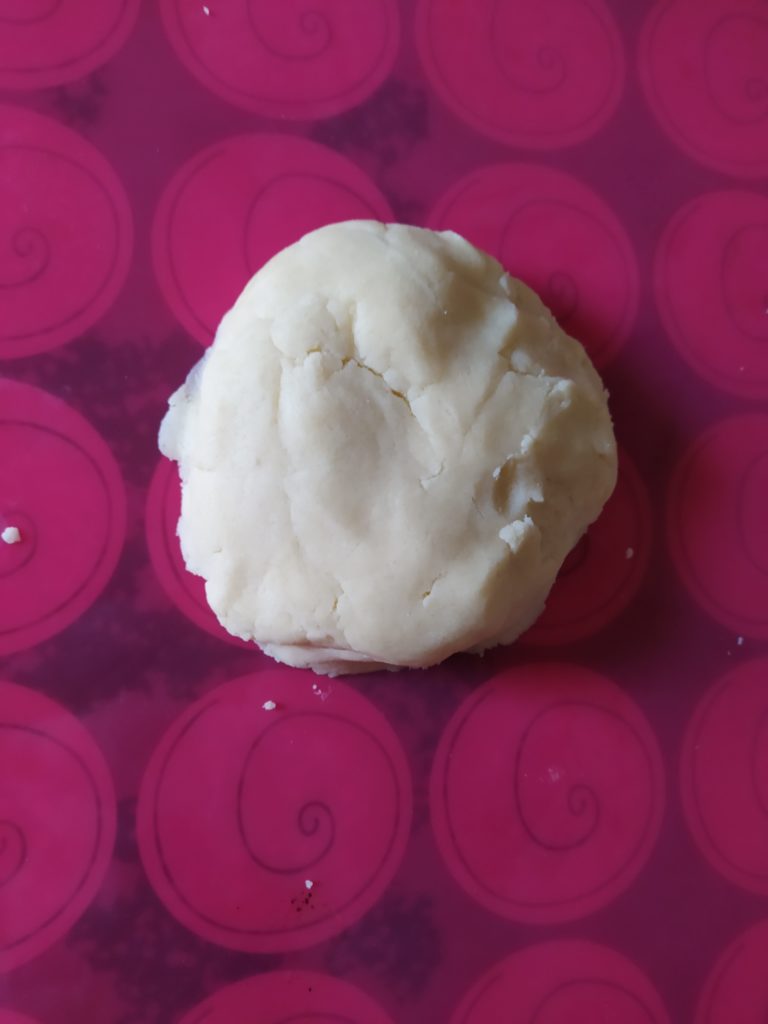
Mix your flour and salt together in a small bowl. Add the flour slowly to your butter-sugar mixture. Mix until the ingredients are blended. You can finish mixing by kneading the dough out onto a silicone mat.
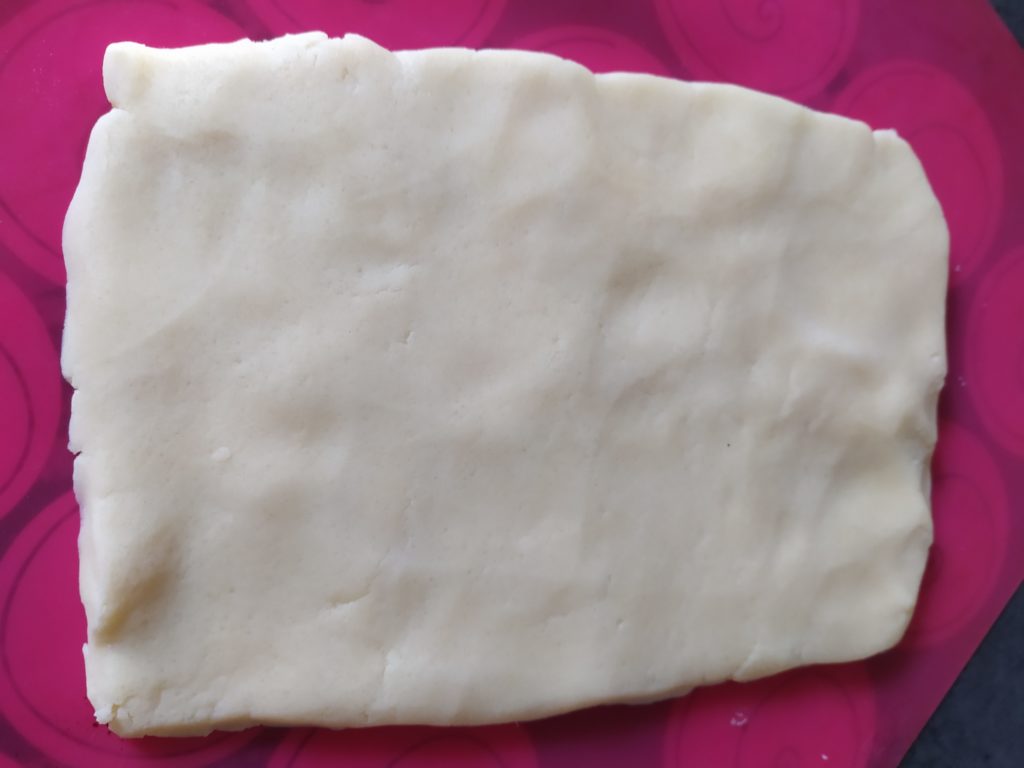
Next roll the dough out into a rectangle shape (approximately 1/3-1/2 inch thick).
Butter a 9×9 baking pan. It works even better if you use parchment paper. Gently press a thin layer of the cookie dough all the way around the pan. Make sure to spread it evenly and all the way to the edges. It need to be about the same thickness as a cut out cookie would (approx 1/3- 1/2 inch). Allow the dough to chill in your pan in the fridge for 30 minutes.
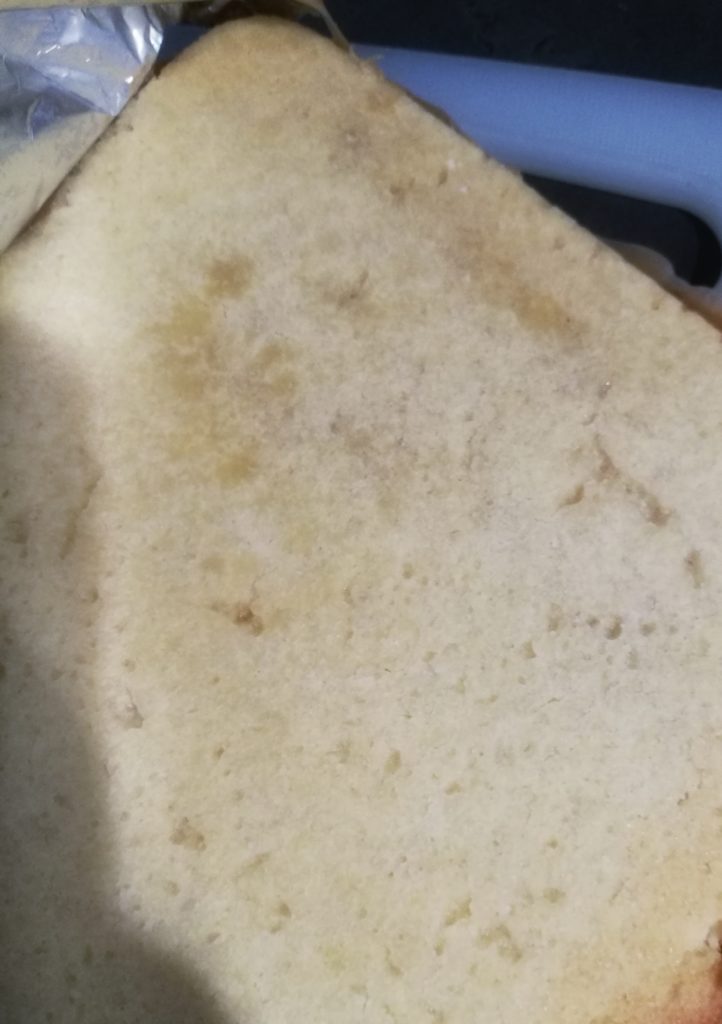
Bake in the oven at 375° F (190° C) until pale golden brown. Set aside to cool on a wire rack.
While it is cooling you will need to make the caramel filling:
Ingredients:
- 1 cup granulated White Sugar
- 5 tablespoons of Butter
- 1/3 cup of heavy cream
You can follow these directions which have step by step photos. You will just need to adjust the butter and cream amounts according to the above ingredients. While the caramel begins to cool…
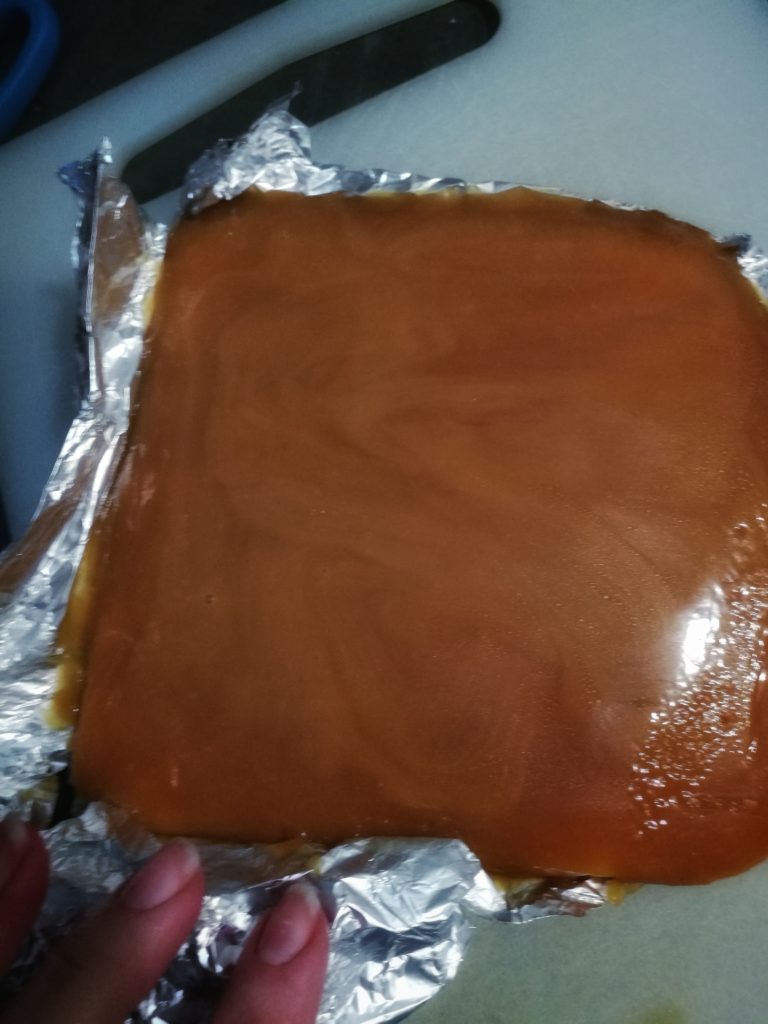
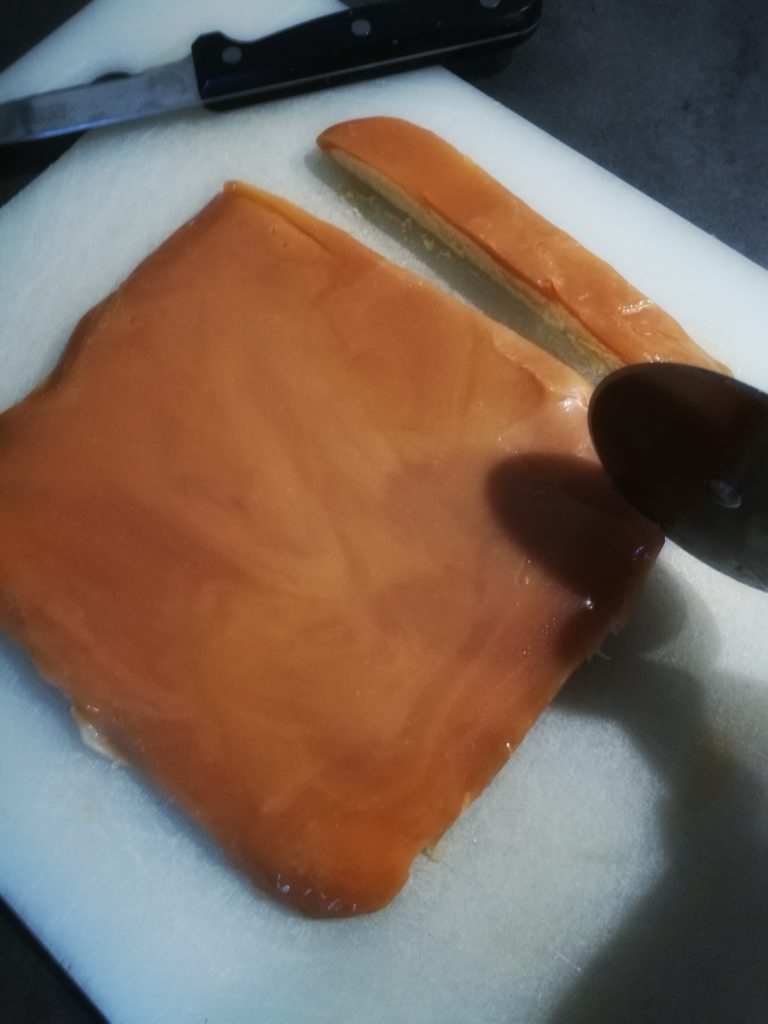
Remove the cookie base from your 9×9 pan. Cover the pan completely with foil, making sure to carefully cover all of the edges. Place the cookie base back into the pan on top of the foil.
Pour the caramel over the top of your cookie base, spreading it with a spatula so that it is evenly spread over the whole base. You want a nice thick layer of caramel.
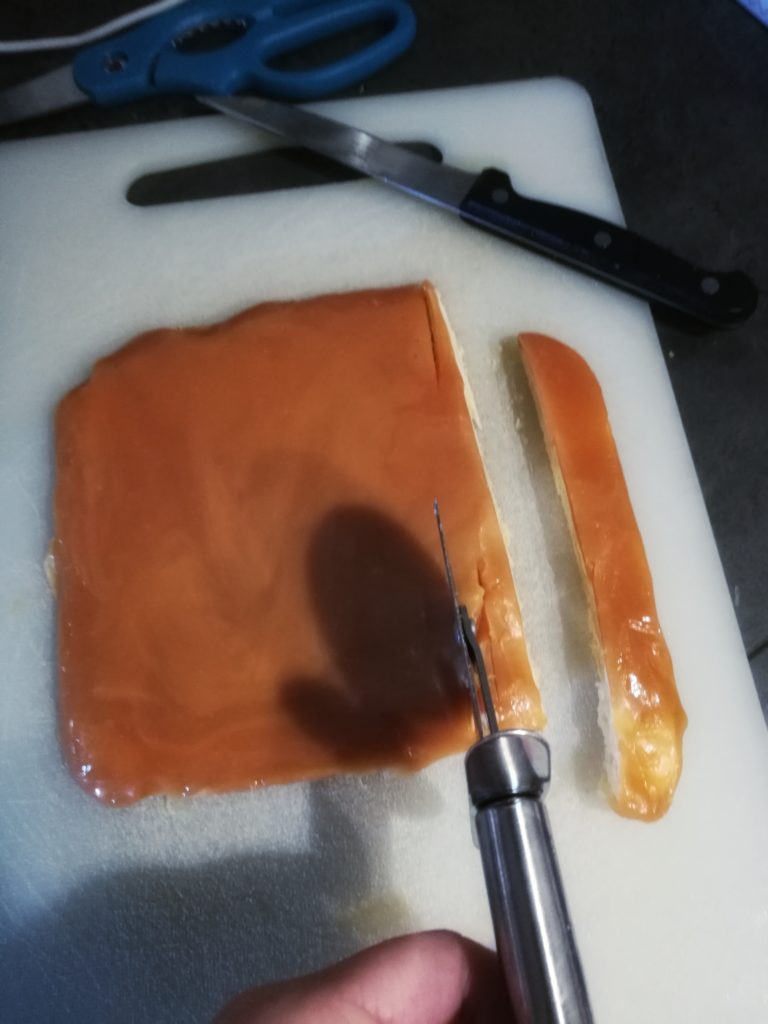
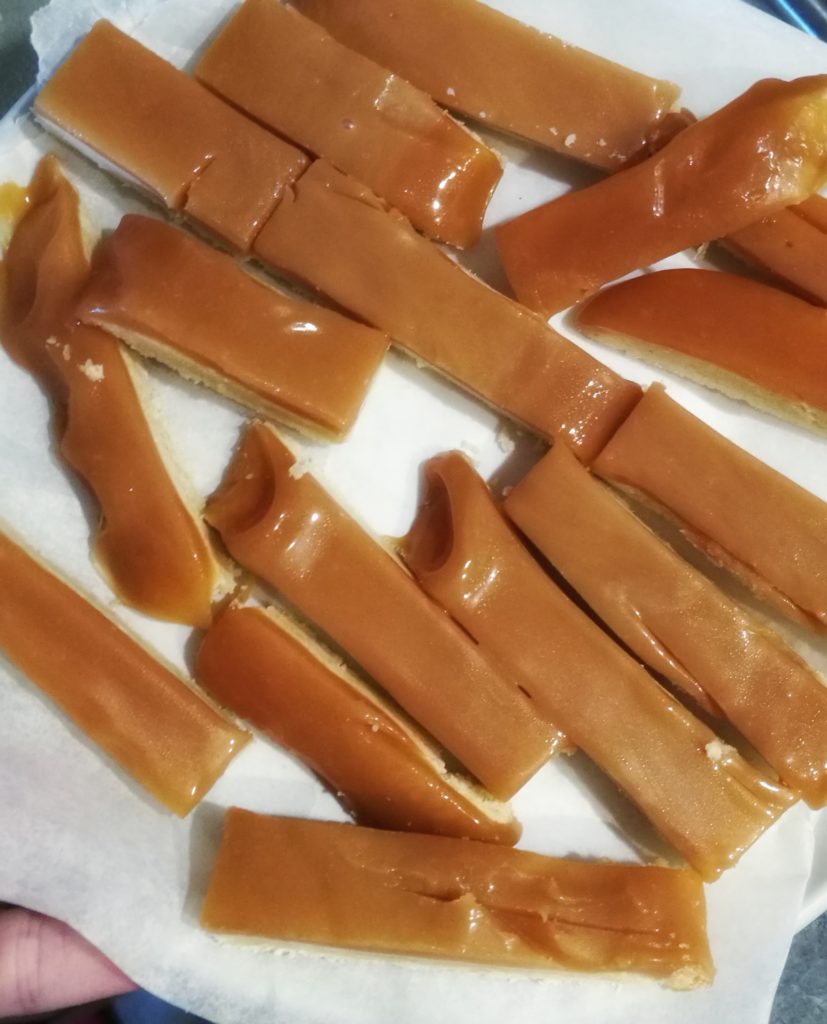
Allow the cookie and caramel to cool completely. I chilled it in the fridge overnight. Remove the foil from around the cookie base. With a pizza cutter slice several rectangle shape cookies. The caramel with warm a little as you are working with the cookies. So once you have cut out all of your rectangles, then set them in the freezer for 10 minutes while you melt your chocolate.
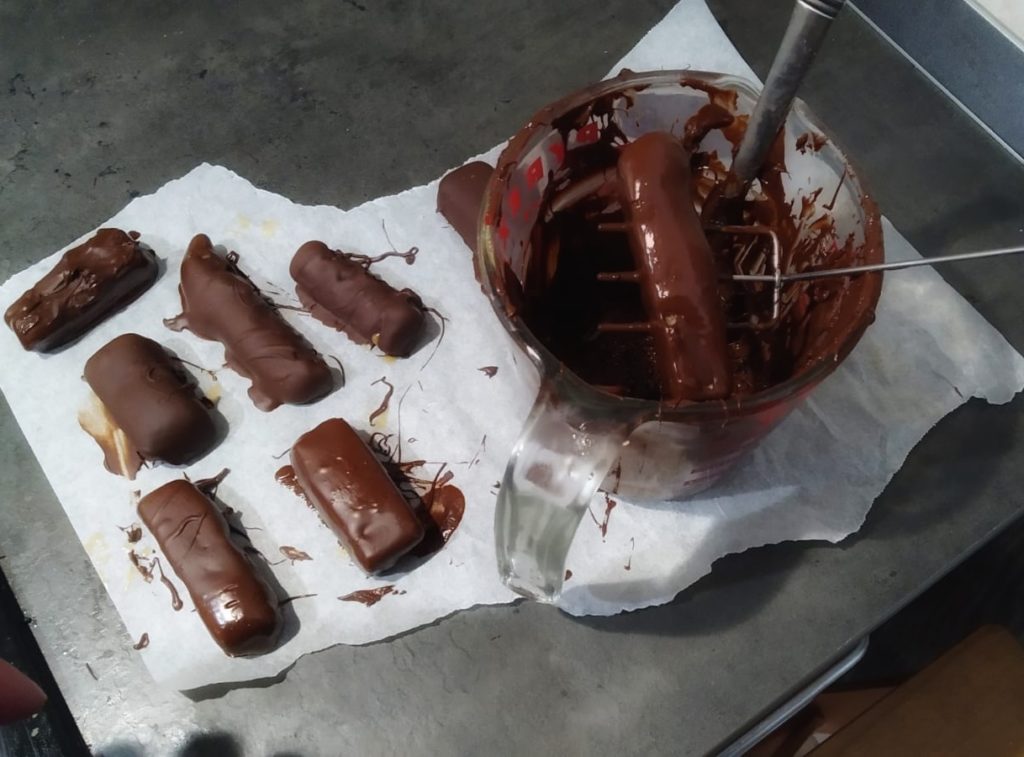
Melt your chocolate. I did dark chocolate, but you can easily do a combo of dark and milk or just use milk chocolate. I melted mine in a microwave safe dish at 30 second intervals until it was completely melted.
Take your cookie rectangles out of the fridge and carefully dip them into the chocolate coating them completely. When they are well coated tap off the excess and set them on wax paper to dry.
Make sure to leave some out for Santa! I am sure he would really appreciate this delicious treat! It is well worth the work! You will wow your guests with this one– enjoy!
Welcome to Dolceamericana

I’m Carli. An event stylist, self-taught baker, and imperfect Mamma of 3!